What defines the luxury studio style?
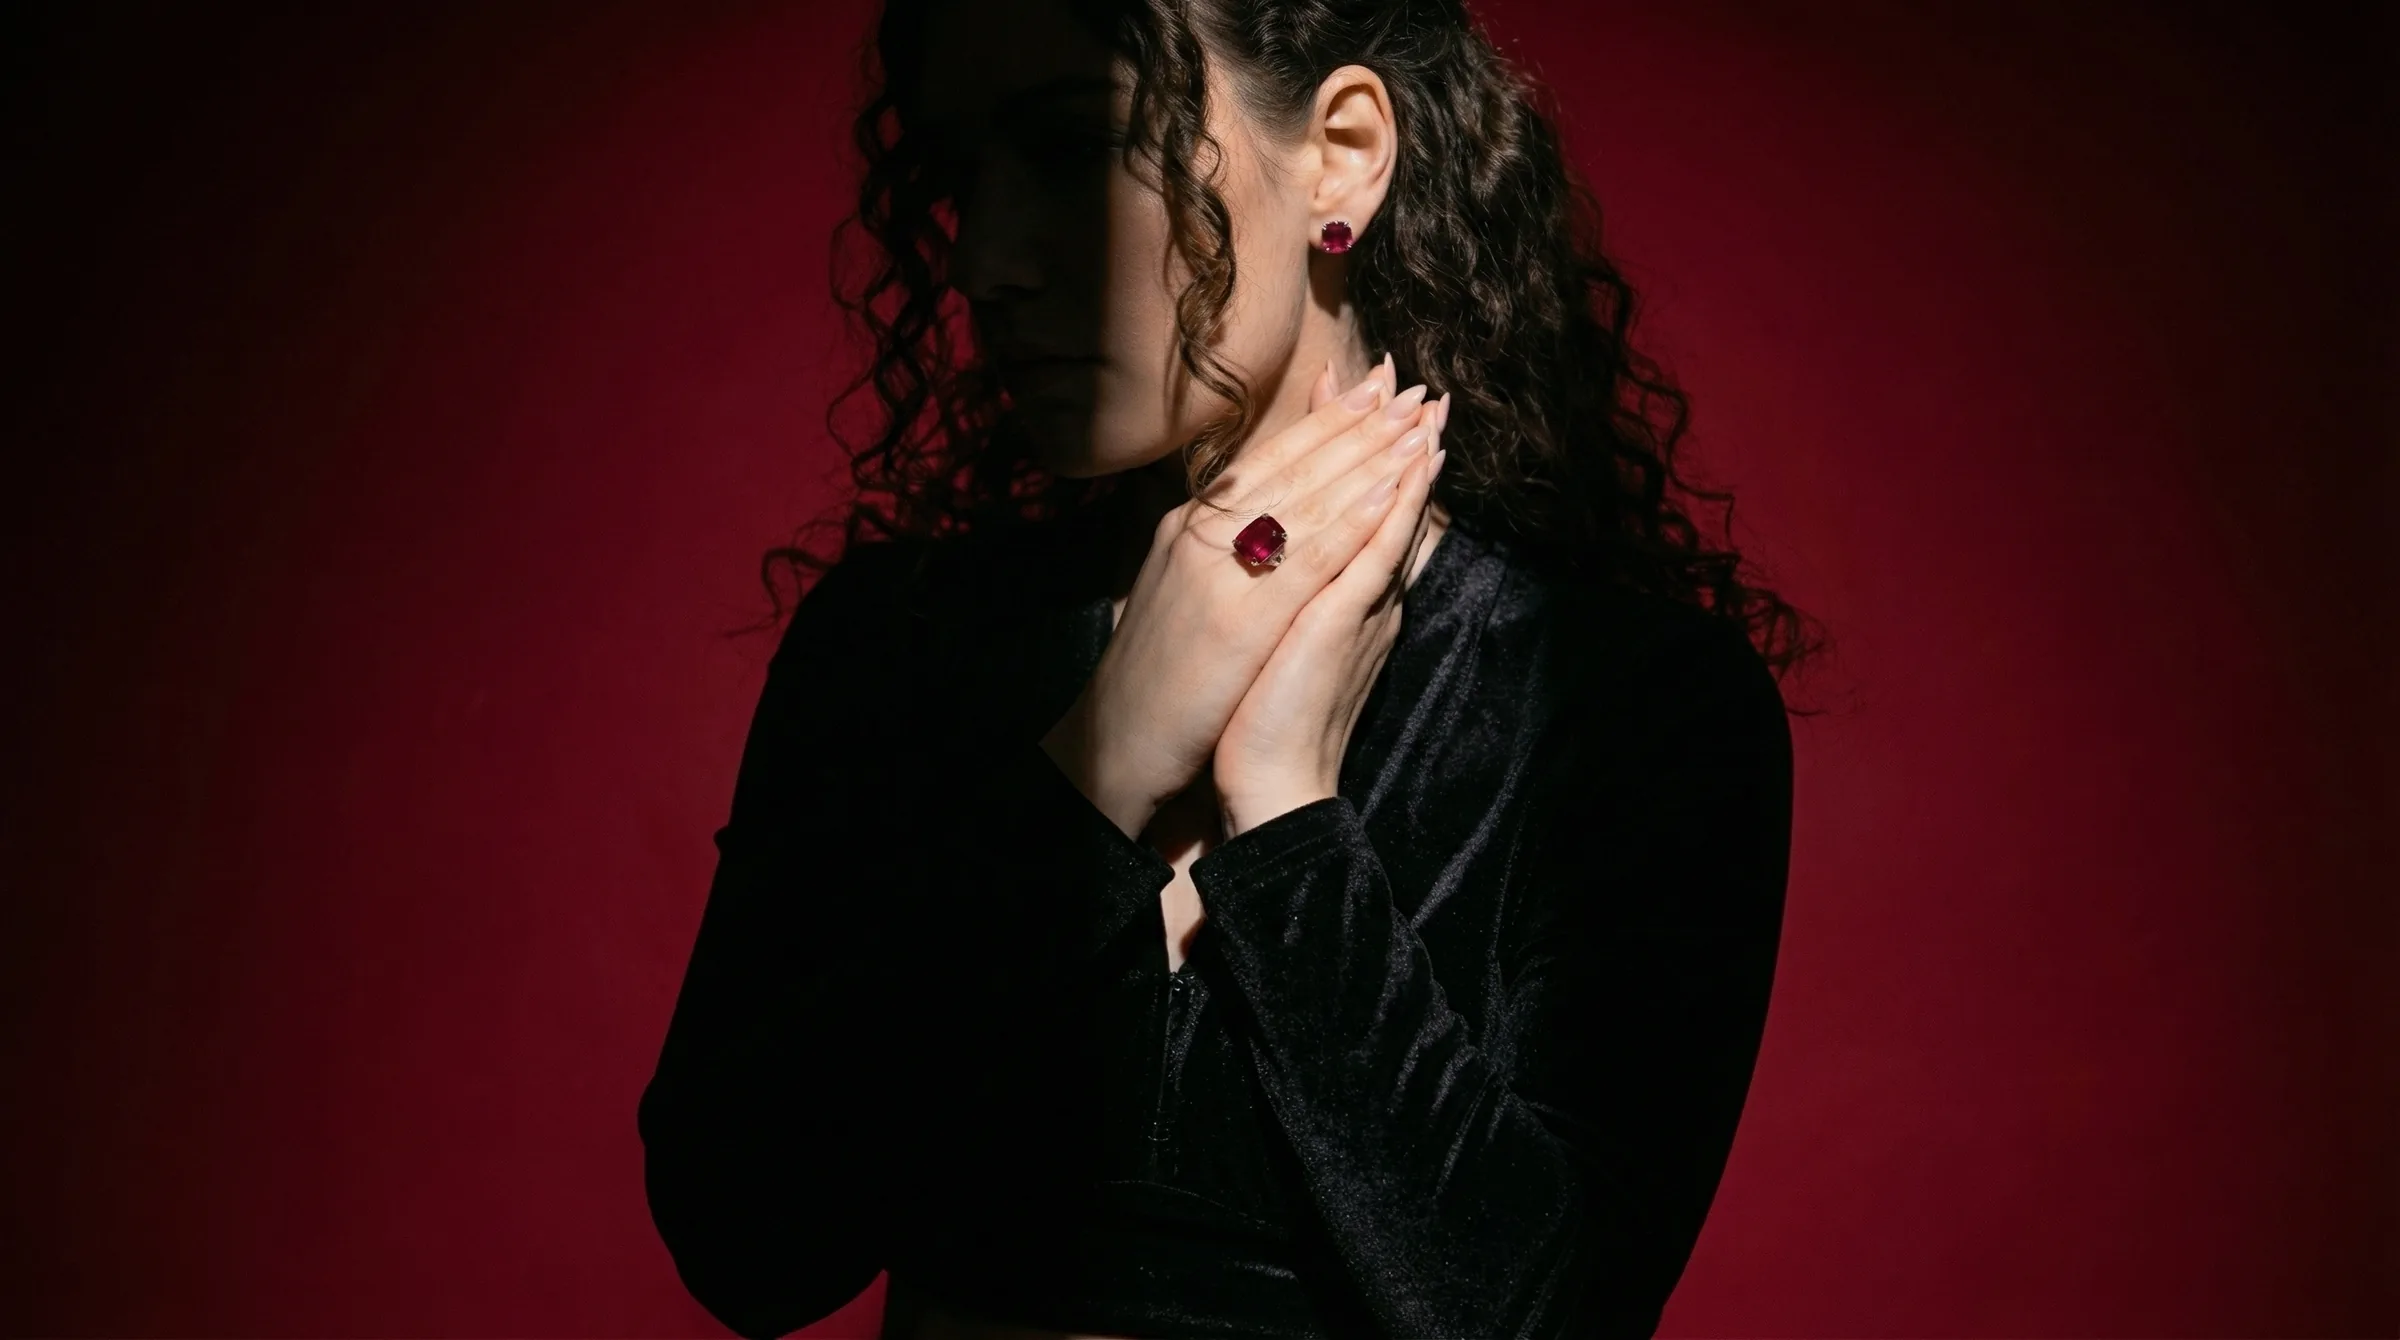
The luxury studio style isn't just about a pretty picture; it's a visual language that communicates value, craftsmanship, and exclusivity. It's the standard for fine jewelry brands because it focuses entirely on the product's intrinsic quality. The mood is calm, sophisticated, and timeless.
Here are the core visual hallmarks:
-
Lighting: The lighting is the most crucial element. It's almost always soft, diffused, and directional. Think of a large window on an overcast day. This is achieved in a studio with a large softbox or an octabox. The goal is to create gentle, flattering highlights on the metal (avoiding harsh, blown-out specular highlights) and to make gemstones glow from within. Shadows are present but soft and intentional, used to define the ring's shape and add depth.
-
Composition: Compositions are deliberate and uncluttered. Negative space is used generously to give the product breathing room and create a sense of elegance. The ring is the undisputed hero. Common compositions include a clean center-frame shot, a gentle rule-of-thirds placement, or a detailed macro shot of the setting.
-
Backdrops and Surfaces: Textures are subtle and premium. Think of a slab of Carrara marble, a piece of dark grey slate, textured fine art paper, or a swatch of heavy silk. The surfaces complement the ring's materials, they don't compete with them. The color palette is almost always neutral: whites, creams, beiges, and a spectrum of greys from light to charcoal.
-
Focus and Detail: Sharpness is non-negotiable. Every facet of the diamond, every detail of a pavé setting, and every inscription must be perfectly in focus. This is often achieved through a technique called focus stacking, where multiple images at different focal points are merged to create one image with impossible depth of field. This level of detail assures the customer of the product's quality before they've ever held it.
-
Props: Props are used sparingly, if at all. When they appear, they are geometric, textural, and abstract—a plaster cube, a travertine block, a single dry botanical. They exist to add a hint of context or a balancing compositional element, never to tell a story or distract from the ring itself.
When to use the luxury studio style
This style is a strategic choice. It's not right for every channel or every brand, but it's incredibly effective when used correctly.
Best Channels:
- Product Detail Pages (PDPs): This is the primary use case. On your Shopify, Webflow, or WooCommerce site, these images provide the clear, detailed, and trustworthy visuals customers need to make a high-ticket purchase.
- Lookbooks & Digital Catalogs: The clean, consistent aesthetic is perfect for creating a cohesive and premium brand narrative across a full collection.
- High-End Marketplaces: Platforms like 1stDibs or Farfetch require this level of polished, professional imagery.
- Print & Linesheets: For wholesale buyers and print advertising, the high-resolution detail and clean backgrounds are essential.
- Curated Social Media Feeds: On Instagram or Pinterest, this style helps build a sophisticated and aspirational brand identity. It works best for polished feed posts rather than ephemeral stories.
Buyer Psychology:
The luxury studio style triggers a specific set of perceptions in a buyer's mind:
- Justifies Price: The meticulous quality of the photograph mirrors the perceived quality of the jewelry. It subconsciously tells the customer, "This is a premium product worth its price tag."
- Builds Trust: In ecommerce, the photo is the product. A sharp, well-lit, and unretouched (in terms of form) image gives the customer confidence that what they see is what they'll get.
- Reduces Perceived Risk: For significant purchases like an engagement ring, buyers are risk-averse. The clarity and professionalism of luxury studio photography provide reassurance and reduce the friction to purchase.
- Creates Desire: This style doesn't just show the ring; it presents it as an object of art and desire. The clean context allows the customer to project their own dreams and aspirations onto the piece.
This style is ideal for fine jewelry—engagement rings, wedding bands, high-karat gold pieces, and designs with precious gemstones. It’s less suited for trendy, low-price-point fashion jewelry where a more casual, lifestyle-oriented approach might create a better connection with the target audience.
How to shoot luxury studio ring photos manually
Achieving this look manually requires precision, patience, and the right equipment. A typical half-day studio session with a professional photographer to shoot 5-10 rings in this style can cost between $1,500 and $4,000.
If you're building an in-house setup, here's what you'll need.
Equipment Checklist:
- Camera: A DSLR or mirrorless camera that allows full manual control.
- Lens: A 90mm or 100mm macro lens is the industry standard. This allows you to get close enough to capture details without distorting the ring's proportions.
- Tripod: A heavy, stable tripod is absolutely essential. You cannot do this handheld. A geared head is a plus for precise micro-adjustments.
- Lighting: At least one strobe or high-quality continuous LED light. The key is the modifier: a large (36" or bigger) softbox or octabox is needed to create the signature soft, wrapping light.
- Reflectors: A set of small white and silver reflectors (even white foam core works) to bounce light and fill in shadows.
- Surfaces & Backdrops: A 24"x24" slab of marble or slate, or a roll of neutral seamless paper.
- Accessories: A remote shutter release, dental wax for positioning the ring, compressed air and a microfiber cloth for cleaning, and diffusion panels.
Lighting and Camera Setup:
- Position the Ring: Place your surface on a stable table. Use a tiny ball of dental wax to stand the ring up. Meticulously clean the ring and the surface.
- Set the Key Light: Position your light with the large softbox at a 45-degree angle to the ring, about 2-3 feet away. The large size of the light source relative to the small ring is what creates the soft light.
- Add Fill Light: Place a white reflector on the opposite side of the ring from your key light. This will bounce some light back, softening the shadows. Avoid using a second powered light, as it can create competing highlights and flatten the image.
- Camera Position: Mount your camera on the tripod. The angle depends on the ring, but a common starting point is a 30-45 degree angle looking down at the ring.
- Camera Settings:
- Mode: Manual (M)
- ISO: 100 (or the lowest native ISO of your camera)
- Aperture: f/11. This provides a good depth of field, but you'll still need to focus stack.
- Shutter Speed: If using a strobe, set it to your camera's sync speed (often 1/160s or 1/200s). If using continuous light, adjust the shutter speed until your exposure is correct (it might be 1/10s or longer).
- White Balance: Set a custom white balance using a grey card for perfect color accuracy.
The Shooting & Editing Workflow:
- Focus: Switch to manual focus. Use your camera's live view and zoom in to the closest part of the ring. Take your first shot.
- Focus Stack: Without moving the camera, slightly adjust the focus ring to focus a millimeter further back on the ring. Take another shot. Repeat this process 8-20 times until you have sharp images covering the entire ring from front to back.
- Combine in Post: Load the series of images into stacking software like Helicon Focus or use Photoshop's Auto-Blend Layers function. This will merge the sharpest parts of each photo into one final, perfectly sharp image.
- Retouch: This is the final, critical step. In Photoshop, you'll need to remove dust, clean up any remaining fingerprints, smooth out minor imperfections in the metal, and perform final color and contrast adjustments. This is meticulous work that can take 30-45 minutes per image.
How to generate this style with Hylo
The manual process is powerful but slow and expensive. It's not feasible for a brand that needs to shoot new collections every season. This is where AI-powered photography provides a scalable alternative, giving you studio-grade results in minutes.
Here’s how to create the luxury studio style with Hylo, ensuring perfect consistency across every piece in your collection.
Step 1: Get a Clean Base Image Start with a clear, well-lit photo of your ring. You don't need a DSLR. A modern smartphone camera and a simple lightbox will work perfectly. Place the ring on a plain white background and capture a sharp, focused shot. This is the raw data the AI will work with.
Step 2: Build Your 'Luxury Studio' Brand Kit This is Hylo's core advantage over other tools. Instead of writing a new prompt every time, you define your brand's visual elements once in your Brand Kit. This guarantees consistency.
- Go to Brand Kit: Create a new theme called "Luxury Studio."
- Add Surfaces: Upload or describe your desired surfaces. Examples:
A flat slab of white Carrara marble with subtle grey veining.A textured dark grey slate surface.A swatch of ivory-colored heavy silk fabric with soft folds.
- Add Lighting Styles: Describe the light.
Soft, diffused studio light coming from the top left.Bright and airy natural light from a large window.
- Add Props (Optional):
A small, white plaster cube.A single, crisp shadow cast from the ring.
Step 3: Generate with AI Photoshoot Upload your base ring photo to AI Photoshoot. Now, instead of writing a complex prompt from scratch, you'll reference your Brand Kit.
Example Prompt:
A 1-carat oval diamond engagement ring with a pavé band, shot on the [white Carrara marble] surface from my Brand Kit. The scene is lit with the [soft, diffused studio light] from my Brand Kit. Add the [crisp shadow] from my Brand Kit. Professional studio quality, macro detail.
Hylo will generate four options in seconds that perfectly match the aesthetic you defined. Because you're using the Brand Kit, you can run a 50-piece collection through this prompt and every single image will have the exact same lighting and surface.
While tools like Booth.ai or Flair can generate attractive one-off images, the lack of a robust Brand Kit system makes true catalog consistency a challenge. Hylo is built for brands that need a cohesive look, not just a single hero image.
Step 4: Final Touches Use Hylo's AI Retouch to instantly remove any lingering dust or minor blemishes. If you need a specific crop for Instagram Stories or a banner, use the Canvas Editor to resize your image without losing quality.
Luxury studio examples across jewelry types
The principles of luxury studio photography apply to all types of fine jewelry, with minor adjustments for the specific piece.
- Rings: As detailed above, the focus is on showing the center stone, the setting (e.g., prong, bezel, claw), and the band's details. A 45-degree angle is a classic starting point.
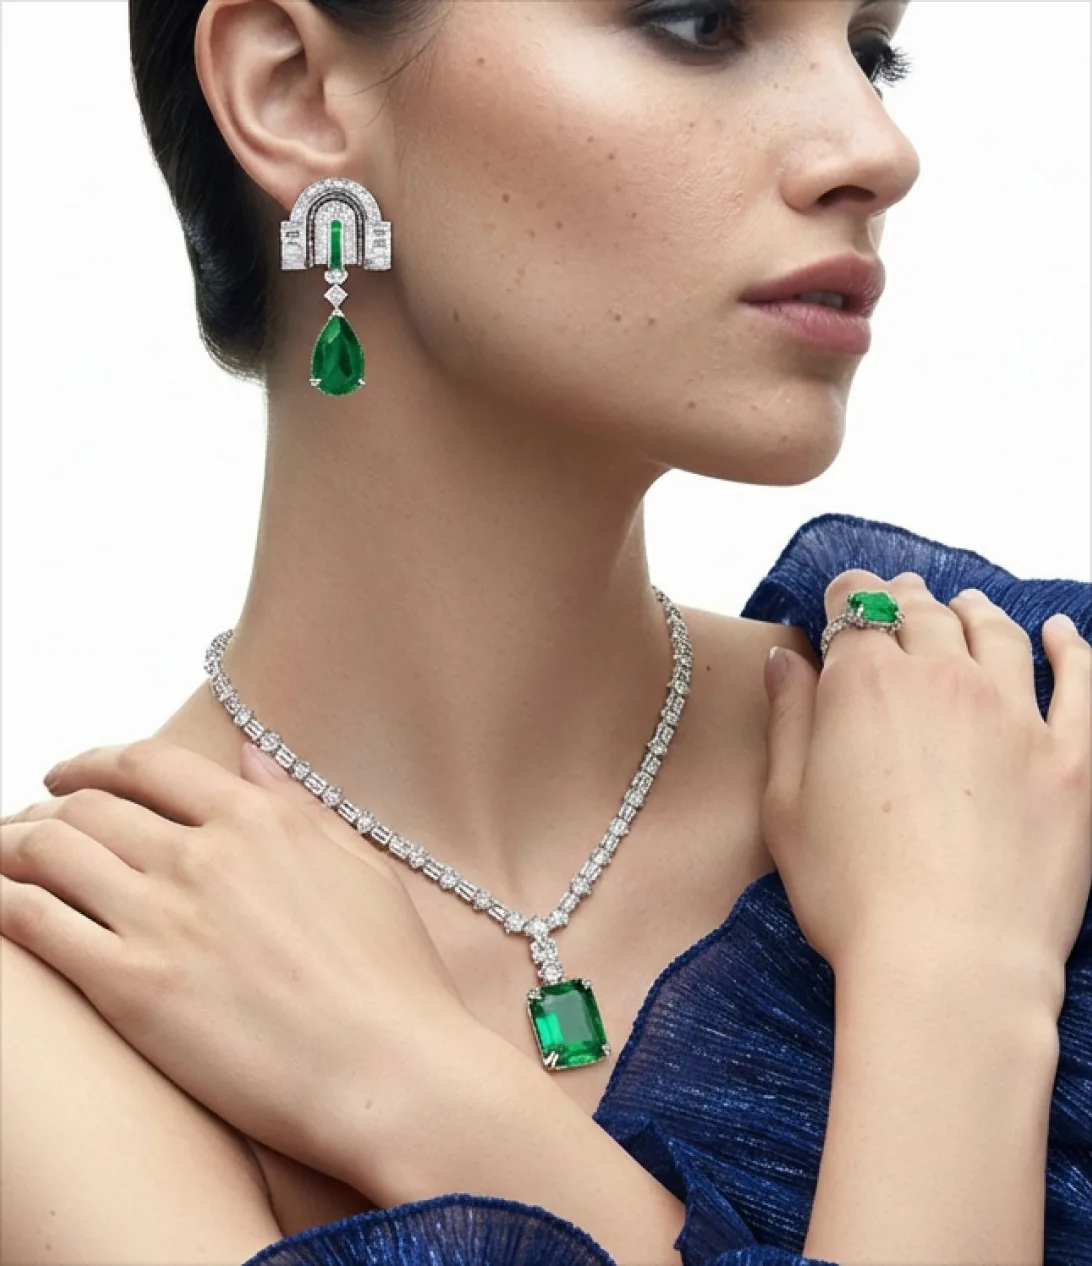
- Earrings: For studs, a top-down flatlay on a contrasting surface like slate works beautifully. For drop earrings, they can be shot hanging from a minimal prop or laid flat in a gentle curve. The key challenge is ensuring both earrings are lit identically.
- Necklaces: Delicate chains are draped in a natural 'S' curve over a textured surface like silk or a plaster block. The lighting should be angled to catch the facets of the chain and the details of the pendant. Focus stacking is essential to keep the entire length sharp.
- Bracelets: Tennis bracelets or bangles are often shot laid flat, sometimes forming a partial circle. The camera angle is typically top-down or slightly angled to show the clasp mechanism and the setting of the stones.
Common mistakes to avoid
Achieving a luxury look is often about what you don't do. Here are common pitfalls that instantly cheapen a photo:
-
Harsh, Direct Lighting: Using an on-camera flash or a small, unmodified light source creates harsh, ugly reflections (hot spots) and deep, unflattering shadows. The Fix: Always use a large diffuser between your light and the jewelry.
-
Busy or Distracting Backgrounds: A patterned tablecloth, a wood grain that's too prominent, or too many props will pull focus from the ring. The Fix: Stick to neutral, high-quality surfaces with subtle or no pattern.
-
Inconsistent Angles and Lighting: When a customer views your collection page, the products should look like they belong together. Different lighting, shadows, and camera angles create a chaotic, unprofessional impression. The Fix: Manually, this means taping down your tripod and not moving your lights. In Hylo, it means using your Brand Kit for every shot.
-
Soft Focus: If the diamond's facets or the prongs aren't perfectly sharp, the customer will assume the product is of poor quality. The Fix: Use a tripod, a remote shutter, and master focus stacking.
-
Skipping Retouching: Every macro photo will show tiny specks of dust, fingerprints, and microscopic scratches on the metal. Leaving these in is like showing up to a gala in a dirty suit. The Fix: Budget time for meticulous post-production or use a one-click tool like Hylo's AI Retouch.