What You'll Need for Pro Ring Lighting
Proper lighting isn't about expensive gear; it's about control. You can achieve professional results with a modest setup if you know how to shape the light. Here is the essential equipment list.
- Camera: A DSLR or mirrorless camera with manual controls. A smartphone can work in a pinch, but a dedicated camera gives you control over aperture and focus.
- Lens: A macro lens (60mm, 90mm, or 100mm) is ideal. It allows you to get close enough to capture intricate details like prong settings and pavé stones without distortion.
- Tripod: Absolutely non-negotiable. Jewelry photography uses long exposures and high apertures, requiring total stability to avoid motion blur.
- Light Sources: Two identical light sources are best for consistent color temperature. These can be strobes (flashes) or continuous LED panels. The Godox MS300 or a pair of Neewer LED panels are excellent starting points.
- Light Modifiers: At least one medium-sized softbox (e.g., 24x36 inch) or a large diffusion panel. The goal is to make your light source large and soft relative to the ring.
- Reflectors: A simple piece of 12x18 inch white foamcore from a craft store is perfect. You can also use small, foldable reflectors.
- Ring Holder: Dental wax or museum putty. This allows you to stand the ring up securely and can be easily cloned out in post-production.
- Surface: A clean, non-reflective surface like a sheet of white acrylic or a roll of seamless paper.
Baseline Camera Settings
Set your camera to Manual Mode (M) to start. These settings are a reliable baseline for ring photography:
- ISO: 100 (or the lowest native setting)
- Aperture (f-stop): f/11
- Shutter Speed: 1/125s (if using strobes) or adjust as needed for exposure with continuous lights.
- White Balance: Custom, set with a gray card, or use the "Flash" preset if using strobes.
Before You Start: Key Principles of Lighting Jewelry
Before you turn on a single light, understand two core principles that separate amateur shots from professional ones.
First, light size is relative. A small light source close to the ring acts like a large, soft light. A large light source far away acts like a small, hard light. For rings, we want the largest, softest light possible to create gentle, wrapping highlights and minimize harsh reflections. This is why a large softbox is your most important tool.
Second, reflections are everything. A ring's polished metal band and gemstone facets are tiny mirrors. They will reflect everything in the room: your lights, your camera, you, the ceiling. Your job isn't just to add light, but to control what the ring reflects. This often means surrounding the ring with white or black cards to create clean, intentional reflections, a technique called building a "light tent."
Avoid the most common mistake: using a single, direct, unmodified light source. This creates a "hot spot" (a specular highlight) that blows out detail and makes the metal look cheap. The goal is smooth gradients, not harsh glare.
The 10-Step Process for Lighting a Ring
This workflow is designed for a standard e-commerce shot: a ring on a seamless white background. We'll use a 1.5ct emerald-cut diamond engagement ring with a pavé band as our example.
-
Clean the Ring Meticulously: Use a lint-free cloth and compressed air to remove every speck of dust and every fingerprint. Any imperfection invisible to the naked eye will look like a boulder under a macro lens. This 10-minute step saves hours in retouching.
-
Set Up Your Surface and Background: Place your white acrylic sheet on a stable table. If using seamless paper, create a gentle "sweep" from the vertical background to the horizontal surface to avoid a hard crease.
-
Position the Ring: Place a tiny ball of museum putty on the surface and carefully stand the ring up. The classic angle is slightly offset, showing the top of the center stone and a clear view of the band's details. Ensure the ring is perfectly vertical.
-
Set Up Your Camera and Tripod: Mount your camera on the tripod and position it directly in front of the ring. Use your camera's level to ensure it's perfectly parallel to the surface. The lens should be at the same height as the ring, pointing straight on.
-
Place Your Key Light: This is your main light. Position your softbox at a 45-degree angle to the left or right of the camera and slightly above the ring. This position creates shape and dimension, highlighting the gemstone's facets.
-
Add a Fill Light or Reflector: Without a fill light, the side of the ring opposite the key light will be in deep shadow. Place a white foamcore reflector on the opposite side, just out of the camera's frame, to bounce light back and soften those shadows. Alternatively, use a second light source at 25-50% of the key light's power.
-
Use a Backlight for Sparkle (Optional): To make the diamond pop, you can add a third, unmodified light (a "hard light") from behind and above the ring, pointing towards the camera. This creates the sharp, specular highlights that signal "sparkle." Be careful this light doesn't hit your lens directly.
-
Dial in Camera Settings: Start with our baseline: ISO 100, f/11, 1/125s. Take a test shot. Is it too dark? Lower your shutter speed (for continuous light) or increase your light's power. Too bright? Do the opposite. The goal is a well-exposed image where no part of the diamond is pure white (blown out).
-
Focus Precisely: Switch your lens to manual focus. Use your camera's live view and zoom in 10x on the front-most prongs of the center stone. Manually adjust the focus ring until those prongs are tack-sharp. For maximum depth of field, you may need to focus stack (take multiple shots at different focus points and merge them later).
-
Take the Shot and Review: Use a 2-second timer or a remote shutter to avoid camera shake. After the shot, zoom in on the image on your camera's LCD screen. Check for sharpness, dust, and unwanted reflections. Make small adjustments to your lights and reflectors until the highlights are smooth and the details are crisp.
Common Ring Lighting Mistakes and How to Fix Them
Even with a perfect setup, small issues can ruin a shot. Here’s a troubleshooting table for the most common problems.
| Mistake | The Problem | How to Fix It |
|---|---|---|
| Harsh Reflections | A bright, distracting glare (specular highlight) on the metal band or gemstone. | Your light source is too small or too direct. Increase the size of your diffuser (use a bigger softbox) or move the light source further away from the diffuser to soften it. |
| "Dead" Gemstone | The diamond or colored stone looks dark, flat, and lacks sparkle. | The stone isn't catching any direct light. Add a small, hard light source (like a snoot or a bare bulb) from above or behind to create specular highlights. A small, handheld mirror can also work to bounce a pinpoint of light into the stone. |
| Soft Focus | The front of the ring is sharp but the back is blurry. | Your depth of field is too shallow. Increase your aperture to f/16. If it's still not sharp all the way through, you must focus stack. Ensure your tripod is stable and you're using a remote shutter. |
| Unwanted Color Casts | The white gold looks yellow, or the platinum looks blue. | Your white balance is incorrect. Use a gray card to set a custom white balance before the shoot. Also check for colored objects in the room that might be reflecting onto the ring. |
| Camera Reflection | You can see the reflection of your camera lens in the center of the stone. | This is common with large, flat-topped stones like emerald or Asscher cuts. Create a "lens cutout" by placing a large white card between the ring and camera with a small hole cut out for the lens to see through. The stone will now reflect the white card instead of the black lens. |
Pro Tips for Next-Level Ring Photography
Once you've mastered the basics, these techniques will elevate your images from good e-commerce shots to high-end editorial photos.
-
Use Negative Fill: Instead of using a white card to fill shadows, use a black card. This absorbs light and creates deeper, more defined shadows. Placing black cards on either side of the ring, just out of frame, can create a sharp, dark edge on the metal band, making it look more sculpted and luxurious.
-
Composite Multiple Exposures: Don't try to get the perfect shot in one frame. Pros often take multiple photos, each lit for a specific part of the ring. One shot might be lit perfectly for the band, another to make the center stone sparkle, and a third for the pavé details. These are then combined (composited) in Photoshop for ultimate control.
-
Create Gradient Lighting: For a high-end look on a plain metal band, create a smooth gradient of light from dark to light. You can do this by using a long, rectangular softbox (a stripbox) and positioning it so the reflection covers the entire band, with the light fading naturally at the edges.
-
Master Focus Stacking: For ultimate sharpness in macro photography, focus stacking is a necessity, not a luxury. Software like Helicon Focus or Adobe Photoshop can automate the process of merging multiple images with different focus points into one perfectly sharp final image.
How to Light a Ring Instantly with AI
Setting up a physical studio, even a small one, requires time, space, and a budget for equipment. For many jewelry brands, especially those needing hundreds of consistent product shots, this is a major bottleneck.
This is where AI photography platforms like Hylo offer a fundamentally different workflow. Instead of physically lighting the ring, you capture a clean, simple photo with your phone and let AI do the rest.
With Hylo's AI Photoshoot, you upload a single photo of your ring (even one shot on an iPhone against a white piece of paper). Then, you describe the lighting and scene you want with a text prompt, like "1.5ct emerald cut ring on a white marble surface, bright studio lighting from the left, soft shadows." The AI generates a photorealistic image, re-lighting the ring in a virtual studio based on your instructions. It understands concepts like "soft light" and "dramatic shadows," giving you creative control without the hardware.
For total consistency, you can save your ideal lighting setup to your Brand Kit. This ensures that every ring, from a simple solitaire to a complex halo setting, is photographed with the exact same lighting, angles, and background, creating a perfectly uniform catalog. The AI Retouch feature automatically removes any dust or smudges you missed, and the Canvas Editor lets you resize your final images for your Shopify store, Instagram, or linesheets in seconds.
While a master photographer can still achieve unparalleled results for a single million-dollar hero shot, Hylo's AI provides a faster, more scalable, and radically more cost-effective solution for the 99% of images a jewelry business needs to operate and grow.
Questions Jewelry Brands Ask About Lighting Rings
How do you light rings with mixed metals, like two-tone gold?
The key is to light each metal type for its unique properties. Yellow gold benefits from warmer, softer light, while white gold or platinum looks best with cooler, crisper light. A common pro technique is to use two separate light sources with different color temperature gels or modifiers, carefully positioned to illuminate each part of the ring. You can also light and shoot each metal separately and composite the images in post-production.
What's the best way to light a matte or brushed finish ring?
Matte finishes don't create the same sharp, mirror-like reflections as polished metal. This makes them easier to light in some ways, but the challenge is to show off the texture. Use a harder light source (a smaller softbox or even a bare bulb further away) from a more extreme angle (like 90 degrees from the side). This raking light will catch the tiny ridges of the brushed texture and make it visible to the camera.
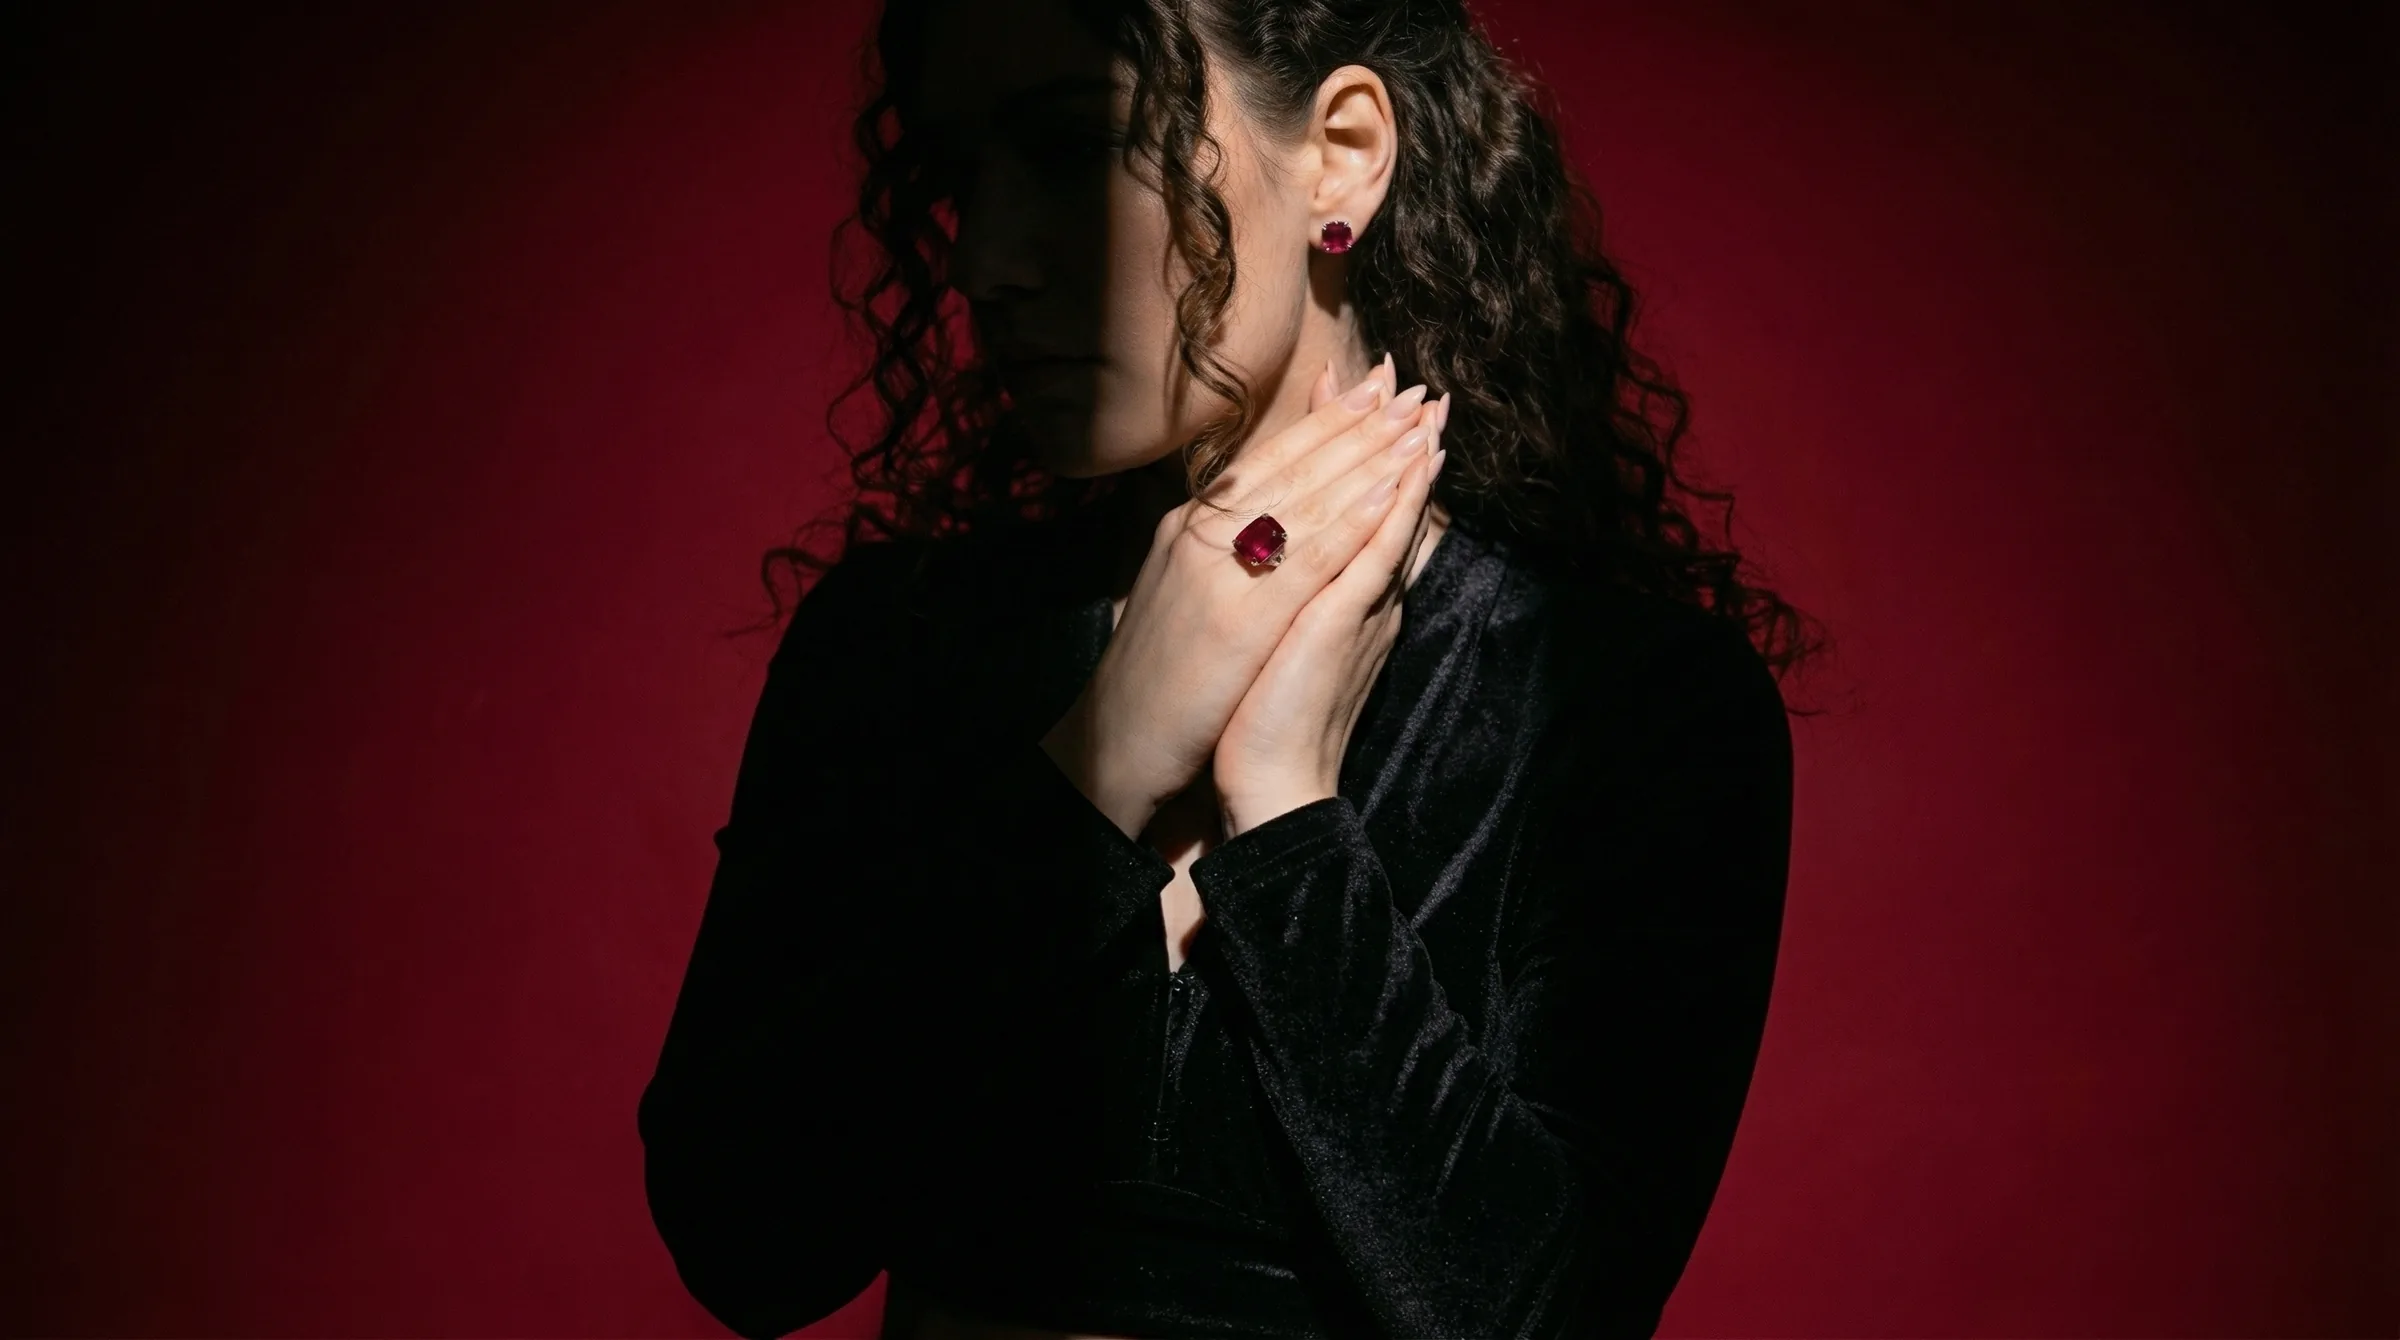
How do you light rings with colored gemstones like sapphires or rubies?
Deeply saturated colored stones can appear dark or black if not lit correctly. The goal is to transmit light through the stone. In addition to your main frontal lighting, add a light source from behind and slightly underneath the stone. This backlighting will illuminate the gem from within, revealing its true color and saturation. Polarizing filters on both your lens and light sources can also help control reflections and deepen color.