What Do I Need to Take Good Etsy Jewelry Photos?
You don't need a $5,000 studio setup. You need control over light and stability. Most successful Etsy sellers start with a simple, repeatable kit.
- Camera: An iPhone 13 Pro or newer, or a Google Pixel 6 or newer. Their macro modes are excellent. If using a DSLR or mirrorless, a 50mm or 100mm macro lens is ideal. Don't use a wide-angle lens; it will distort your pieces.
- Tripod: A basic, sturdy tripod is non-negotiable. It eliminates camera shake, which is the number one cause of blurry photos. A simple AmazonBasics tripod is sufficient to start.
- Lighting: The best light is free. Find a large, north-facing window (which provides indirect light) and shoot during the day. For more control, a single LED light panel (like a Neewer 660) with a large softbox or diffuser will give you consistent results day or night.
- Background: Start with a roll of white seamless paper or a large piece (24x36 inches) of matte white foamcore. You can also use textured surfaces like a small marble slab, a slate tile, or a piece of linen fabric for lifestyle shots.
- Reflector: A simple piece of white foamcore or a collapsible 5-in-1 reflector. This is used to bounce light back into the shadows of your jewelry, revealing more detail.
- Props & Tools: Dental wax or museum putty to hold rings upright, a microfiber cloth to wipe away fingerprints, and cotton gloves to handle the pieces without smudging.
| Item | Good (DIY) | Better (Prosumer) |
|---|---|---|
| Camera | iPhone 13 Pro+ / Pixel 6+ | Sony a6400 with 90mm Macro Lens |
| Lighting | Large, north-facing window | Godox SL-60W with Softbox |
| Tripod | AmazonBasics 50-Inch | Manfrotto Compact Action |
| Background | White Foamcore Board | Roll of Savage Seamless Paper |
| Reflector | White Foamcore Board | Neewer 5-in-1 Collapsible Reflector |
Before You Start: The Etsy Photo Checklist
Preparation is 90% of the work. A rushed setup leads to hours of frustrating editing. Before you press the shutter, run through this checklist.
- Clean Your Jewelry Meticulously. Dust, fingerprints, and tiny scratches that are invisible to the naked eye will look like boulders under a macro lens. Use a jewelry-specific polishing cloth and compressed air to clean every piece right before shooting. Handle with cotton gloves.
- Understand Etsy's Image Requirements. As of 2026, Etsy recommends images that are at least 2000px on the shortest side. The ideal aspect ratio is 4:3 for listing photos and 3:4 for your shop banner. Uploading a 2700x2025px image is a safe bet. Don't upload a giant 50MB file; export your JPEGs at around 80% quality to keep file sizes under 1MB for faster page loads.
- Plan Your Shot List. Every Etsy listing allows for 10 photos and one video. Don't wing it. Plan to capture every necessary angle to answer customer questions before they're asked. A typical shot list includes a hero shot, side view, back view with clasp, detail shot, on-model shot, and a packaging shot.
A Step-by-Step Guide to Shooting Etsy Jewelry Photos
Follow this three-phase process for consistent, professional results every time. We'll use the example of shooting a 14k gold necklace with a small pearl pendant.
Phase 1: Setup
- Position Your Station: Set up a table next to a large window, just out of direct sunlight. If using artificial light, place your LED light with a softbox at a 45-degree angle to the product, about 2-3 feet away.
- Set Your Background: Place your white seamless paper or foamcore on the table, curving it up against a wall or box to create a seamless, infinity-style background. Place the necklace in the center.
- Place Your Reflector: On the side opposite your light source, place a white foamcore card. Angle it to bounce soft light back onto the shadowed side of the necklace. You should see the shadows soften immediately.
- Mount Your Camera: Put your camera on the tripod and position it directly in front of the necklace. For a flatlay, use a tripod with an overhead arm. The camera lens should be parallel to the main surface of the jewelry to minimize distortion.
Phase 2: Shooting the Essential Angles
Dial in your camera settings. If using a DSLR/mirrorless, start in Manual mode with these settings: ISO 100, Shutter Speed 1/125s, Aperture f/11. The low ISO minimizes noise, the shutter speed is fast enough to prevent motion blur (even on a tripod), and f/11 provides a good depth of field to keep most of the necklace in focus. Adjust shutter speed as needed to get the right exposure. Use a 2-second timer or a remote shutter to avoid camera shake.
Now, capture your shot list:
- Shot 1: The Hero Shot. This is your primary thumbnail image. A clean, straight-on shot of the full necklace on the white background. This should be your most compelling image.
- Shot 2: The Detail Shot. Switch to your macro lens or macro mode. Get extremely close to the pearl and its setting. Show the craftsmanship. Capture the texture of the gold chain.
- Shot 3: The Clasp Shot. Buyers want to see how the necklace fastens. Lay the clasp out clearly and take a well-lit, in-focus shot.
- Shot 4: The Scale Shot. This is crucial for managing expectations. Place a coin (a US dime or UK 5p coin) next to the pendant. This gives an immediate, universal sense of size.
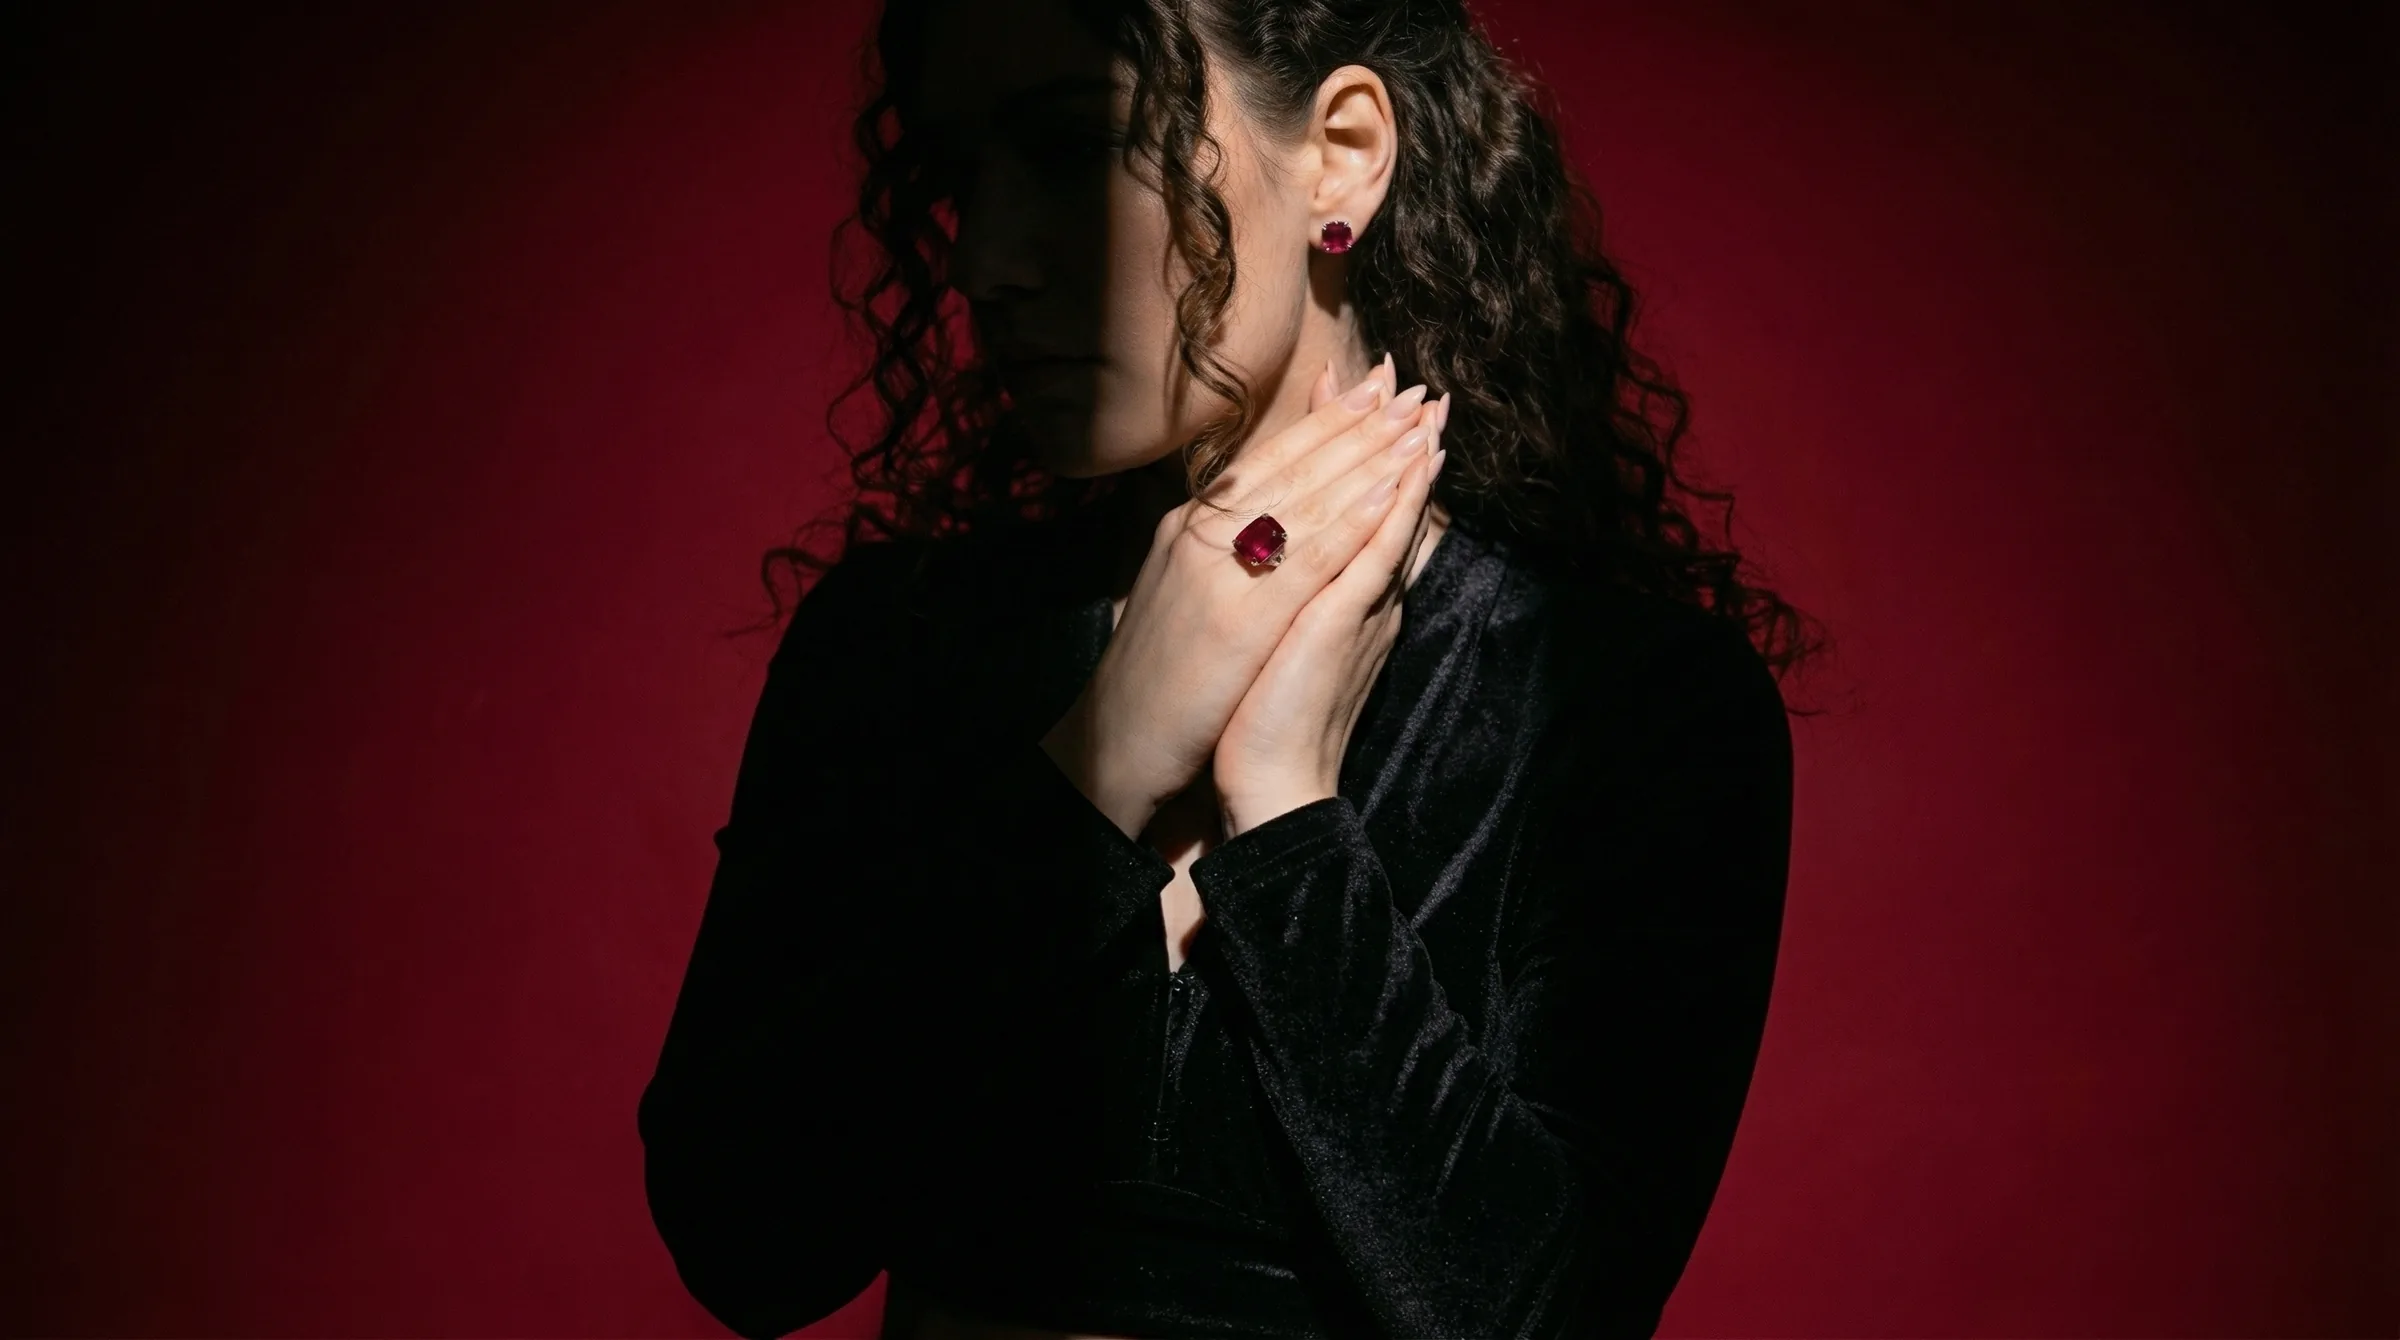
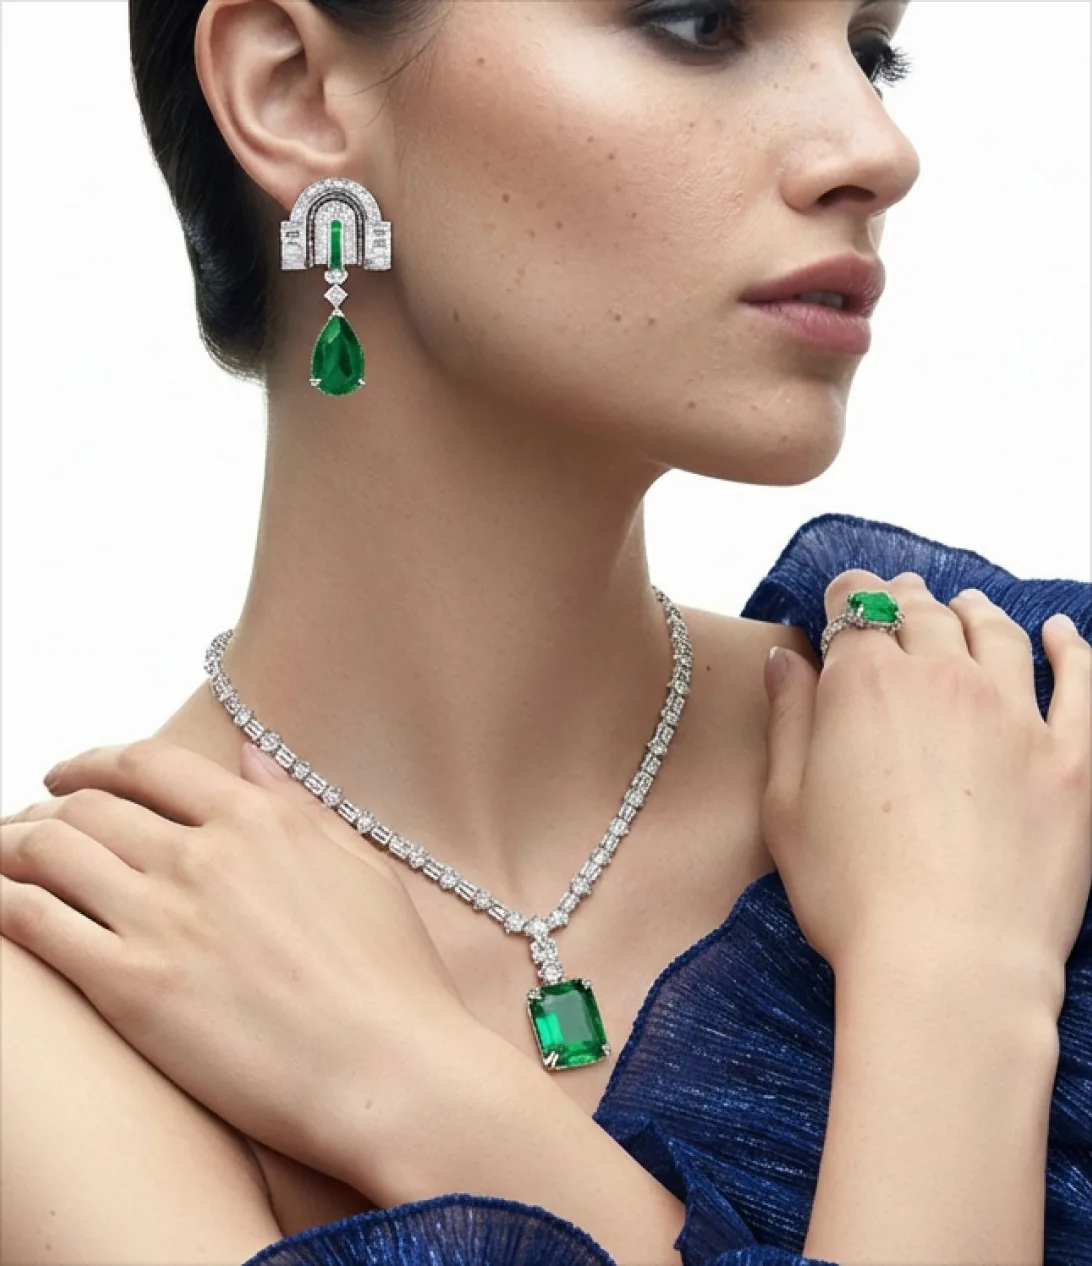
- Shot 5: The On-Model Shot. The most important for conversion. Show the necklace on a person's neck. This helps the buyer visualize themselves wearing it and understand the drop length. If you don't have a model, a mannequin bust works, but a real person is always better.
- Shot 6: The Lifestyle Shot. Style the necklace as part of an outfit. This could be as simple as the on-model shot showing the neckline of a sweater, or a more curated flatlay with a silk scarf and a book.
- Shot 7: The Packaging Shot. Show your branded box or pouch. This reinforces your brand's quality and shows the buyer the unboxing experience they can expect, which is especially important for gift purchases.
- Video: Take a short, 5-10 second video. Hold the necklace and slowly move it under the light to show how the pearl catches the light and the chain shines. Upload this directly to your Etsy listing.
Phase 3: Editing
Subtle editing enhances, it doesn't deceive. Aim for a bright, clean, and true-to-life look. Use Adobe Lightroom, or free mobile apps like Snapseed.
- Crop & Straighten: Crop to a 4:3 aspect ratio and ensure the horizon lines are straight.
- White Balance: Your whites should be white, not yellow or blue. Use the white balance dropper tool and click on a neutral white or grey part of your background.
- Exposure & Contrast: Slightly increase exposure to make the image bright and airy. Add a touch of contrast to make the details pop. Be careful not to blow out the highlights on metal or gemstones.
- Sharpening: Apply a small amount of sharpening. Zoom in to 100% to ensure you're not over-sharpening, which can create a crunchy, artificial look.
- Spot Removal: Use the healing brush or spot removal tool to meticulously remove any dust specks or tiny scratches you missed during cleaning. This step is what separates amateur shots from professional ones.
Common Etsy Jewelry Photo Mistakes (And How to Fix Them)
-
Mistake 1: Harsh Reflections and Glare. Highly polished metals and faceted gems act like mirrors. A direct, hard light source creates distracting hotspots.
- The Fix: Use a larger diffuser. The larger the light source relative to the subject, the softer the light. A 3-foot softbox is better than a 1-foot one. You can also create a DIY light tent by surrounding the piece with white foamcore on the top and sides.
-
Mistake 2: Inconsistent Backgrounds and Lighting. When a buyer clicks on your shop and sees a messy grid of different backgrounds, lighting, and editing styles, it screams amateur.
- The Fix: Create a Brand Kit for your photography. Choose one primary background (e.g., light grey) and one secondary background (e.g., marble) and use them for all listings. Shoot at the same time of day or use the same artificial light setup to ensure consistent color temperature.
-
Mistake 3: Out-of-Focus Details. Nothing kills a sale faster than a blurry photo. Buyers need to see the prongs, the hallmark, and the texture of the metal.
- The Fix: Always use a tripod. Use your camera's timer or a remote shutter. Most importantly, use a smaller aperture (a higher f-number like f/11 or f/16) to increase the depth of field, keeping more of the piece in focus. For ultimate sharpness, learn the focus stacking technique.
-
Mistake 4: Not Showing Scale Accurately. Photos can make a tiny 10mm stud earring look like a giant statement piece. This leads to disappointed customers and bad reviews.
- The Fix: Dedicate at least one photo in every listing to showing scale. The best way is on a model (ear, neck, hand). If you can't use a model, photograph it next to a ruler or a universally recognized object like a coin.
Pro Tips for Standout Etsy Listings
-
Master the Ghost Mannequin Effect: For necklaces and bracelets, take two photos: one on a model or bust, and one of just the background after the model has left. In Photoshop, you can layer these and mask out the model, leaving the jewelry perfectly shaped as if on an invisible form. This provides a clean, professional look that's great for hero shots.
-
Curate Your Shop's Grid View: Your Etsy shop homepage is your digital storefront. Don't just think about individual listings; think about how their primary photos look next to each other. Alternate between product-only shots and on-model shots to create a visually interesting, magazine-like grid.
-
Use Natural Props that Enhance, Not Distract: A sprig of dried lavender, a beautiful ceramic dish, or a piece of raw silk can add context and brand personality. The rule is simple: the prop should never be more interesting than the jewelry. Stick to a neutral color palette.
-
Optimize Your Video for a Loop: Etsy videos auto-play and loop. Edit your 5-10 second clip so the end seamlessly flows back to the beginning. A slow, 360-degree rotation of a ring on a turntable is a perfect example. This creates a mesmerizing, high-end feel.
How to Create Etsy Jewelry Photos Instantly with Hylo
The manual process described above provides complete control, but it's time-consuming. A single listing can take hours to shoot and edit. For brands that need to photograph dozens of new pieces a month, the workflow is a bottleneck.
This is where AI photography provides a massive shortcut. With Hylo's AI Photoshoot, you can create an entire set of 10+ Etsy-compliant images from a single, clean product shot.
- Take One Simple Photo: Place your jewelry on a plain white background (even your iPhone's Portrait mode on a white desk works) and take a single, well-lit photo.
- Upload to Hylo: Upload your image to Hylo.
- Generate a Photoshoot: Use a text prompt like "a gold necklace with a pearl pendant, shown on a woman's neck, wearing a cream cashmere sweater, soft natural light" for your on-model shots. For product shots, use prompts like "product shot on a beige travertine slab, with soft shadows." You can generate dozens of variations in minutes.
Hylo's AI Retouch can automatically remove dust, smudges, and minor scratches, saving you the tedious work in Photoshop. And with our Brand Kit feature, you can save your preferred models, backgrounds, and lighting styles to ensure every single photo across your entire Etsy shop is perfectly on-brand and consistent.
While a tool like Adobe Photoshop gives you pixel-perfect control, and Canva is great for adding text overlays, Hylo is built specifically for creating the original product and lifestyle images faster than any other method. For capturing the unique fire of a GIA-certified diamond, a professional photographer is still the gold standard. But for creating your entire library of product, on-model, and lifestyle images, Hylo replaces the need for a multi-day, $2,000 studio booking.
Questions Jewelry Brands Ask About Etsy Photos
How do I photograph highly reflective pieces without seeing myself in the reflection?
This is one of the biggest challenges. The solution is to control the environment. First, create a 'tent' around the piece using white foamcore or diffusion fabric on all sides, including the top. Leave only a small hole for your camera lens. This surrounds the jewelry with a neutral white reflection. Second, wear black clothing to minimize your own reflection. Finally, shoot from a slightly further distance and crop in later. This reduces the size and noticeability of the camera's reflection.
Should I watermark my Etsy photos?
Generally, no. Watermarks are distracting and can cheapen the look of your brand. They obscure details and make it harder for customers to see the product. Etsy's terms of service also discourage visible watermarks. More importantly, they are not an effective theft deterrent; a determined person can easily crop or clone-stamp out a watermark. Focus on creating beautiful, high-resolution images that are clearly in your brand's style. A strong, unique brand identity is a better defense than a watermark.
Can I use stock photos for my backgrounds or lifestyle shots?
While technically possible by compositing your product onto a stock photo in Photoshop, it often looks fake and can erode customer trust. Buyers are savvy and can spot a poorly photoshopped image. It's much better to create your own simple, authentic lifestyle scenes. However, AI tools like Hylo bridge this gap by creating realistic, entirely new scenes that are perfectly lit and customized for your specific product, avoiding the generic look of stock photography.