What defines the luxury studio style?
The luxury studio style is a deliberate choice in visual communication. It tells a story of precision, quality, and high value before the customer ever reads a description. It’s defined by a few key visual hallmarks that work in concert.
1. Lighting: Hard and Directional
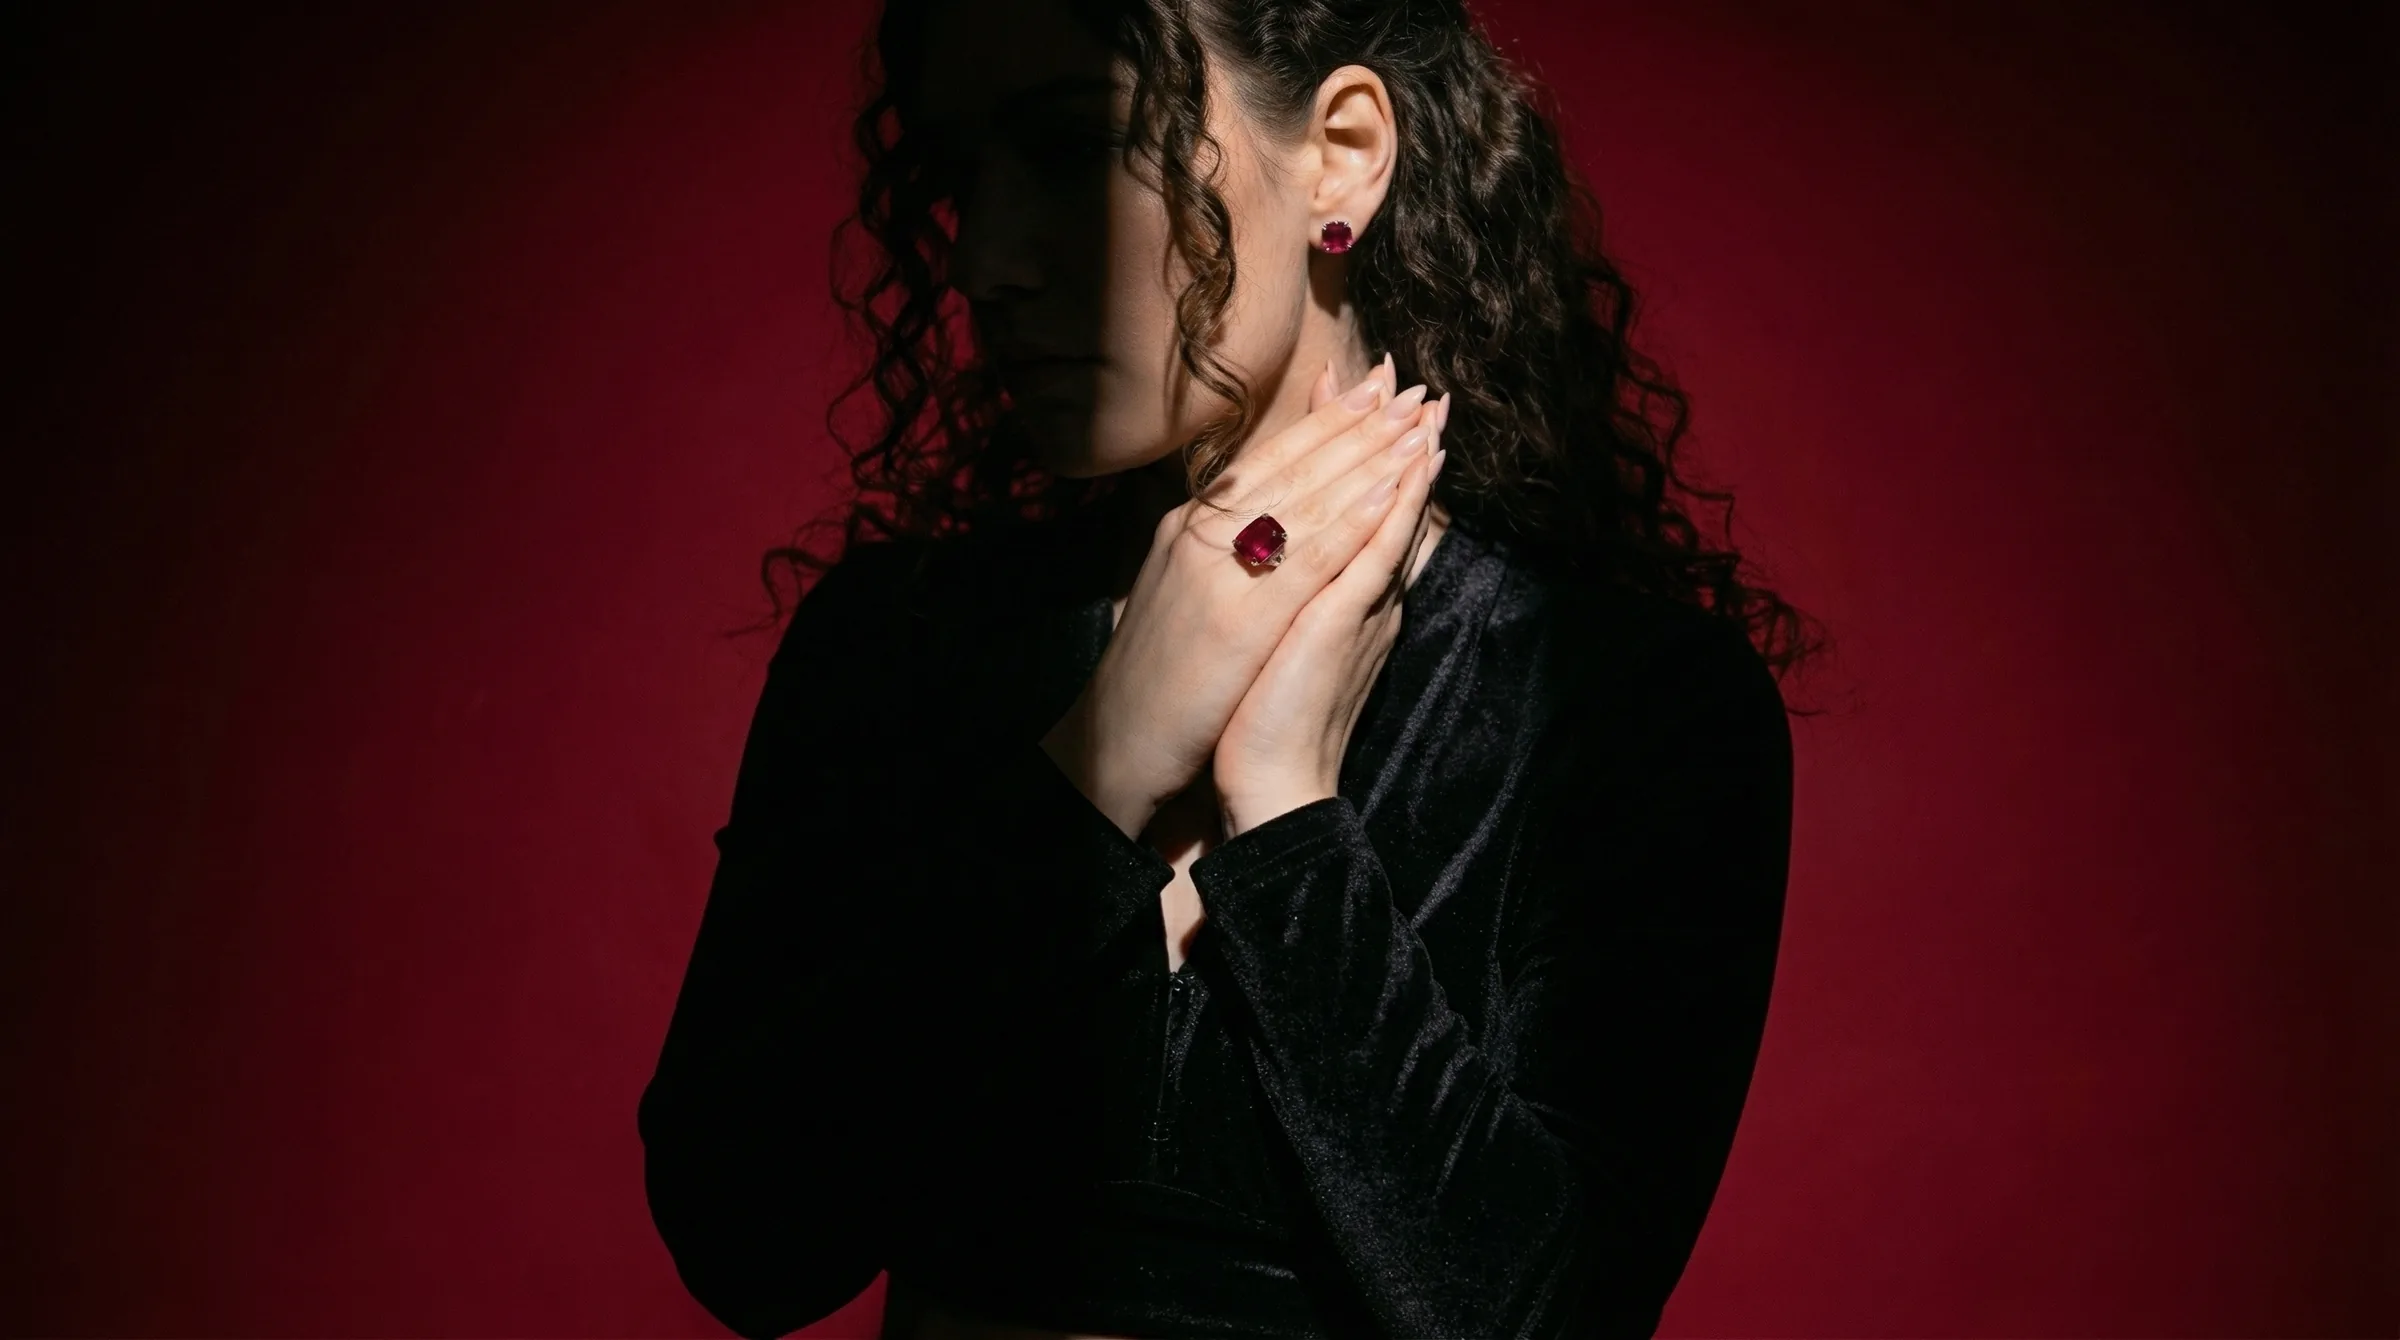
This is the most critical element. The style avoids soft, diffused light in favor of a single, hard light source. This creates crisp, well-defined shadows and bright, sharp specular highlights on metal and gemstones. Think of the sun on a clear day, not an overcast one. This "raking light" effect reveals texture—the fine links of a chain, the hammered finish on a pendant, the precise facets of a diamond—in a way soft light cannot. The shadows are not just a byproduct; they are a compositional element, adding depth, drama, and a sense of three-dimensionality.
2. Composition: Minimalist and Intentional
The composition is clean, uncluttered, and often architectural. Negative space is used generously to draw the eye directly to the necklace. The arrangement is never accidental. Necklaces might be laid in a precise arc or draped over a geometric prop, but the goal is to showcase the design's form. Asymmetry is often used to create visual tension and interest, preventing the image from feeling static.
3. Props and Surfaces: Geometric and Textural
Props are chosen for their form and texture, not their narrative content. You won't find lifestyle elements like flowers, books, or coffee cups. Instead, you'll see:
- Geometric Blocks: Marble cubes, concrete plinths, stone slabs.
- Textured Surfaces: Slate tiles, handmade paper, raw plaster.
- Monochromatic Forms: Simple cylinders, spheres, or sharp-edged blocks in neutral tones.
These props serve to anchor the product in a high-end, gallery-like space. Their purpose is to complement the jewelry's form and material, not to distract from it.
4. Color Palette: Neutral and Monochromatic
Color is used with extreme restraint. The palette is typically built on neutrals: shades of grey, beige, off-white, and black. This ensures the true color of the metals and gemstones is the hero. If color is introduced, it's usually a single, muted, earthy tone—a deep terracotta or a soft sage—that enhances the overall mood without competing with the product.
5. Retouching: Flawless
This style is unforgiving. The hard light reveals every speck of dust, every fingerprint, and every minor imperfection in the metal. Professional, high-end retouching is non-negotiable. This includes cleaning up surfaces, ensuring smooth gradients on metal, sharpening key details, and perfecting color accuracy. The final image must look pristine and untouchable.
When to use this style for your necklaces
This aesthetic isn't right for every brand or every channel. It's a strategic tool to achieve specific business goals.
Best Channels for the Luxury Studio Look
- Product Detail Pages (PDPs): The hero image on your Shopify or Webflow store. It immediately establishes a premium price point and justifies it with perceived quality.
- Digital Lookbooks & Editorials: Creates a cohesive, high-fashion narrative for a new collection.
- Press Kits & Linesheets: Presents your work to editors, buyers, and stylists in a professional, high-end context.
- High-End Social Media: Perfect for a curated Instagram grid or Pinterest board that builds a strong, minimalist brand identity.
It's less effective on visually crowded, price-driven marketplaces like Amazon or Etsy, where it can feel out of place unless you are targeting the highest end of the market. For those channels, a clean, white background packshot often performs better for the main image, with this style used for secondary images.
The Psychology: Who Are You Selling To?
The luxury studio style appeals to a discerning customer. This buyer values craftsmanship, material quality, and unique design over fleeting trends. They are making a considered purchase, not an impulse buy. The photography validates their decision by presenting the necklace as a piece of art or a design object. It signals that your brand is confident in its product and doesn't need to hide behind distracting props or lifestyle settings.
Which Necklaces Shine in This Style?
This style is particularly effective for:
- Statement Pieces: Bold, architectural necklaces with unique forms.
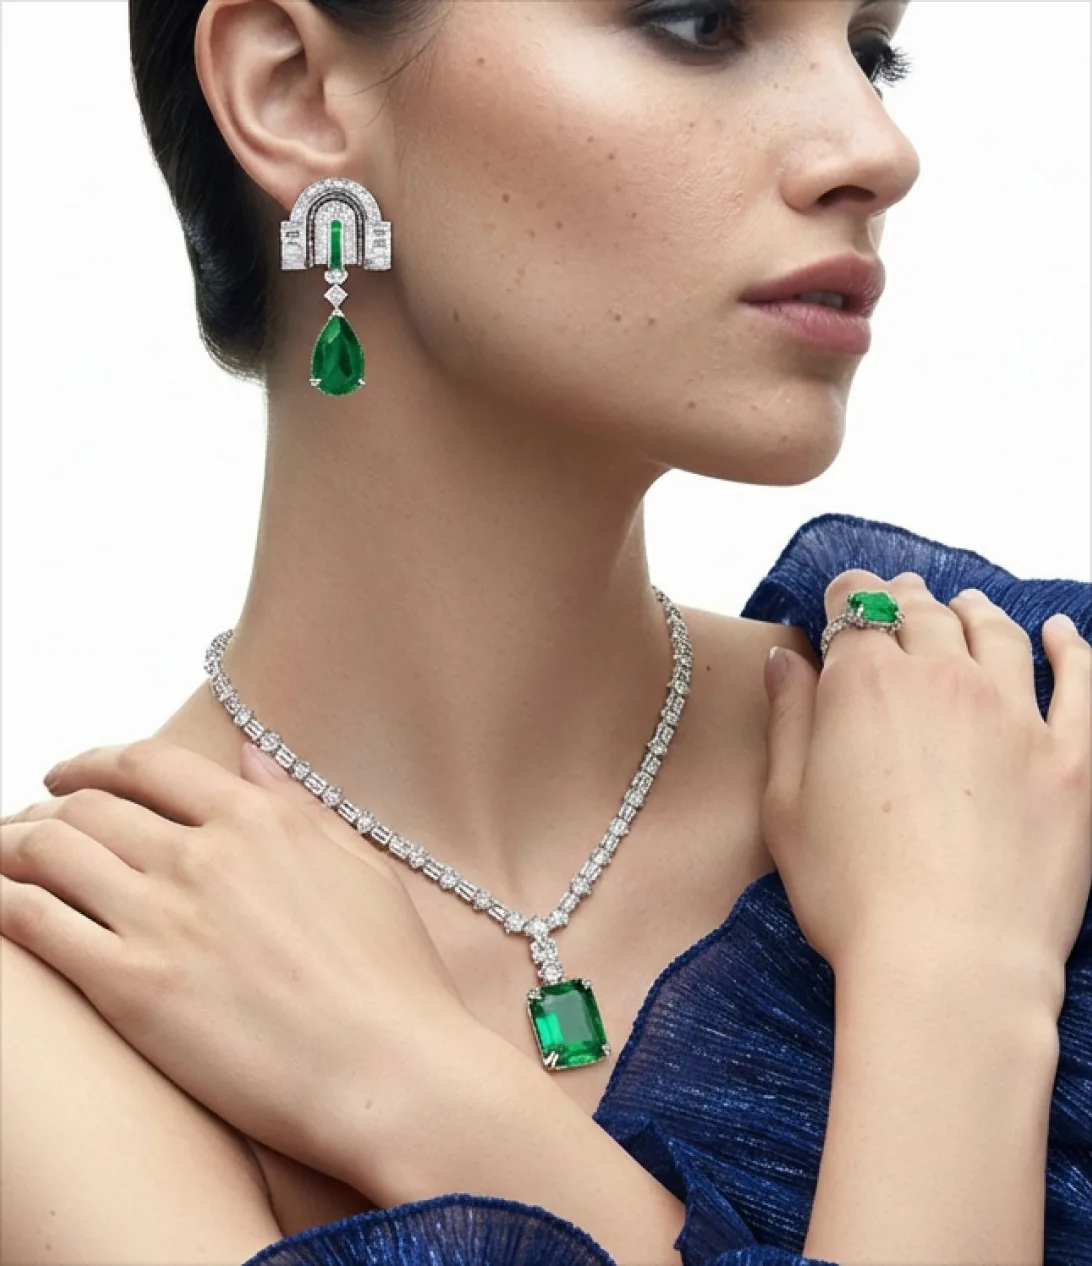
- Fine Jewelry: Diamond solitaires, pavé pendants, and gemstone pieces where the quality of the stones and setting is a key selling point.
- Minimalist Designs: Simple gold chains or pendants where the quality of the metal and the precision of the finish are paramount.
It can be challenging for very delicate, barely-there chains, as the dramatic lighting might overpower them. In those cases, a slightly softer—but still directional—light source might be required.
How to shoot the luxury studio style manually
Achieving this look in-camera requires precision and control. It's less about expensive gear and more about a deep understanding of light. A typical studio booking for this work costs $2,000-$5,000 per day.
Equipment Checklist
- Camera: A DSLR or mirrorless camera that allows full manual control.
- Lens: A 90mm or 100mm macro lens is ideal. It allows you to get close without distorting the necklace's proportions and provides exceptional sharpness.
- Tripod: A heavy, sturdy tripod is absolutely essential to eliminate camera shake for sharp images at small apertures.
- Light Source: One main light (a strobe/flash is better than continuous light for freezing motion and providing crisp light). A monolight with a standard 7-inch reflector is a perfect starting point.
- Light Modifiers: The goal is to shape hard light, not soften it. You'll need:
- A snoot or grid for the reflector to create a tight, controlled beam of light.
- Black and white foam core boards (or V-flats). Black is for "negative fill" (deepening shadows), and white is for bouncing a tiny bit of fill light if needed.
- Tethering: A tethering cable and software like Capture One or Lightroom to see your shots on a large screen in real-time. This is crucial for checking focus and composition.
- Props & Surface: A single marble tile or concrete paver from a hardware store is a great, inexpensive starting point.
Lighting and Camera Setup
- Position the Necklace: Place your necklace on your chosen surface. Style it carefully. For a pendant, create a gentle 'S' curve with the chain.
- Set the Key Light: Position your single light source with its hard reflector (or grid) high and to one side of the setup—think 10 o'clock or 2 o'clock, angled down at about 45 degrees. This creates the signature raking light and long shadow.
- Add Negative Fill: Place a black foam core board on the opposite side of the necklace from the light. This will absorb any stray light and prevent shadows from looking washed out. The closer the black card, the deeper and more dramatic the shadow.
- Camera Position: Mount your camera on the tripod directly in front of the setup. The angle can be from slightly above (around 30 degrees) or straight on (eye-level with the necklace).
- Camera Settings: Dial these in manually.
- ISO: 100 (or the lowest your camera natively supports) for maximum quality and no grain.
- Aperture: f/11 or f/16. This provides a deep depth of field, ensuring the entire necklace, from the clasp to the pendant, is in sharp focus.
- Shutter Speed: 1/160s. This will sync with your strobe and prevent any ambient light from affecting the shot.
- White Balance: Use a grey card to set a custom white balance for perfect color accuracy.
- Focus: Switch to manual focus. Use your camera's live view screen, magnify it 10x on the most important part of the necklace (e.g., the center stone), and manually adjust the lens until it's perfectly sharp.
The Post-Processing Workflow
Getting the shot is only half the battle. Meticulous retouching is required.
- RAW Processing: Adjust exposure, contrast, and white balance in Lightroom or Capture One.
- Cleanup: In Photoshop, use the Spot Healing Brush and Clone Stamp tool to remove every speck of dust from the product and background.
- Metal Polishing: Use techniques like frequency separation or dodge and burn to clean up fingerprints, smooth out gradients on the metal, and enhance highlights.
- Sharpening: Apply a final layer of sharpening specifically to the jewelry to make it pop.
This manual process is powerful but time-consuming, often taking 1-2 hours per finished image for a skilled retoucher.
How to generate this style instantly with Hylo
The manual process is an art form. But for a busy brand owner, it's a bottleneck. Hylo's AI Photoshoot is designed to replicate this entire workflow in seconds, giving you on-brand luxury assets at scale.
Here's how to replace a $400/day photographer and a $100/hour retoucher:
Step 1: Get a Clean Base Photo Shoot your necklace on any plain, neutral background. Even a simple iPhone photo on a white sheet of paper works perfectly. The key is a sharp, clear shot of the product itself. Hylo's AI Retouch will automatically remove the background and clean up minor imperfections.
Step 2: Define Your Aesthetic in a Brand Kit This is where you codify the luxury studio style. Instead of setting up lights and props for every shoot, you define them once in your Hylo Brand Kit. Create a new scene with these settings:
- Prompt:
A gold pendant necklace on a rectangular white marble block. Hard directional studio light from the top right creates a long, dark shadow on a textured grey concrete surface. Minimalist, luxury, eye-level shot. - Surface: Select a
ConcreteorStonetexture from the Creative Library. - Props: Use the prompt to generate a specific prop like a
marble block. - Lighting: The phrase
Hard directional studio lightis key. - Angle: Specify
Eye-levelor45-degree angle.
Step 3: Generate with AI Photoshoot Upload your clean necklace photo. Select your newly created "Luxury Studio" scene from your Brand Kit. Click generate. In about 30 seconds, Hylo's engine renders your necklace into the scene. It's not a simple copy-paste like in Canva or Photoroom. Hylo rebuilds the lighting, casting realistic hard shadows from your product onto the surface and creating accurate, clean reflections on the metal itself. This physical accuracy is what separates a believable AI photo from a cheap composite.
While tools like Flair or Pebblely are great for exploring creative ideas, Hylo's Brand Kit turns that creativity into a repeatable, scalable asset pipeline. You get perfect consistency across your entire collection, something that's difficult and expensive to achieve even with manual photography.
Luxury studio examples across jewelry categories
The principles of the luxury studio style are universal and can be adapted for any piece of jewelry to convey a sense of weight and quality.
- Rings: A heavy gold signet ring resting against a sharp-edged granite block. The hard light from the side picks up the texture of the stone and creates a bright highlight along the ring's bezel, while a deep shadow grounds it in the scene.
- Earrings: A pair of pavé diamond hoop earrings, one standing upright and the other lying flat on a piece of dark slate. The directional light makes each tiny diamond sparkle with a distinct specular highlight, showcasing the quality of the setting.
- Bracelets: A sterling silver cuff bracelet placed on a cylindrical concrete pedestal. The light wraps around the curved surface of the bracelet, emphasizing its form and high-polish finish, with the shadow curving away into the background.
- Necklaces: A platinum chain with a sapphire pendant, arranged in a soft curve on a sheet of textured beige paper. The single, crisp shadow follows the line of the chain, giving the delicate object a sense of presence and importance.
Common mistakes to avoid
Executing this style requires discipline. A few small missteps can undermine the entire luxury aesthetic.
- Using Soft Light: The most common error. Using a large softbox, an umbrella, or a ring light will create soft, fuzzy shadows and flat, boring highlights. This kills the drama and perceived texture. The light must be hard.
- Overly Complicated Props: Adding flowers, silk fabric, or personal items shifts the style from "luxury studio" to "lifestyle." It dilutes the focus on the product's design and craftsmanship. Keep props simple, geometric, and textural.
- Ignoring Reflections: Highly polished necklaces are mirrors. In a manual setup, they will reflect the camera, the photographer, and the messy studio. This is an instant giveaway of amateur photography. Pros use carefully placed black cards (flags) to block these reflections. Hylo's AI generates clean, plausible studio reflections automatically.
- Inconsistent Styling: Shooting one piece draped over a block and another lying flat creates a disjointed collection. The power of this style comes from its rigorous consistency. This is why using a Hylo Brand Kit is so effective—it enforces brand rules on every single shot.
- Skipping Retouching: Even the most careful photographer captures dust. Leaving these imperfections in the final shot signals a lack of attention to detail, directly contradicting the luxury message. Use a tool like Hylo's AI Retouch or budget for professional manual retouching.