What defines luxury studio earring photography?
Luxury studio photography isn't just about a clean background; it's a precise visual language that communicates value before a customer ever sees the price. It's built on four pillars: controlled lighting, intentional composition, a sophisticated color palette, and an unwavering focus on the product's material quality.

1. Lighting: Soft and Sculpting The defining characteristic is soft, diffused light. Unlike the harsh, direct light that creates sharp, dark shadows, luxury lighting wraps around the earring. This is achieved using large light sources relative to the subject—think large softboxes, octaboxes, or bouncing a strobe off a large white V-flat. The goal is to create smooth, gradual transitions from highlight to shadow, which beautifully defines the form of the metal without creating distracting specular highlights. The light should make gemstones sparkle and metals gleam, not glare.
2. Composition: Intentional and Uncluttered Every element in the frame serves a purpose. Compositions are typically minimalist, using negative space to draw the eye directly to the earring. The product is the hero, and nothing should compete with it. Backgrounds are clean and non-distracting—subtle textures like plaster, marble, or suede are common, but they are always chosen to complement, not overpower, the jewelry. The focus is tack-sharp on the most critical details, whether it's a prong setting, a pavé surface, or the clasp mechanism.
3. Color Palette: Restrained and Elegant Luxury visuals rarely shout with color. The palette is typically monochromatic, analogous, or complementary with muted saturation. Think shades of beige, stone gray, soft whites, and deep charcoals. This restraint ensures the true colors of the metals and gemstones are the focal point. The background and props support the product's color story, creating a cohesive, gallery-like feel.
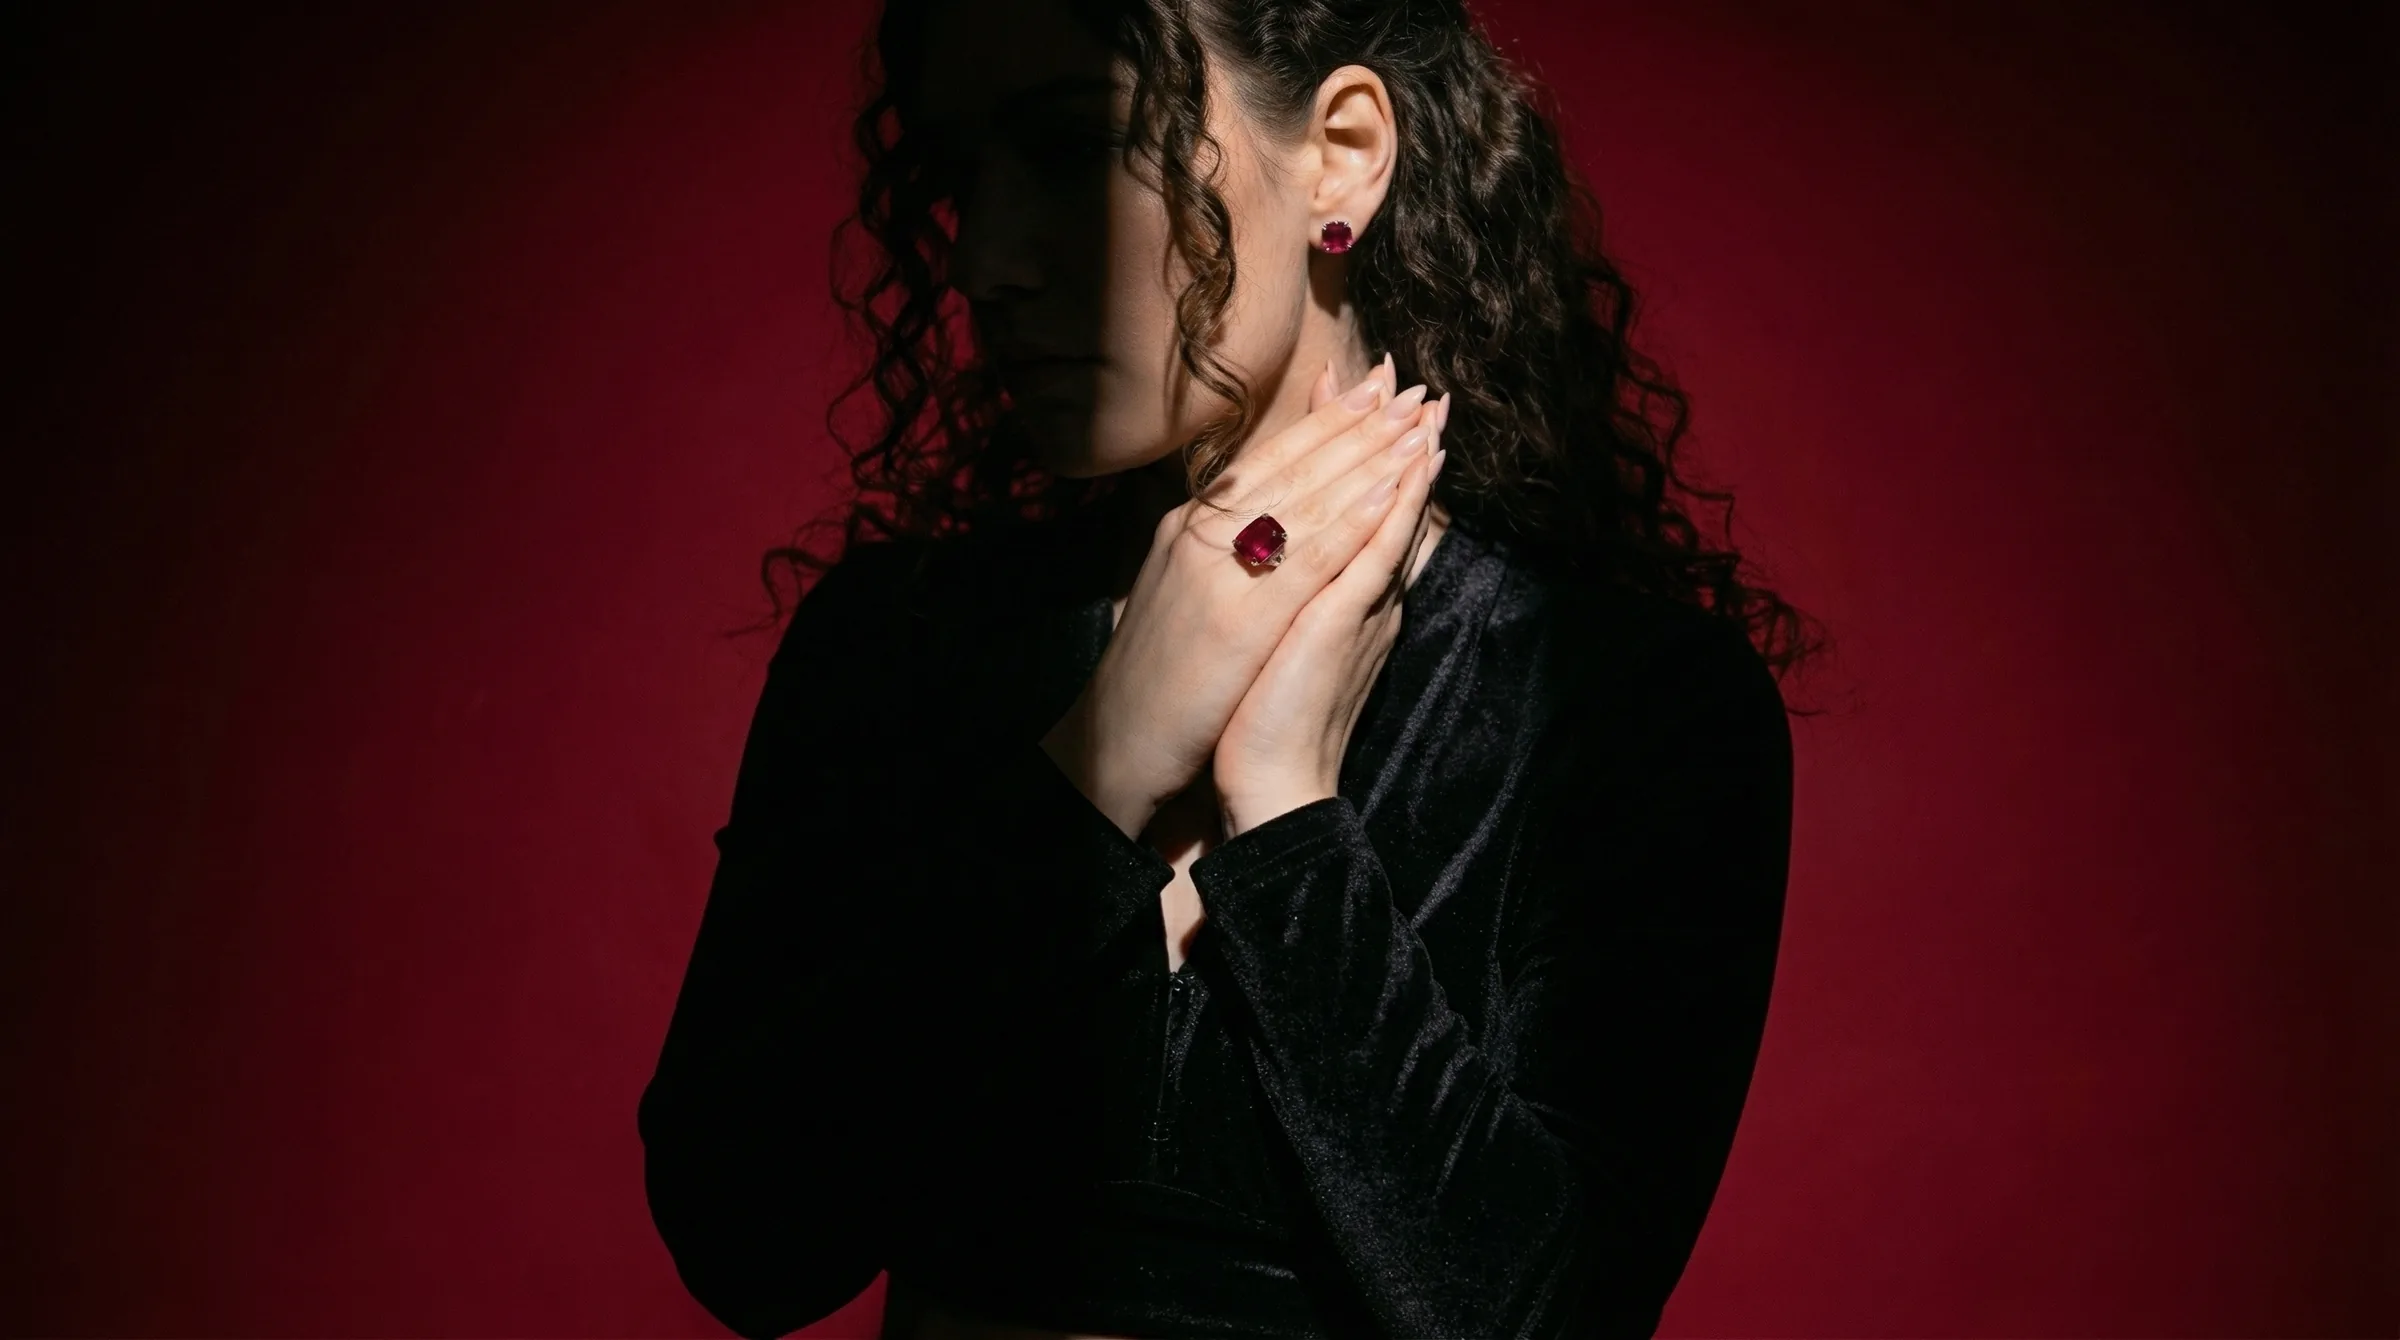
4. Mood: Aspirational and Timeless The overall mood is one of quiet confidence. The photography feels permanent and valuable, not trendy or fleeting. It's less about showing someone wearing the earring and more about presenting the earring as a work of art in its own right. This approach tells the customer that the piece is an investment, crafted with skill and designed to last.
When should you use this style for your earrings?
The luxury studio style is a powerful tool, but it's not universally appropriate for every brand or channel. Deploying it strategically is key to maximizing its impact on your brand perception and sales.
Use this style for:
- Fine Jewelry Brands: If you're selling 14k gold, platinum, diamonds, or precious gemstones, this style is non-negotiable. It visually justifies the premium price point and builds the trust necessary for a high-consideration purchase.
- Product Detail Pages (PDPs): This is the most critical application. Customers need to see extreme detail and craftsmanship to feel confident buying expensive earrings online. The sharp, clean images of the luxury style are perfect for main product carousels and zoom functionality.
- Wholesale Linesheets and Lookbooks: When selling to retail buyers, your linesheet is your brand ambassador. Luxury studio photography communicates that you are a serious, professional brand with a high-quality product, making it easier for buyers to place large orders.
- High-End Marketplaces: Platforms like 1stDibs or Farfetch have strict and elevated imagery standards. Using this style ensures your products look at home alongside established luxury houses.
- Brand-Building Campaigns: For paid social ads (Instagram, Pinterest) or email marketing, this style establishes an aspirational tone. It works best for campaigns focused on brand equity and desire, rather than direct-response promotions.
Consider a different style for:
- Costume or Fashion Jewelry: For bold, colorful, trend-driven pieces under $100, a more vibrant, high-energy style with models and lifestyle context might convert better. The quiet elegance of luxury studio shots can sometimes feel too serious for playful accessories.
- Etsy or Handmade Marketplaces: While high-quality photos are always better, the raw, authentic feel of a simpler setup can sometimes resonate more on platforms like Etsy. However, top-tier Etsy sellers are increasingly adopting this luxury style to stand out.
How to shoot luxury studio style manually
Achieving this style in-camera requires precision, patience, and the right equipment. It is a technical discipline. While a professional photographer might charge $2,000-$5,000 for a full-day shoot, you can replicate the fundamentals yourself.
Equipment Checklist
- Camera: A DSLR or mirrorless camera that can shoot in manual mode. A full-frame sensor (e.g., Sony A7 series, Canon R series) is preferred for quality, but an APS-C camera will work.
- Lens: A 90mm or 100mm macro lens is the industry standard. This allows you to get close enough to fill the frame without distortion.
- Tripod: A heavy, sturdy tripod is absolutely essential to eliminate camera shake and ensure tack-sharp images.
- Lighting: At least one, but preferably two, off-camera flashes (strobes) or powerful continuous LED lights.
- Light Modifiers: This is the most important part. You need a large (36" or bigger) softbox or octabox to create soft, wrapping light. You'll also need white and black foam core boards for bouncing and absorbing light (known as 'fill' and 'negative fill').
- Surface & Background: A roll of seamless paper (light gray is most versatile), or a textured surface like a marble tile or a piece of slate.
- Tools: Dental wax or museum putty to hold earrings in place, fishing line for 'floating' effects, and a pair of cotton gloves to avoid fingerprints.
Lighting Setup: The Clamshell
A classic setup for small products like earrings is the 'clamshell' configuration. It creates a beautiful, soft light with minimal shadows.
- Key Light: Place your main light with the large softbox attached on a stand, positioned at a 45-degree angle above your earrings.
- Fill Light: Place a large white foam core board directly below your earrings, angled up to bounce light back into the shadows. This 'fills' in any dark areas and reduces contrast. The light and the board create the 'clamshell' shape.
- Positioning: Place your earrings on your chosen surface in the center of this lighting setup.
- Camera: Set up your camera on the tripod directly in front of the earrings.
Camera Settings
These are a starting point. Adjust based on your specific lights and lens.
- Mode: Manual (M)
- ISO: 100 (or your camera's lowest native ISO). This minimizes grain and maximizes image quality.
- Aperture: f/11 to f/16. A narrow aperture creates a deep depth of field, ensuring the entire earring from front to back is in sharp focus. This is a hallmark of professional product photography.
- Shutter Speed: 1/160s. This will sync with your strobes and prevent ambient light from affecting the shot.
- White Balance: Set a custom white balance using a gray card to ensure your metal colors are 100% accurate.
- Focus: Use manual focus and your camera's live view, zoomed in 10x, to set the focus precisely on the main gemstone or the front edge of the earring.
Post-Production Workflow
The work isn't done after the click. In Photoshop, the process involves:
- Focus Stacking (Optional): Combining multiple images taken at different focus points to achieve impossible front-to-back sharpness.
- Cleaning: Meticulously removing every speck of dust, fingerprint, and minor scratch using the clone stamp and healing brush tools.
- Color Correction: Adjusting curves and levels to perfect the exposure and ensure color accuracy.
- Sharpening: Applying a final sharpening pass to make the details pop.
This manual process is powerful but extremely time-consuming, often taking 30-60 minutes per final image.
How to generate this style instantly with Hylo
If a manual photoshoot isn't feasible, you can generate thousands of luxury studio images in minutes using AI. The key is using a tool built specifically for product photography, which understands how light interacts with reflective materials.
Start with a basic, clean photo of your earring. A simple shot from your phone on a white background is all you need.

Step 1: Upload Your Earring Photo Drag and drop your image into Hylo. The AI will instantly and perfectly remove the background, isolating your product.
Step 2: Open AI Photoshoot
With your earring selected, navigate to the AI Photoshoot feature. This is your virtual photo studio.
Step 3: Describe Your Scene with a Prompt Instead of setting up physical lights and surfaces, you simply describe them. Precision is key. Use specific material and lighting terms.
A pair of gold hoop earrings resting on a heavy, textured cream travertine block. Soft, directional studio light from the left creates gentle shadows. Minimalist, elegant, macro photography, sharp focus.
Step 4 (The Pro Workflow): Use a Brand Kit
Typing prompts is great for exploration, but for consistency, use Hylo's Brand Kit. You can save your entire luxury studio setup as a reusable scene. This ensures every earring in your collection is shot in the exact same environment, with the same lighting and angles.
- Create a new scene: Name it "Luxury Studio - Travertine"
- Surface:
Travertine Block - Background:
Neutral Wall - Lighting:
Soft Studio Key Light - Style:
Elegant, Minimalist, Macro
Now you can apply this scene to hundreds of products with one click, achieving perfect brand consistency in seconds.
While other tools like Photoroom or Flair can place products on new backgrounds, Hylo's model is trained for commercial realism. It excels at rendering accurate reflections and shadows on metal and gemstones, avoiding the 'cut-and-paste' look and producing images that are indistinguishable from a real photoshoot.
Luxury studio examples for different earring types
The principles of luxury photography are universal, but the application changes slightly based on the earring's form and material.
-
Diamond Studs: The goal is to maximize sparkle and show the quality of the setting. Use a simple, dark, matte surface like slate or charcoal-colored fabric. The contrast makes the diamond pop. The lighting should be positioned to create a crisp 'starburst' effect within the stone's facets.
-
Gold Hoops: The challenge with hoops is managing reflections. You want long, smooth, unbroken highlights that define the circular shape. Use a very large, diffused light source (like a 4-foot softbox or a V-flat). A warm-toned background like beige marble or plaster complements the gold.
-
Pearl Drops: Pearls are all about luster, not sparkle. They require the softest light possible to show their gentle glow without creating harsh white hotspots. A clamshell lighting setup is perfect here. Avoid textured backgrounds that might compete with the pearl's smooth surface.
-
Gemstone Chandeliers: For complex, multi-stone pieces, clarity is paramount. Use a deep aperture (f/16 or even f/22) and consider focus stacking. The background must be completely neutral and simple—any texture or color will create visual chaos. A 'floating' shot against a seamless gradient background is often the best solution.
Common mistakes to avoid
Executing this style requires precision. Here are the most common errors that instantly cheapen the result:
-
Harsh, Direct Lighting: Using a small, unmodified light source (like an on-camera flash or a bare bulb) creates specular highlights and harsh shadows that obscure detail. Fix: Always shoot through a large diffuser or bounce your light.
-
Busy or Distracting Backgrounds: Choosing a surface with too much pattern or color draws attention away from the earring. Fix: Stick to neutral colors and subtle textures. When in doubt, a simple light gray is foolproof.
-
Incorrect White Balance: This makes gold look green or silver look blue. It's a dead giveaway of an amateur shot. Fix: Use a gray card to set a custom white balance in-camera for every new lighting setup.
-
Soft Focus: The entire piece isn't sharp. This suggests a lack of care and quality. Fix: Use a sturdy tripod, a narrow aperture (f/11+), and manual focus.
-
Inconsistent Angles and Lighting: Shooting different products in a collection with slightly varied setups. This creates a messy, unprofessional look on your category pages. Fix: Use a template or AI Brand Kit to ensure every shot is identical.
-
Sloppy Retouching: Leaving visible dust, fingerprints, or bad Photoshop cutouts. Luxury customers have a keen eye for detail. Fix: Budget ample time for post-production or use a tool like Hylo's
AI Retouchto automate the cleaning process.