Photographing a ring is one of the most technically demanding disciplines in commercial photography. A ring is essentially a tiny, highly reflective curved mirror that captures every light source, shadow, and piece of dust in the room. You are dealing with microscopic depth of field, complex metal reflections, and gemstones that require precise, directional light to sparkle.
Whether you are shooting a linesheet for wholesale buyers or updating product pages for your Shopify storefront, poor ring photography directly degrades the perceived value of your pieces. This guide covers the exact studio workflow required to produce crisp, color-accurate, and commercially viable ring photography.
What You'll Need for Ring Photography
Professional jewelry photography requires specialized equipment. You cannot shoot a high-end 1ct round-cut solitaire on a standard kit lens and expect it to look like a $5,000 piece. Here is the exact studio setup required.
Camera and Macro Lens
You need a DSLR or mirrorless camera body with at least 24 megapixels to capture fine metal textures. More importantly, you need a true 1:1 macro lens. A 90mm, 100mm, or 105mm macro lens is the industry standard. This focal length provides enough working distance between the camera and the ring so you do not block your own light sources.
Lighting and Modifiers
Do not use a light tent. Light tents create flat, lifeless images because they diffuse light equally from all directions, killing the contrast that makes diamonds sparkle and metal look dimensional. Instead, use:
- Two primary strobes or continuous LED panels (e.g., Godox AD400 Pro or SL60W).
- Diffusion material: A roll of Savage Translum or Lee 216 diffusion paper. You will shoot your lights through this to create soft, gradient reflections on the metal.
- A "sparkler" light: A small, undiffused point light (like a fiber optic snoot or a bare bulb) positioned directly over the diamond to activate its facets.
Grip and Styling Tools
- Heavy-duty tripod: A flimsy tripod will ruin your focus stacking. Pair it with a geared tripod head (like the Manfrotto 410) for millimeter-precise composition adjustments.
- White and black foamcore: Cut into small 2x2 inch squares. You will use these as bounce cards to add highlights or "negative fill" to add dark edges to the metal.
- Holding wax: White museum putty or specialized prop wax to stand the ring upright.
- White acrylic styling board: For a clean, reflective base.
Before You Start: The Prep Work
The most common mistake jewelry brands make is rushing the preparation phase. Skipping these steps will add hours to your post-production workflow.
Clean the Ring Relentlessly
A camera shooting at 1:1 magnification will capture dust particles invisible to the naked eye. If you rely on Photoshop to remove dust, you will spend 20 minutes editing a single image.
Run the ring through an ultrasonic cleaner. Steam it if the stones are heat-safe. From that moment on, only handle the ring while wearing powder-free latex or cotton gloves. Keep a can of compressed air and a microfiber cloth on set, and blast the ring immediately before pressing the shutter.
Do Not Rely on Your Smartphone
While modern smartphones have impressive macro modes, they rely on wide-angle lenses combined with digital cropping. If you photograph a ring with an iPhone from two inches away, the wide-angle distortion will make the front prongs look massive while the back shank disappears. The ring will look warped. A dedicated 100mm macro lens compresses the subject, keeping the proportions of the shank and the setting accurate to real life.
The 10-Step Workflow to Photograph a Ring
This is the standard studio workflow used to produce e-commerce packshots on a white background.
1. Set Up Your Shooting Table
Place your white acrylic board on a sturdy table. Position your camera on the tripod so it is looking slightly down at the board—typically at a 15 to 30-degree angle. This "e-commerce angle" shows the top of the stone, the setting, and the front of the band simultaneously.
2. Secure the Ring with Wax
Take a microscopic amount of holding wax—no larger than the head of a pin. Roll it into a ball and place it on the bottom of the ring shank. Press the ring firmly onto the acrylic board so it stands perfectly upright. Ensure the wax is hidden as much as possible; you will need to clone stamp it out later.
3. Position the Diffusion
Place a curved sheet of diffusion paper (Translum) around the back and sides of the ring, creating a semi-circle. The camera lens will point through the open front. This diffusion acts as the "environment" the ring will reflect.
4. Dial in Your Camera Settings
For a crisp, professional packshot, switch your camera to Manual mode.
- Aperture: Set to f/11 or f/16. This provides the optimal balance between depth of field and lens sharpness (avoiding diffraction that occurs at f/22).
- ISO: Set to 100 to ensure zero digital noise.
- Shutter Speed: If using strobes, set to your camera's sync speed (usually 1/125s or 1/200s). If using continuous lights, adjust the shutter speed until your exposure is correct, but use a remote trigger to prevent camera shake.
5. Place the Primary Lights
Position your two strobes outside the diffusion paper, aiming inward at 45-degree angles to the ring. Turn them on and look at the ring's metal. You should see smooth, white gradient reflections wrapping around the shank. If the metal looks dark, move the lights closer or increase their power.
6. Manage Metal Reflections
Look closely at the front of the ring shank. Because the front of the ring is facing the open room (and the camera), it is likely reflecting the dark room, resulting in a black spot on the metal. To fix this, place a piece of white foamcore directly under the camera lens, angling it so the front of the ring reflects the white board instead of the dark room.
7. Add the Sparkler Light
If you are shooting an 18k gold bezel-set emerald, the primary diffused lights are enough. But if you are shooting a faceted gemstone like a diamond or sapphire, diffused light will make the stone look like dull glass. Position a small, hard point-light directly above the ring, aiming straight down at the table. This hard light will hit the facets and bounce directly into the camera lens, creating sharp, brilliant contrast inside the stone.
8. Shoot Tethered
Connect your camera to a laptop using a tether cable and open Capture One or Lightroom. Do not rely on the tiny LCD screen on the back of your camera. You must view the image on a large, color-calibrated monitor to check for micro-focus issues, dust, and unwanted reflections.
9. Capture a Focus Stack
Even at f/11, a 100mm macro lens cannot keep the front prongs and the back of the band in focus simultaneously. You must focus stack.
Take the first photo with the focus set on the absolute closest point of the ring (usually the front prong). Then, manually adjust the focus ring by a millimeter to focus slightly deeper into the ring, and take another shot. Repeat this process 8 to 15 times until the focus plane has moved completely through the back of the ring.
10. Post-Production and Retouching
Import your 15 images into focus stacking software (Helicon Focus is the industry standard, though Photoshop's Auto-Blend Layers works for simpler stacks). The software will merge the sharpest parts of each image into one completely focused file.
Once merged, use Photoshop to heal out the holding wax at the base, remove any remaining dust, and use the Dodge tool to brighten the diamond's highlights. Finally, clip the background using the Pen Tool and place the ring on a pure white (#FFFFFF) background.
Common Mistakes and How to Fix Them
Even with the right gear, ring photography is highly sensitive to minor errors. Here is how to troubleshoot the most common issues.
Black Spots on the Metal
The Problem: The ring's shank has harsh black squares or lines reflecting on it. The Fix: Rings reflect their environment. If you see black, the ring is reflecting the camera body, your dark clothing, or an unlit wall. Surround the ring entirely with white foamcore or diffusion paper, leaving only a tiny hole for the camera lens to peek through.
Blurry Prongs or Back Shank
The Problem: The diamond is sharp, but the rest of the ring is out of focus. The Fix: Your depth of field is too shallow. You either shot at f/4, or you skipped the focus stacking process. If you cannot focus stack, back the camera up, shoot at f/16, and crop in later—though you will lose resolution.
Flat, Lifeless Diamonds
The Problem: The diamond looks gray, milky, or like a piece of glass. The Fix: You are using too much diffusion. Diamonds need hard, directional light to create the internal contrast (the alternating black and white patterns) that reads as "sparkle." Add a bare-bulb strobe directly above the stone.
Yellow Gold Looking Brassy or Green
The Problem: 18k yellow gold looks cheap, green, or overly orange. The Fix: This is a white balance and color reflection issue. If you have green walls in your studio, the gold will reflect that green tint. Ensure your shooting environment is entirely color-neutral (white, black, or gray). Use a Datacolor SpyderCheckr or a gray card to set a custom white balance before shooting.
Pro Tips for Flawless Ring Photography
To elevate your images from basic e-commerce shots to high-end editorial quality, implement these advanced techniques.
1. Use the "Black Tent" Technique for Platinum
White gold, platinum, and silver can easily blow out and merge into a white background if over-lit. To create definition, use "negative fill." Place small strips of black foamcore just outside the frame. The curved metal of the ring will reflect these black strips, creating dark, elegant edge-lines that separate the bright metal from the white background.
2. Standardize Your Focal Lengths
Different focal lengths drastically change the shape of the ring. Here is how macro lenses compare:
| Focal Length | Best For | Pros | Cons |
|---|---|---|---|
| 50mm Macro | Flatlays & overheads | Wider field of view, lighter lens | Requires the camera to be too close to the ring, blocking your own light sources. |
| 100mm Macro | Standard e-commerce | Perfect working distance, accurate proportions | Requires a sturdy tripod to avoid camera shake. |
| 150mm+ Macro | Extreme detail shots | Incredible compression, great for isolating pavé details | Extremely narrow depth of field, requires massive focus stacks. |
3. Build a Grid Template
If you are shooting a linesheet with 50 different rings, they must all align perfectly on your website. Tape a clear grid over your laptop monitor (or use the overlay feature in Capture One) to ensure every single ring is placed at the exact same angle and occupies the exact same percentage of the frame.
How to Do This Faster With Hylo
Manual ring photography is a slow, expensive process. A professional jewelry photographer charges $2,000 to $5,000 per day because setting up lights, managing reflections, focus stacking 15 images per SKU, and spending 30 minutes in Photoshop per image is incredibly labor-intensive. If you have a catalog of 200 rings, traditional photography can bottleneck your launch by weeks.
Hylo replaces this entire studio workflow with AI built specifically for jewelry.
Instead of buying strobes, macro lenses, and focus stacking software, you can upload a basic, well-lit smartphone shot or a flatlay of your ring.
- Canvas Editor: Use the Canvas Editor to position the ring exactly how you want it to sit on the page.
- AI Photoshoot: Hylo's AI understands the complex geometry of jewelry. It will generate professional studio lighting, accurate metal reflections, and realistic ground shadows in seconds.
- Brand Kit: If you need 50 rings to look identical for a category page, save your lighting and shadow preferences in the Brand Kit. Hylo will apply the exact same studio environment to every SKU, ensuring perfect catalog consistency.
- AI Retouch: Skip the 20-minute Photoshop session. Hylo automatically removes dust, cleans up minor scratches, and enhances the facet contrast in diamonds.
If you are shooting a $250,000 flawless diamond for a Sotheby's catalog, hire the $5,000/day studio. If you need to shoot 50 new SKUs for your Shopify store, wholesale linesheets, and Instagram ads this week, Hylo delivers the same e-commerce results in a fraction of the time and cost.
Questions Jewelry Brands Ask About Ring Photography
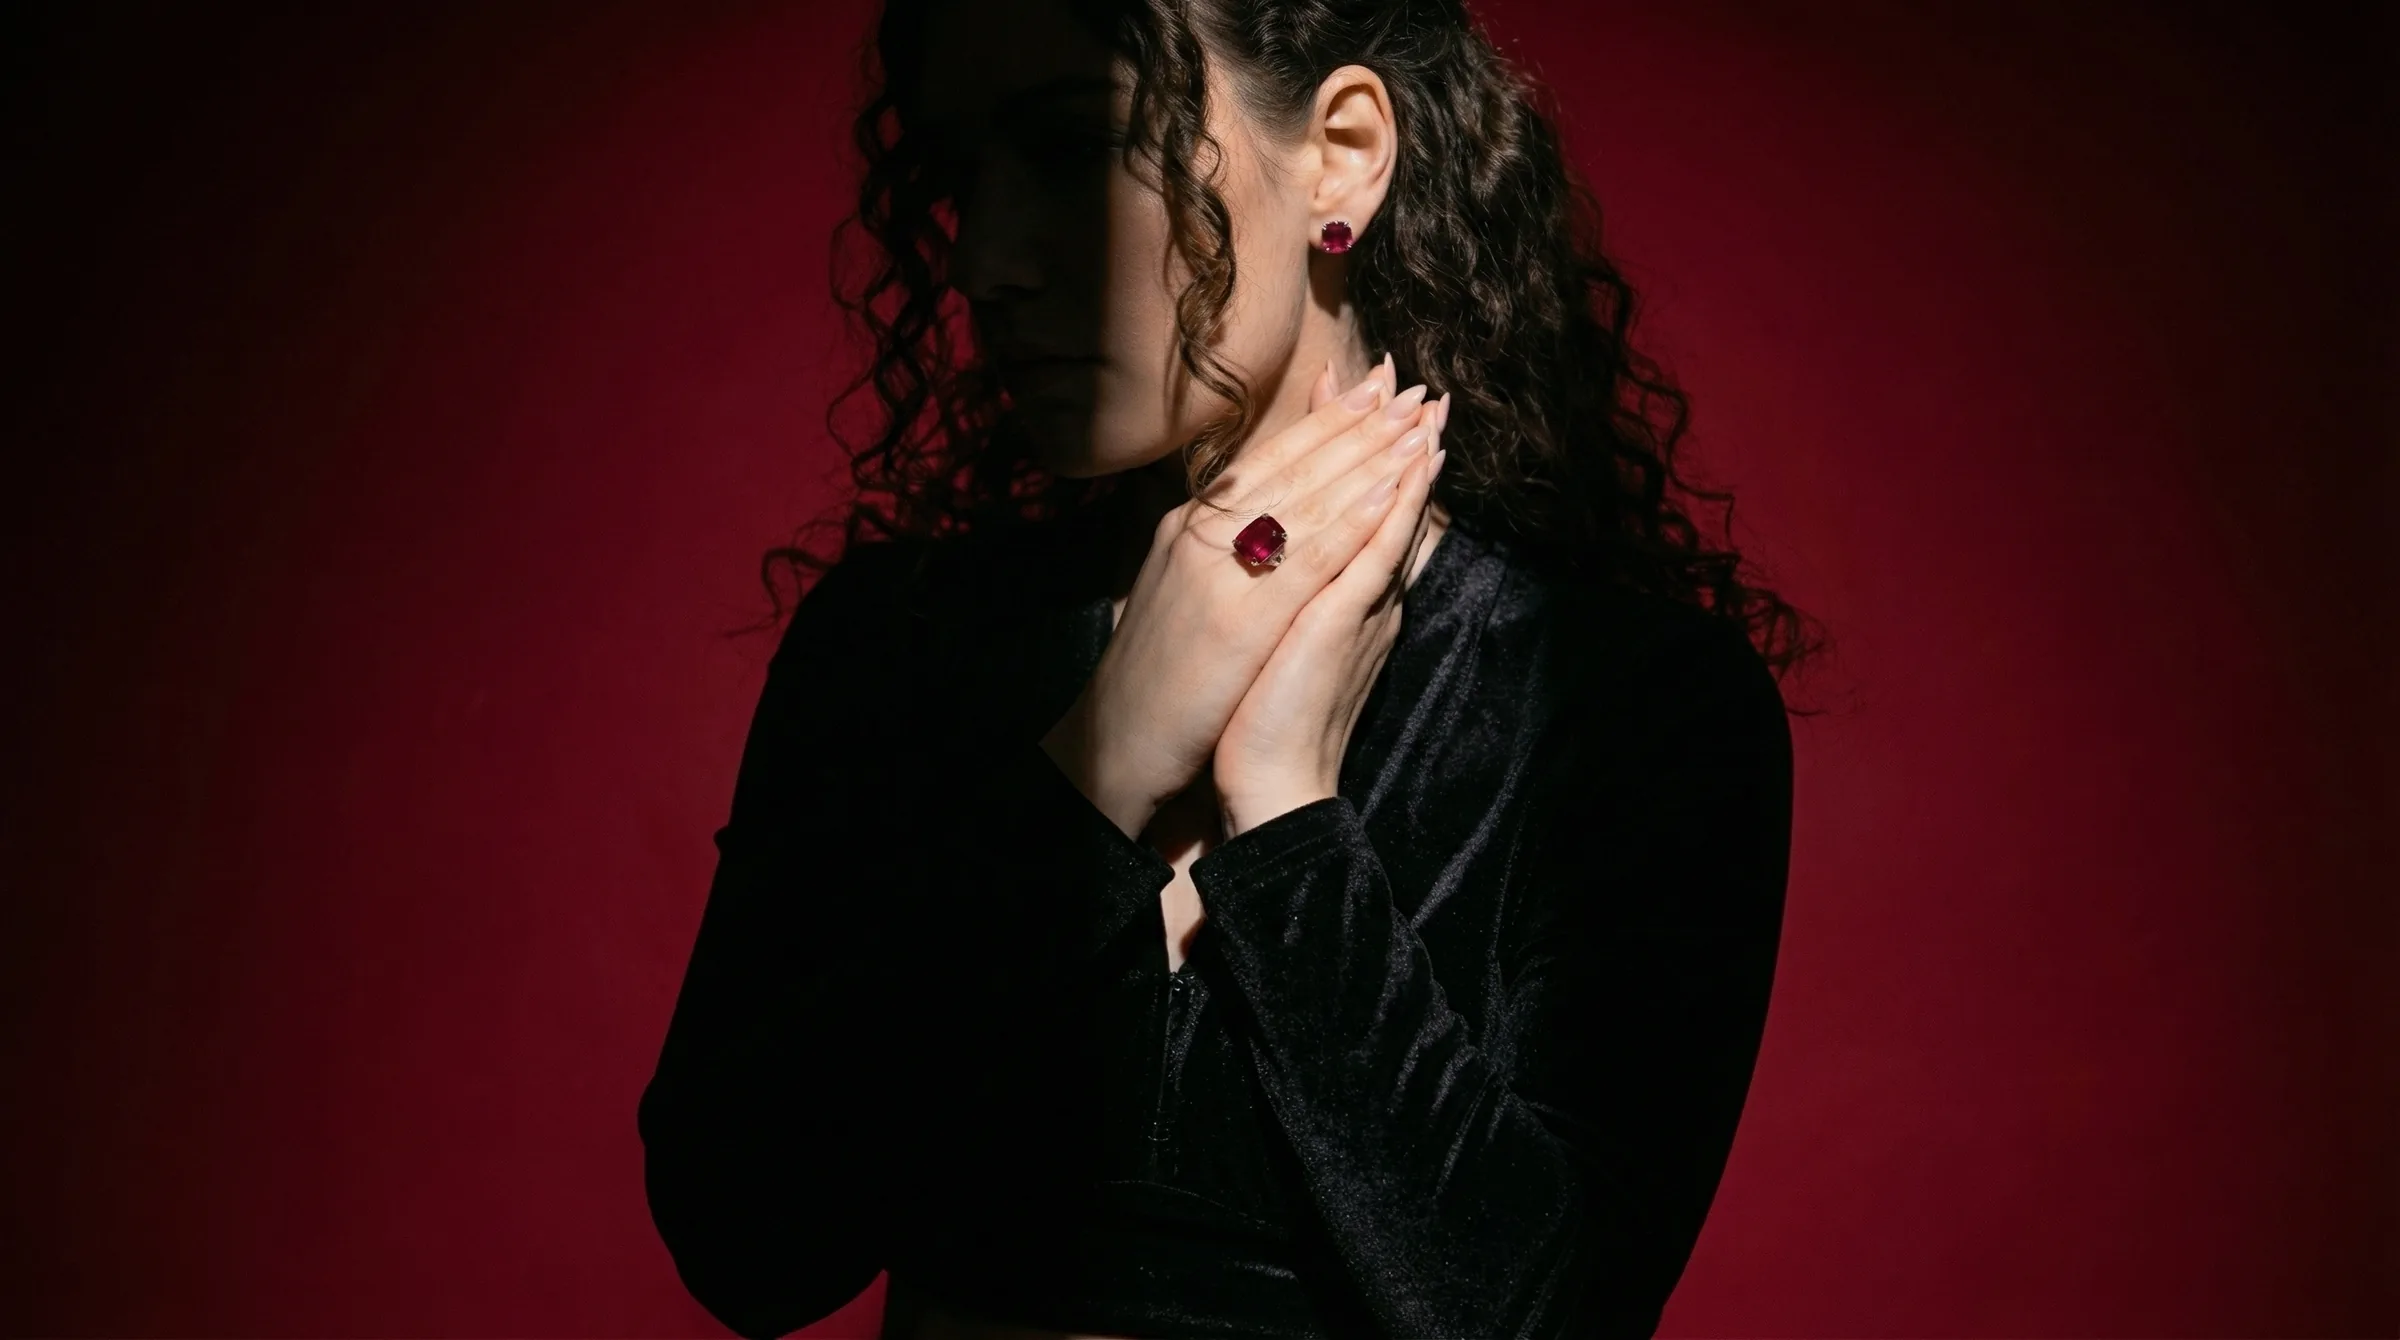
How do I photograph rings on a model's hand without it looking awkward?
Hand modeling is notoriously difficult. The key is to avoid flat, rigid fingers. Ask the model to hold a small, hidden prop (like a rolled-up piece of paper or a small cylinder) to give their hand a natural, relaxed curve. Ensure the lighting highlights the ring first, allowing the hand to fall slightly into shadow.
What is the best software for focus stacking rings?
While Adobe Photoshop has an Auto-Blend Layers feature, it often creates artifacts or blurry halos around the complex prongs of a ring. Helicon Focus and Zerene Stacker are the industry standards. They use advanced algorithms specifically designed for macro photography, resulting in much cleaner edges around the metal and gemstones.
How do I shoot rings from a top-down angle (flatlay)?
For top-down shots, lay the ring flat on the acrylic board. Because the ring is lying flat, the depth of field is less of an issue, and you may not need to focus stack if you shoot at f/16. However, lighting a flatlay is trickier because the camera is directly above the ring, blocking overhead light. Use a light cone (a conical piece of diffusion that drops over the ring) and shoot your camera through the hole in the top to ensure 360-degree even lighting.