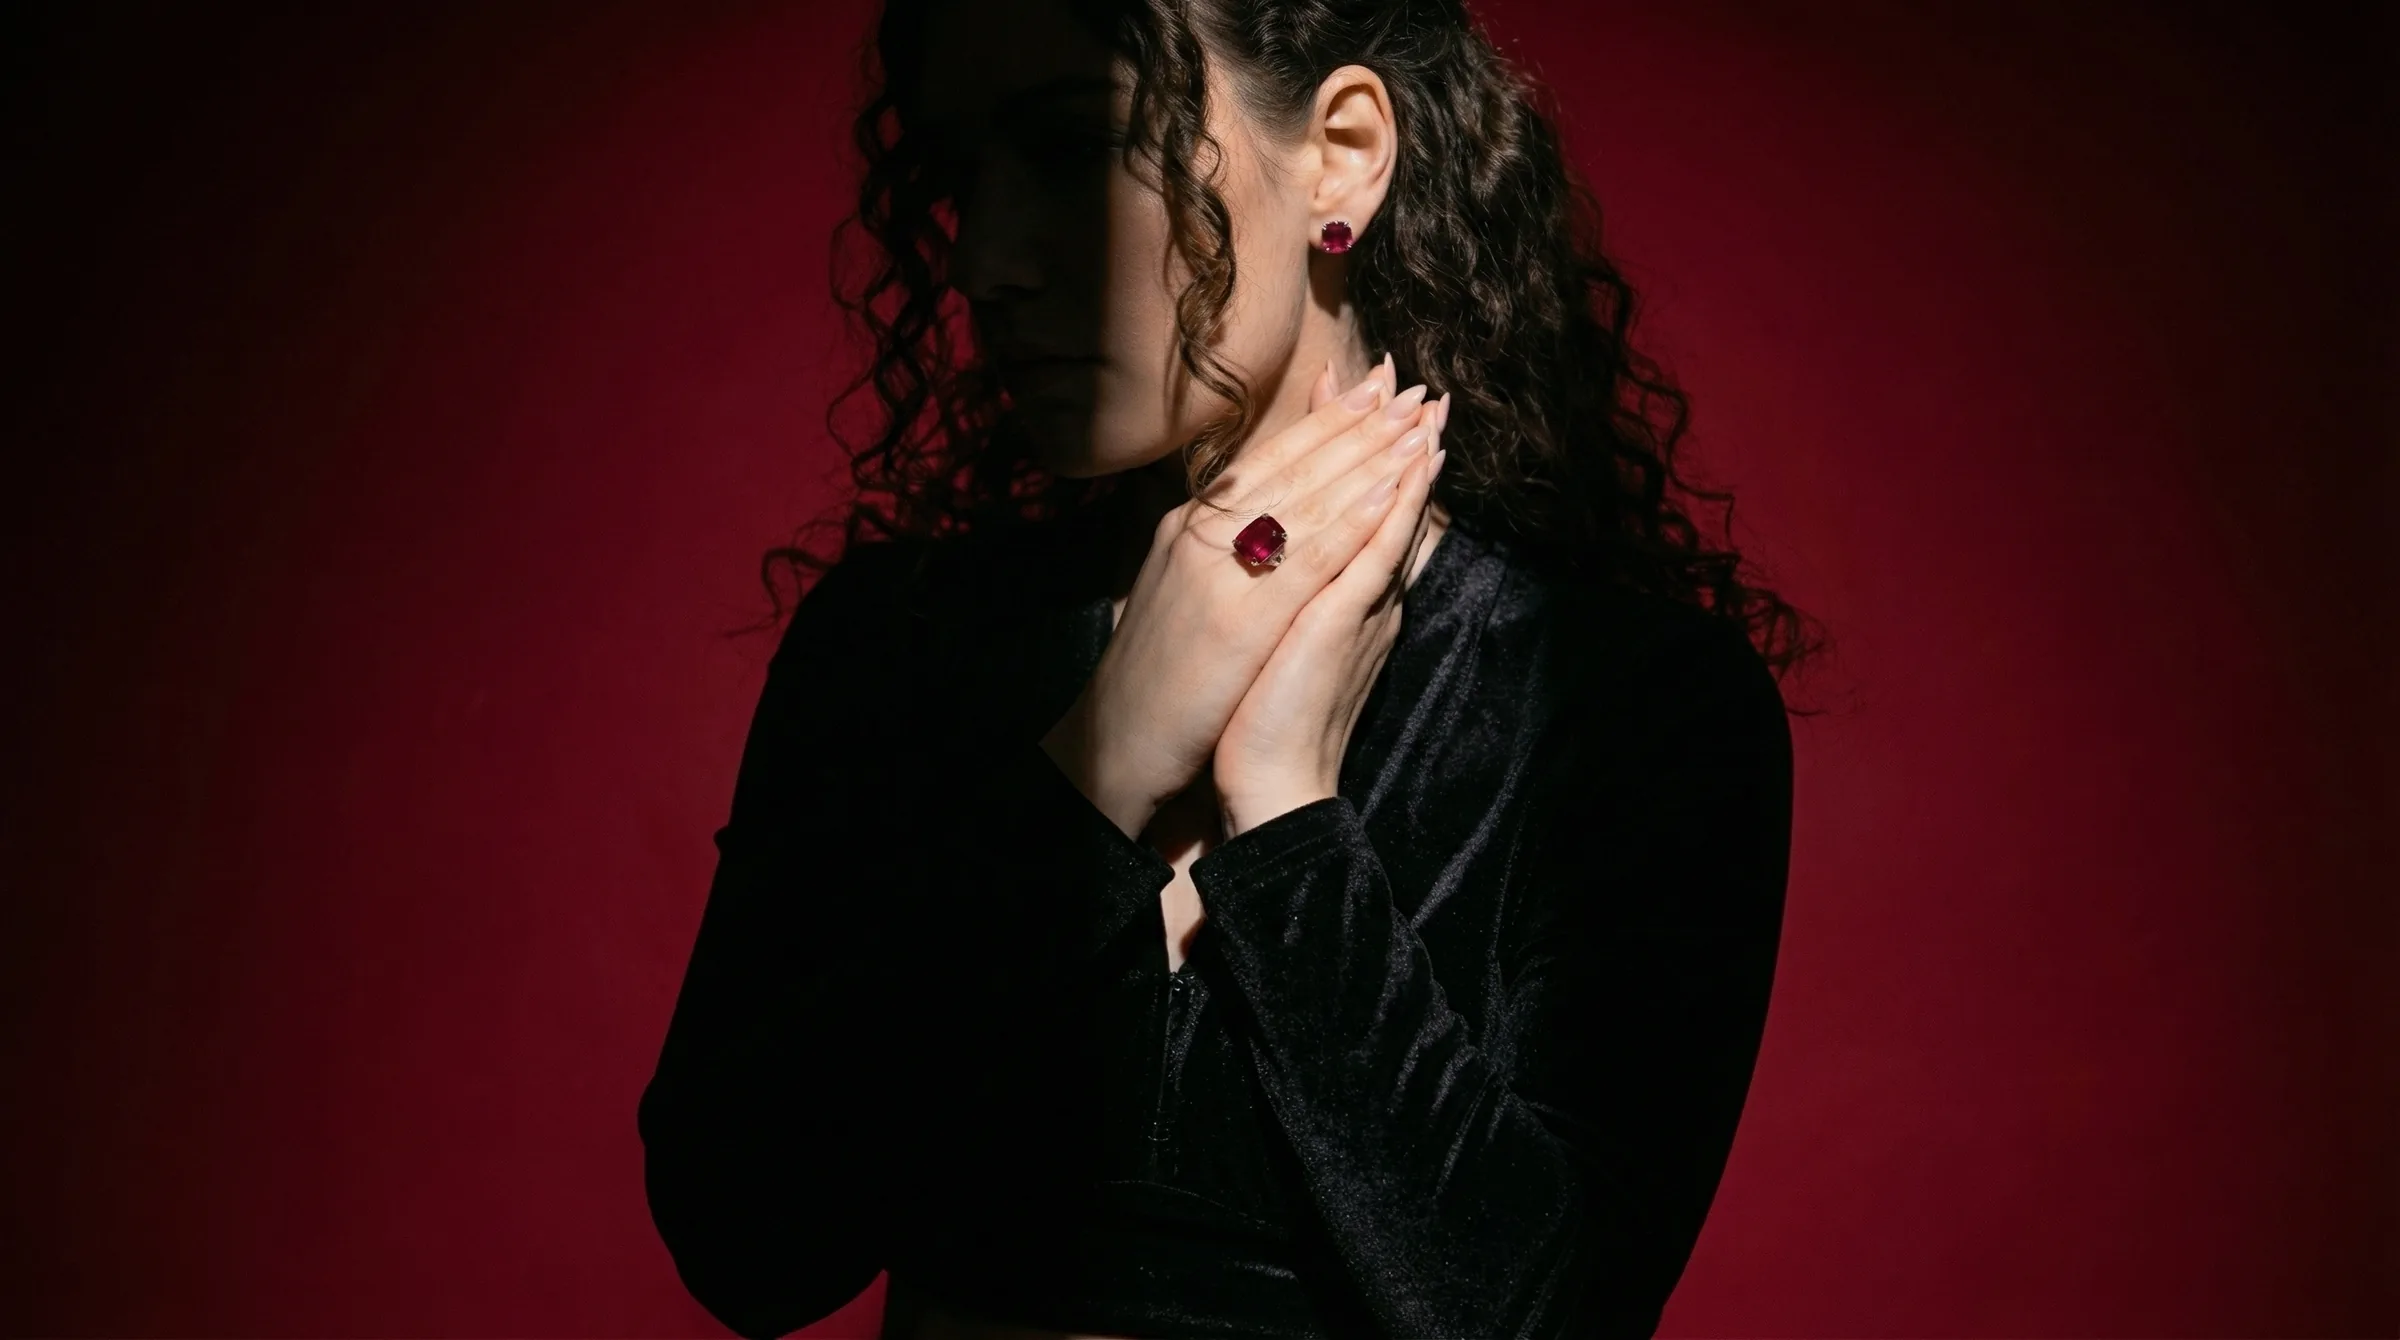
What You'll Need to Retouch Rings
High-end retouching isn't about secret filters; it's about precision tools and a controlled process. Before you open a single pixel, ensure your digital toolkit is properly equipped. Investing in the right setup prevents color errors and saves hours of frustration.
Software
Your non-negotiable is a layer-based image editor. There are two primary choices for professional work:
- Adobe Photoshop: The undisputed industry standard. Its Pen Tool, advanced masking, adjustment layers, and content-aware algorithms are essential for high-quality jewelry work. If you're serious about product photography, a subscription to the Adobe Photography Plan (which includes Lightroom) is a worthwhile business expense.
- Affinity Photo: The best perpetual-license alternative to Photoshop. It offers a nearly identical feature set for a one-time price, including robust path tools, non-destructive adjustments, and frequency separation capabilities. It's a powerful and cost-effective choice for brands managing their own creative.
Hardware
What you see must be what your customer sees. Hardware makes that possible.
- Color-Calibrated Monitor: This is the most critical piece of hardware. A standard laptop screen can have a strong color cast (often cool/blue). Retouching on an uncalibrated screen means you're correcting for your monitor's flaws, not the image's. Invest in a monitor known for color accuracy, like a Dell UltraSharp or BenQ PD series, and use a calibration tool like a Datacolor SpyderX or Calibrite ColorChecker.
- Graphics Tablet: Using a mouse to retouch is like painting with a brick. A simple graphics tablet, such as a Wacom Intuos or Huion Inspiroy, allows for pressure-sensitive brush strokes. This is crucial for smoothly blending metal shines, dodging and burning details, and creating natural-looking shadows.
The Right Source Image
You can't fix a fundamentally bad photo in post-production. Start with a high-quality source file. This means a RAW file (like .CR2, .NEF, or .ARW) shot in controlled lighting. The image should be in sharp focus on the main stone and prong settings, properly exposed, and free of major distracting reflections. A blurry, noisy, or poorly lit JPEG from a phone will never yield a professional result, no matter how skilled the retoucher.
Before You Start: Key Principles
Before diving into the technical steps, internalize these three principles. They separate amateur editing from professional retouching.
-
Work Non-Destructively: Never, ever edit your original image layer (often called 'Background'). Every adjustment—from dust removal to color correction—should happen on a new, separate layer. Use adjustment layers for color and tone changes. This allows you to go back and tweak any single change without having to start over. If you make a mistake on a brush stroke, you can simply erase it from the layer mask, leaving the original image untouched.
-
Calibrate Your Environment: We mentioned a calibrated monitor, but your physical environment matters, too. Edit in a room with neutral gray walls and controlled, indirect lighting if possible. Avoid editing next to a bright window, as the changing daylight will alter your color perception throughout the day. Consistency in your viewing environment leads to consistency in your final images.
-
Aim for 'Perfected Reality,' Not 'Plastic': The goal is to make the ring look like it does on its best possible day, under perfect studio light—not to make it look like a 3D render. Metal should have texture and smooth gradations, not a flat, plastic sheen. Gemstones should have depth and internal character. It's tempting to smooth every surface into oblivion, but this erases the character and perceived value of the piece. Know when to stop.
The 10-Step Professional Ring Retouching Workflow
This is the same workflow used by professional retouching studios for high-end jewelry brands. We'll use a platinum engagement ring with a 1.5ct emerald-cut diamond as our example.
-
Initial RAW Processing & Cleanup In Adobe Camera Raw or Lightroom, make global adjustments. Correct the white balance so the platinum looks neutral gray, not blue or yellow. Adjust exposure to ensure no highlights on the diamond facets are clipped (pure white). Enable Lens Correction to remove any minor distortion from your macro lens. The goal here is to create a clean, neutral starting point before opening in Photoshop.
-
Isolate the Ring (Pathing) Select the Pen Tool (P). Carefully trace the entire outline of the ring. Use smooth curves for the band and sharp anchor points for the corners of the prongs and gemstone. This vector path is infinitely scalable and perfectly clean. Once the path is closed, open the Paths panel, save it, and click the 'Load path as a selection' button. With the selection active, create a layer mask. This is superior to the Magic Wand or Quick Selection tools, which create messy, pixelated edges.
-
Foundational Cleaning Create a new empty layer above your ring layer and clip it. Name it 'Cleanup.' Select the Spot Healing Brush for tiny specks of dust and the Clone Stamp Tool (S) for larger scratches or fingerprints. Set the Clone Stamp to 'Current & Below' to sample from the ring layer but paint onto your clean layer. Meticulously go over every surface of the metal, removing any imperfections from the manufacturing or handling process.
-
Metal Polishing & Reflection Control This step creates the smooth, lustrous look of professionally shot metal. Create a new layer named 'Metal Polish.' Using the Brush Tool (B) with a very soft edge and low opacity (2-5%), sample a clean, mid-tone color from the platinum band. Gently paint over areas with uneven reflections or color shifts to create a smooth, clean gradient. The key is subtlety; you are blending and evening out the existing light, not painting a new surface.
-
Gemstone Enhancement The stone is the hero. Give it special attention on its own set of adjustment layers, masked specifically to the diamond.
- Brightness and Contrast: Create a Curves adjustment layer. Make a gentle S-curve to deepen the dark facets and brighten the light ones, adding significant 'pop' and dimension. For an emerald cut, this will make the 'hall of mirrors' effect more dramatic.
- Color and Saturation: Create a Hue/Saturation adjustment layer. Diamonds can sometimes pick up a color cast from the environment. If the stone looks slightly yellow, select 'Yellows' from the dropdown and slightly decrease the saturation. Be very careful here—a tiny adjustment is all that's needed.
- Sharpening Facets: Duplicate your original ring layer, place it at the top, and go to
Filter > Other > High Pass. Set the radius to 0.5-1.0 pixels. Then, change this layer's blending mode to 'Soft Light' or 'Overlay'. Add a black layer mask to hide the effect, then with a white brush, paint only over the gemstone to apply the sharpening just to its facets.
-
Diamond & Prong Definition (Dodge & Burn) Create a new layer, fill it with 50% gray, and set its blending mode to 'Overlay.' Name it 'Dodge & Burn.' Using the Dodge tool set to 'Midtones' at 5-10% exposure, gently trace the edges of the prongs to make them brighter and more defined. Use the Burn tool to deepen the shadows where the prongs meet the stone. This adds a 3D quality that makes the setting look crisp and secure.
-
Color Correction & Consistency If this ring were part of a collection of 18k yellow gold pieces, this is where you'd ensure consistency. Create a Selective Color or Color Balance adjustment layer. Compare your ring to a master reference image or a Pantone color swatch for your brand's specific gold tone. Tweak the sliders until the metal color is a perfect match. This ensures that when customers see five different rings on a category page, the gold color is identical across all of them.
-
Adding a Realistic Shadow Below your isolated ring layer, create a new layer named 'Shadow.' Select a very soft, round brush with black color and about 10% opacity. Click once directly under the point where the ring touches the ground to create a dark contact shadow. Then, with a larger, softer brush at 5% opacity, paint a broader, softer shadow that fades out from the ring. This grounds the object and makes it look like it's sitting in real space, not floating.
-
Final Sharpening for Web Create a merged copy of all visible layers at the top of your stack (
Cmd+Opt+Shift+Eon Mac,Ctrl+Alt+Shift+Eon PC). Go toFilter > Sharpen > Unsharp Mask. For a 2000px web image, a good starting point is Amount: 120%, Radius: 0.3 pixels, Threshold: 3 levels. This adds a final bit of crispness that makes the image look sharp on screen. -
Exporting for Different Channels Use the
File > Export > Save for Web (Legacy)dialog. This gives you precise control over the final file size and quality. Export different versions for different platforms.
| Channel | Dimensions (px) | Format | Quality | Color Space | Notes |
|---|---|---|---|---|---|
| Shopify/BigCommerce | 2048 x 2048 | JPEG | 70-80 | sRGB | High resolution for zoom functionality. |
| Instagram Feed | 1080 x 1080 | JPEG | 80-90 | sRGB | Optimized for mobile viewing. |
| Etsy | 3000 x 3000 | JPEG | 80-85 | sRGB | Etsy recommends large files for clarity. |
| Linesheet/PDF | 1500 x 1500 | JPEG | 90-100 | sRGB | Higher quality for print or digital docs. |
Common Ring Retouching Mistakes (and How to Fix Them)
-
The 'Plastic' Look: This happens from overusing a soft brush to smooth the metal. The ring loses its texture and looks like a cheap render. Fix: Lower your brush opacity to 1-3%. Instead of trying to paint over the texture, just blend the lighting. For advanced users, use Frequency Separation to smooth color without affecting texture.
-
'Glowing' Gemstones: Pushing the brightness and saturation on a gemstone too far makes it look radioactive and fake. A diamond shouldn't be a light source. Fix: Use adjustment layers and keep the effect subtle. The Curves adjustment should be a gentle 'S', not a steep 'V'. Compare your edited stone to a photo of a real, high-quality gemstone on a site like GIA.
-
Sloppy Cutouts: Using the Magic Wand tool leaves jagged, amateurish edges and often includes parts of the background. Fix: There is no substitute for the Pen Tool. Take the time to create a clean, precise vector path. Your final image quality depends entirely on the quality of this initial isolation.
-
Incorrect Metal Color: An 18k rose gold ring that looks orange or a platinum ring that looks blue cheapens the product. This is usually a white balance issue. Fix: Create a reference document with color swatches for your brand's standard metals (e.g., 14k Yellow Gold: #F1DDBF). Use the Color Picker tool and a Color Balance or Selective Color adjustment layer to match your ring's metal to your brand's official color swatch.
Pro Tips for Flawless Ring Photos
-
Use Frequency Separation: This advanced technique separates the texture of an image from its color and tone. It allows you to fix a scratch or uneven color on a ring's band without smudging the fine brushed texture. It's the ultimate tool for high-end metal cleanup.
-
Create a 'Reflection Card' Layer: To add a beautiful, professional specular highlight, create a new layer. Use the rectangular marquee tool to draw a tall, thin rectangle. Fill it with a white-to-transparent gradient. Use the transform tool to position and angle it along the curve of the ring's band. Set the layer's blending mode to 'Screen' and lower the opacity to 10-20%. This mimics the reflection of a studio softbox.
-
Build a Photoshop Action Set: If you retouch dozens of rings, you're repeating the same steps: create cleanup layer, create dodge/burn layer, create sharpening layer, etc. Record these steps using Photoshop's Actions panel. Now, you can set up your entire layer structure for a new ring with a single click.
-
Check Your Work in Grayscale: Create a Black & White adjustment layer at the very top of your layer stack. Toggle it on and off periodically. This removes color distraction and immediately reveals unevenness in lighting and shadows on the metal band that you might have missed.
How to Retouch Rings in 60 Seconds with Hylo
The professional Photoshop workflow is powerful, but it takes 30-60 minutes per image. For a brand with hundreds of SKUs, this is a major bottleneck. This is where AI tools, specifically those built for jewelry, provide a massive advantage.
While general-purpose tools like Photoroom or Canva can remove a background, they aren't trained to handle the unique challenges of jewelry, like complex reflections and gemstone clarity. Hylo is designed for exactly this workflow.
Here’s how to get the same commercial-grade result in under a minute:
-
Upload Your Raw Photo: Start with a simple, clear photo of your ring, even one from your iPhone. Upload it directly to Hylo.
-
Use AI Retouch: With a single click, Hylo’s
AI Retouchfeature instantly cleans the image. It’s trained on hundreds of thousands of jewelry images to identify and remove dust, minor scratches, and fingerprints while preserving the natural texture of the metal. This replaces the manual 'Cleanup' step. -
Generate a Scene with AI Photoshoot: Instead of manually pathing the ring and creating a shadow, use
AI Photoshoot. Select a clean white seamless background from ourCreative Library, or apply your brand’s custom look from your savedBrand Kit. Hylo automatically isolates the ring, places it in the new scene, and generates a physically accurate shadow. -
Fine-tune in Canvas Editor: If you want to adjust the shadow's softness or the intensity of the lighting, you can make minor tweaks in the
Canvas Editor. This gives you creative control without the complexity of Photoshop's layers and tools.
The manual Photoshop method is still the best choice for a complex, artistic 'hero' shot for a magazine ad. But for the 95% of images needed for your product pages, linesheets, and social media, Hylo's AI Photoshoot and AI Retouch deliver a consistent, professional result in a fraction of the time.
Questions Jewelry Brands Ask About Ring Retouching
How do you handle rings with complex textures like filigree or milgrain? For highly detailed rings, the key is to enhance, not obscure. Avoid broad, smoothing brush strokes. Instead, rely heavily on a precise Dodge & Burn layer. Use a very small, hard-edged brush at a low opacity (3-5%) to trace the highlights of the milgrain or filigree with the Dodge tool and add depth to the crevices with the Burn tool. This makes the intricate details pop without looking artificial.
What's the best way to show the sparkle in a pavé setting? Trying to sharpen every tiny stone in a pavé setting often creates a noisy, unnatural look. A better approach is to create the impression of sparkle. On your Dodge & Burn layer, use a tiny, soft Dodge tool to selectively brighten a few of the stones as if they are catching the light. For an extra pop, you can use a very subtle starburst brush on a new layer, centered on one or two of the brightest stones, with the layer opacity set to 15-25%.
Can I get a professional result by retouching a photo taken on my iPhone?
Yes, but with caveats. Modern iPhones shoot in ProRAW, which gives you more data to work with than a standard JPEG. The retouching steps are the same, but the primary limitations will be noise and a lack of fine detail compared to a DSLR with a macro lens. You won't be able to sharpen the image as aggressively without introducing artifacts. This is a scenario where a tool like Hylo's AI Retouch can be particularly effective, as its AI model is excellent at enhancing detail and reducing noise from mobile phone images.