Ask why jewelry gets returned and the answer is usually some version of "it wasn't the size I expected." Scale and drape are the hardest things to judge from a flat packshot, and they are exactly what an on-model shot communicates. A necklace photographed on a table is just a shape; the same necklace on a neck tells the buyer how far it drops, how it sits, and whether it is the delicate or substantial piece they imagined. On-model imagery is the single most effective tool for reducing size-related returns, which is why it deserves a deliberate place in your process even if you have never booked a model.
Why on-model matters, and for which pieces
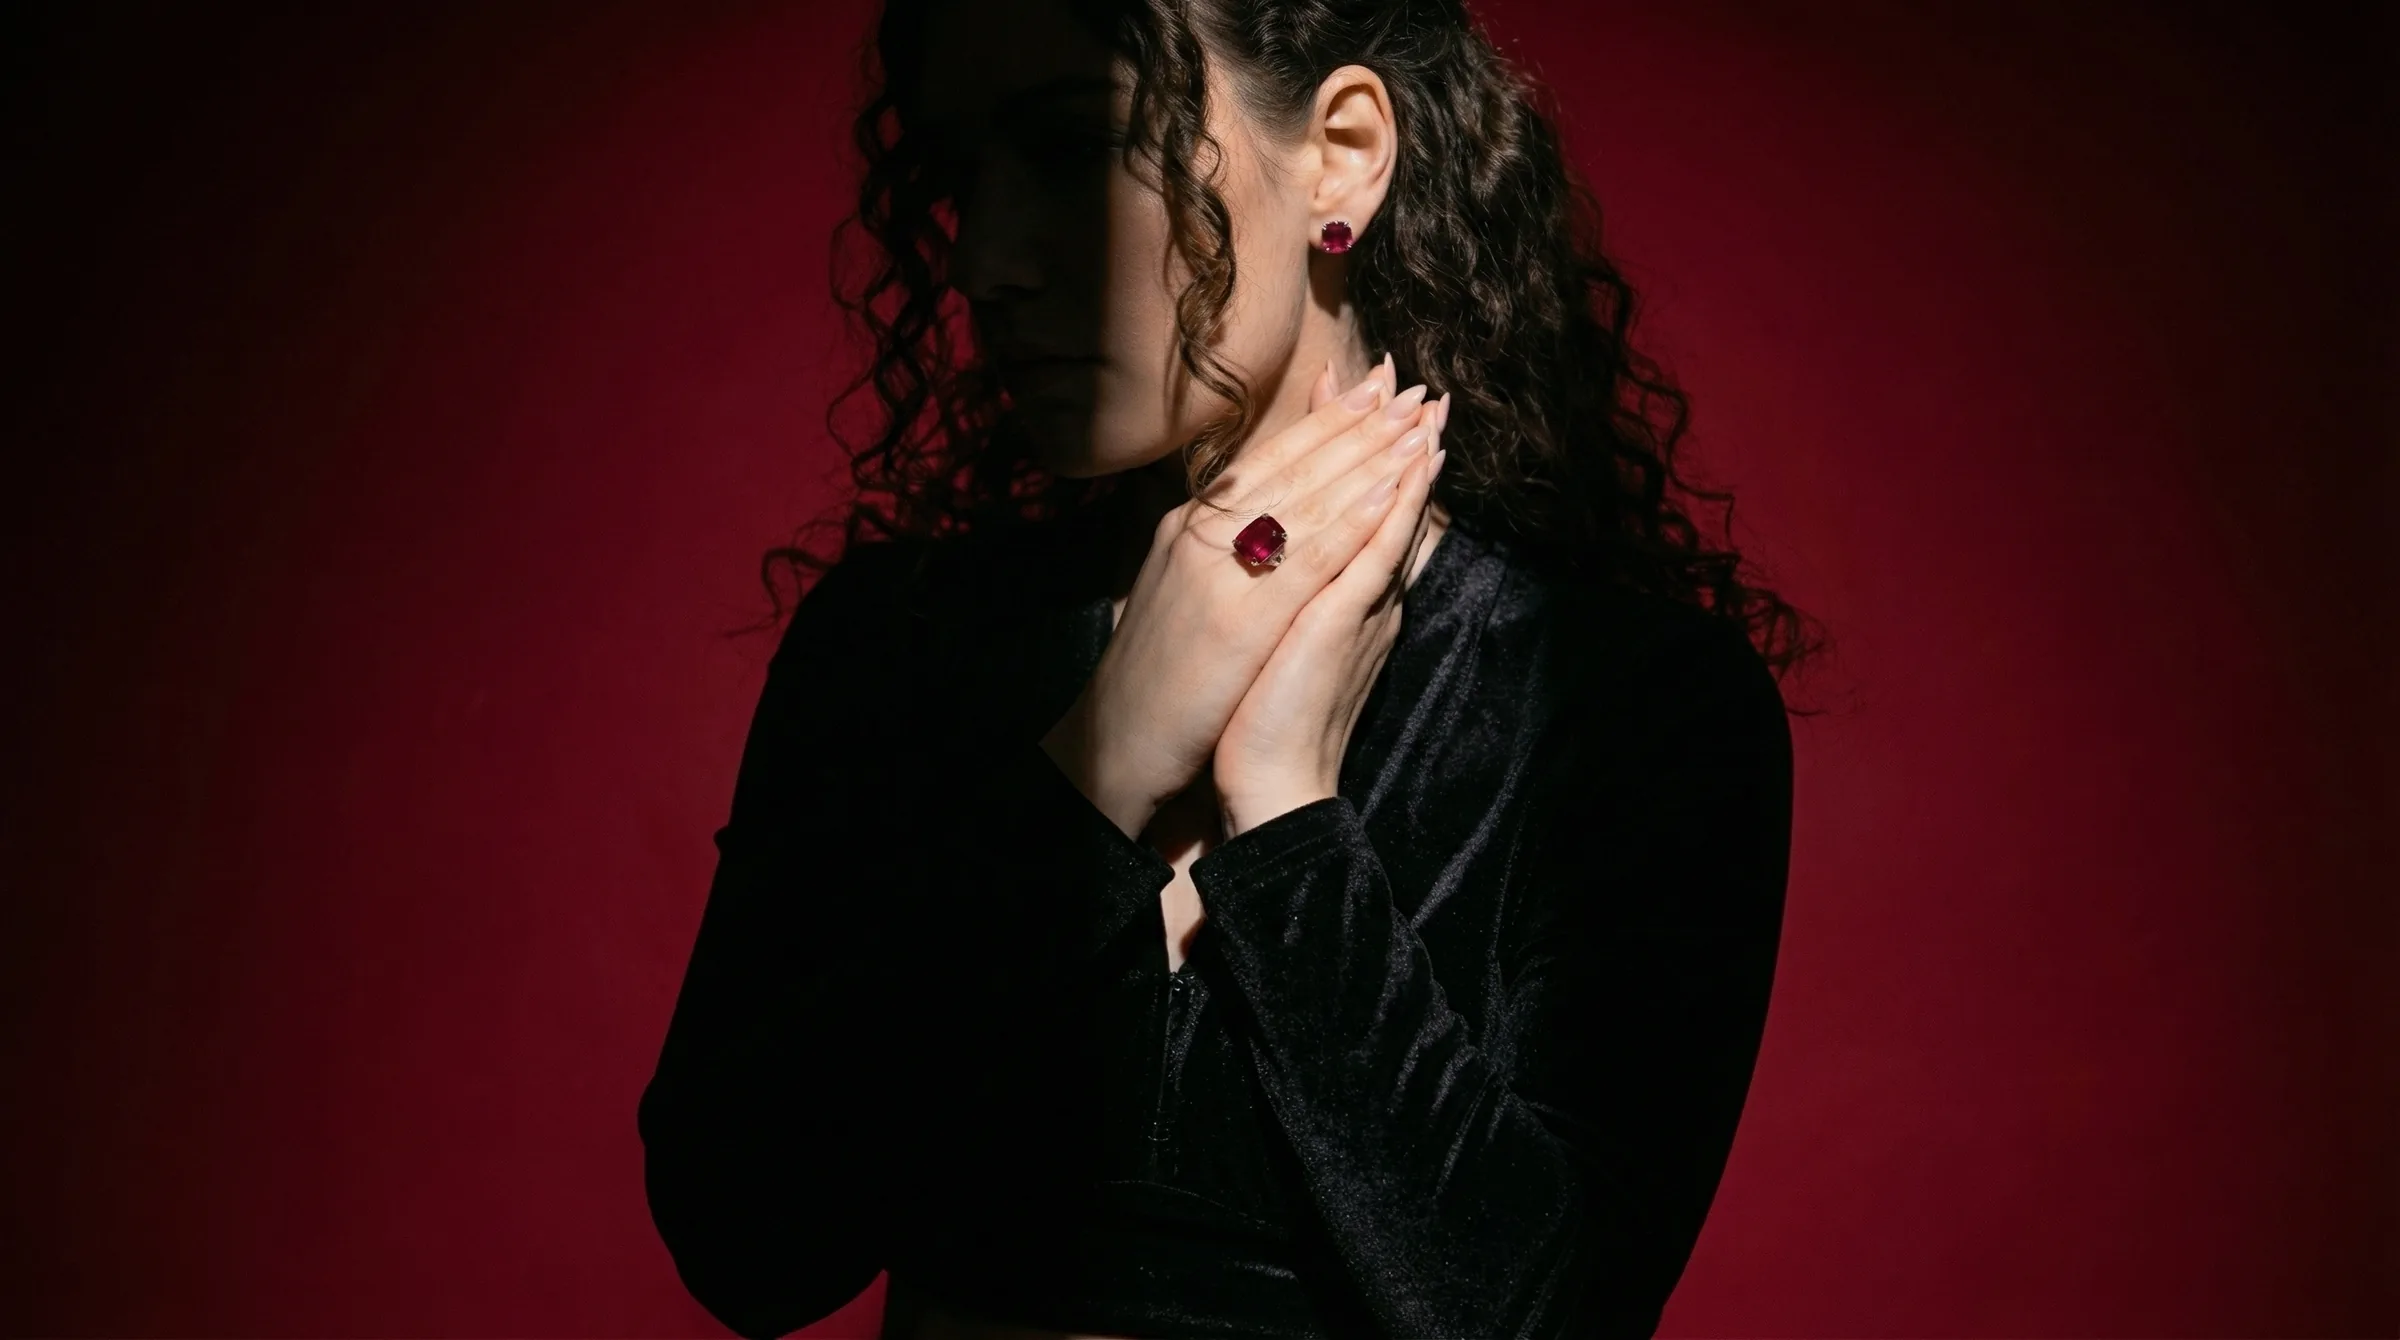
The value of an on-model shot is proportional to how hard the piece is to judge flat. Necklaces are the clearest case: length, drop, and how the piece sits against the body are nearly impossible to read from a packshot, and they vary enormously between a choker, a princess length, and a long rani haar. Earrings are similar, especially statement and drop styles like jhumkas, where the swing and how far they hang only make sense on an ear. Bridal sets, with multiple coordinated pieces, almost demand on-model imagery because the whole point is how the set works together when worn. Rings are the exception that proves the rule, where an on-hand shot does the same job. Simple, small pieces may not need on-model treatment at all, so concentrate the effort where it removes the most doubt.
Getting on-model shots without a model shoot
The traditional way to get these images is a physical shoot with a hired model, which means cost, scheduling, and in some markets genuine difficulty finding and booking models for jewelry work. AI on-model rendering offers another route: it places a piece on a model directly from a product photo, so you get the scale-and-drape information a buyer needs without organising a shoot. For sellers who have never had the budget or relationships for regular model photography, this makes a class of imagery available that was previously out of reach.
Accuracy is the whole game
The one discipline that makes on-model rendering trustworthy is accuracy. The model and the setting are presentation, and you have latitude there, but the jewelry itself has to match what will actually ship. Stone count, metal colour, proportion, and the specifics of the design must be faithful to the real piece, because a buyer who receives something different from the image will return it and lose trust. The practical safeguard is simple: review every on-model output against the real item before publishing, treating the render as a way to present a real piece rather than reinterpret it.
What buyers are actually reading in an on-model shot
It helps to be precise about the information an on-model image conveys, because that tells you what the render has to get right. The first piece of information is absolute scale: roughly how big the item is relative to a recognisable human feature, an earlobe, a collarbone, a finger. The second is drape and movement: how a necklace follows the curve of the neck, how a pendant settles, how a drop earring hangs. The third is proportion in context: whether a piece reads as delicate or bold once it is competing with a face, hair, and clothing rather than sitting alone on white. A flat packshot answers none of these reliably, which is why buyers who cannot see a piece worn so often guess wrong and return it.
A good on-model render therefore has to do more than place the jewelry on a person; it has to place it at a believable scale and in a natural position, so the scale and drape information is truthful. A necklace rendered slightly too large, or sitting at the wrong length, gives the buyer false information just as surely as an inaccurate stone count does. This is why the position and proportion of the piece on the body are part of accuracy, not just the rendering of the metal and stones themselves. The whole value of the image is that it answers the scale question honestly.
Choosing models and settings that serve the piece
Within the bounds of accuracy, the choice of model and setting is a genuine creative decision that should serve the piece and the brand. Skin tone matters more than sellers often realise, because metal reads differently against different complexions: warm yellow gold and rose gold can look especially rich against deeper skin tones, while the cool brightness of white gold, platinum, and sterling silver reads cleanly across a wide range. Showing a piece on a model whose complexion flatters the metal is both honest and effective, and for a brand serving a particular market, choosing models that reflect that market helps buyers picture themselves wearing the piece.
The setting and styling should stay subordinate to the jewelry. The purpose of the image is to sell the piece, so the neckline, the hair, the clothing, and the background all need to frame the jewelry rather than compete with it. A busy patterned top next to a delicate pendant, or elaborate styling around a pair of studs, pulls attention away from the very thing the buyer is trying to assess. Clean necklines, simple hair, and uncluttered backgrounds let the piece read clearly. This is the same discipline as in packshot work, applied to a richer scene: everything serves the product.
Building a consistent on-model look across a catalog
For a seller with more than a handful of pieces, on-model imagery raises the same consistency challenge as packshots. If every on-model shot uses a different model, pose, framing, and lighting, the catalog looks disjointed even when each individual image is fine. Defining a consistent on-model treatment, a recognisable approach to model, framing, and styling, makes the whole range read as one coherent collection, which matters as much for on-model imagery as it does for the clean packshots that sit alongside it. The aim is that a buyer browsing the catalog sees a unified brand, with the pieces as the variable rather than the photography.
This is also where generating on-model imagery rather than shooting it pays a consistency dividend. Physical model shoots done across different days, with different models and lighting, drift visually no matter how careful the brief. Generating to a defined treatment keeps the on-model shots as uniform as the packshots, so the second image in every listing carousel shares a visual language. A seller can pair this with Hylo's AI Photoshoot for the clean packshots and use the same accurate reference photos as the basis for the on-model renders, so the whole listing, recognition shot and scale shot alike, comes from one consistent process.
Common on-model mistakes to avoid
A few specific mistakes undermine on-model imagery. The first is using on-model shots to disguise rather than inform, styling or angling a piece so it looks larger or more elaborate than it is, which inflates returns instead of reducing them. The second is neglecting the scale relationship, rendering a piece at a size that does not match reality, which defeats the entire purpose of the shot. The third is letting the model and styling overwhelm the piece, producing a beautiful image in which the jewelry is hard to see. The fourth is inconsistency across the catalog, which makes the range look assembled rather than designed.
Each has a clear remedy: keep the render honest about size and drape, anchor the scale to reality, subordinate the styling to the piece, and apply a consistent treatment across the catalog. Followed together, these turn on-model imagery into exactly what it should be, an honest, flattering answer to the buyer's most common doubt, rather than a source of new disappointments. The test for every on-model image is the same as for every packshot: does the buyer who receives the piece feel that the photograph told the truth?
On-model imagery for different markets and pieces
The role on-model imagery plays shifts with the piece and the market, and recognising that helps you decide where to invest. For everyday fashion jewelry, on-model shots primarily answer the scale question quickly and reassure a price-sensitive buyer that the piece looks as expected when worn. For fine jewelry in yellow gold or platinum, the on-model shot does additional work, conveying the quality and presence of the piece in a way that supports a higher price, since a buyer spending more wants to see how the item carries on the body. For bridal jewelry, especially elaborate sets, on-model imagery is close to essential, because the entire proposition is how the coordinated pieces look together when worn for the occasion they are made for.
Cultural context matters too. In markets with strong traditions around specific pieces, a mangalsutra, a maang tikka, a nath, buyers have precise expectations about how a piece should sit and be worn, and an on-model shot that places the piece correctly speaks to that knowledge and builds confidence. A render that positions such a piece incorrectly does the opposite, signalling to a knowledgeable buyer that the seller does not understand the product. Getting the placement culturally and physically right is therefore part of accuracy for these pieces, not just a styling nicety, and it rewards sellers who understand the traditions their buyers bring.
Building on-model imagery into your listing strategy
The most effective sellers do not treat on-model shots as an occasional extra but build them into a deliberate listing structure. A strong jewelry listing tends to follow a logical sequence: a clean packshot first for instant recognition and marketplace compliance, an on-model or on-hand shot second to resolve the scale and drape question immediately, then detail and scale-reference shots, and finally any lifestyle or styled imagery. Placing the on-model shot in that second slot is deliberate, because it answers the buyer's biggest unspoken question, "how big is this and how will it look on me," at exactly the moment they are forming a judgment, before doubt has a chance to stop the purchase.
Thought of this way, on-model imagery is not decoration but a specific tool for closing the gap between what a buyer can see and what they need to know. The seller who provides it, accurately and consistently, across the pieces where scale is hard to judge, removes the single most common reason jewelry gets returned and the single most common hesitation that stops a sale. Producing these shots from product photos rather than physical shoots is what makes it feasible to do this across a whole catalog rather than for a privileged few pieces, which is precisely what turns on-model imagery from an aspiration into a standard part of every listing.
Measuring whether on-model shots are working
Because on-model imagery is meant to do a specific job, reducing size-related returns and hesitation, you can and should check whether it is doing it. The clearest signal is the return rate on pieces that received on-model treatment versus those that did not: if the on-model shots are accurate and well-placed, size-related returns on those pieces should fall. Conversion is the other signal, since a listing that answers the scale question early tends to convert better than one that leaves the buyer guessing. Watching these over time tells you where on-model imagery earns its keep and where it adds little, which lets you focus the effort on the necklaces, earrings, and bridal sets that benefit most rather than spreading it thinly across pieces that do not need it.
This feedback loop also guards against the dishonest-render trap, because if on-model shots are flattering pieces beyond reality, returns will rise rather than fall, exposing the problem in the numbers. Used honestly and measured properly, on-model imagery becomes a self-correcting part of the listing strategy: the data confirms that accurate, well-placed shots reduce returns and lift conversion, which reinforces the discipline of keeping every render faithful to the real piece. That is the virtuous version of on-model photography, and it is well within reach of any seller producing these shots from accurate product references.
Where on-model shots belong
On-model images complement packshots; they do not replace them. The packshot is the clean recognition image and, on marketplaces, the compliant main shot on white. The on-model image is where the scale question gets answered, which is why it works best as a secondary image, ideally the second slot right after the packshot. Marketplace rules generally require the main image to show the product alone on a white background, so on-model shots go in the carousel rather than the lead position; on your own store, where those rules do not apply, you have the freedom to lead with on-model imagery if it serves the brand. Used together in this way, the packshot and the on-model shot cover both of the buyer's needs at once, recognition and reassurance about scale, which is why the strongest listings almost always include both rather than choosing between them. Hylo's on-model rendering produces these shots from a product photo, so you can give buyers the scale-and-drape view that prevents returns without the cost and logistics of a physical model shoot, while keeping the piece itself accurate to what you sell.