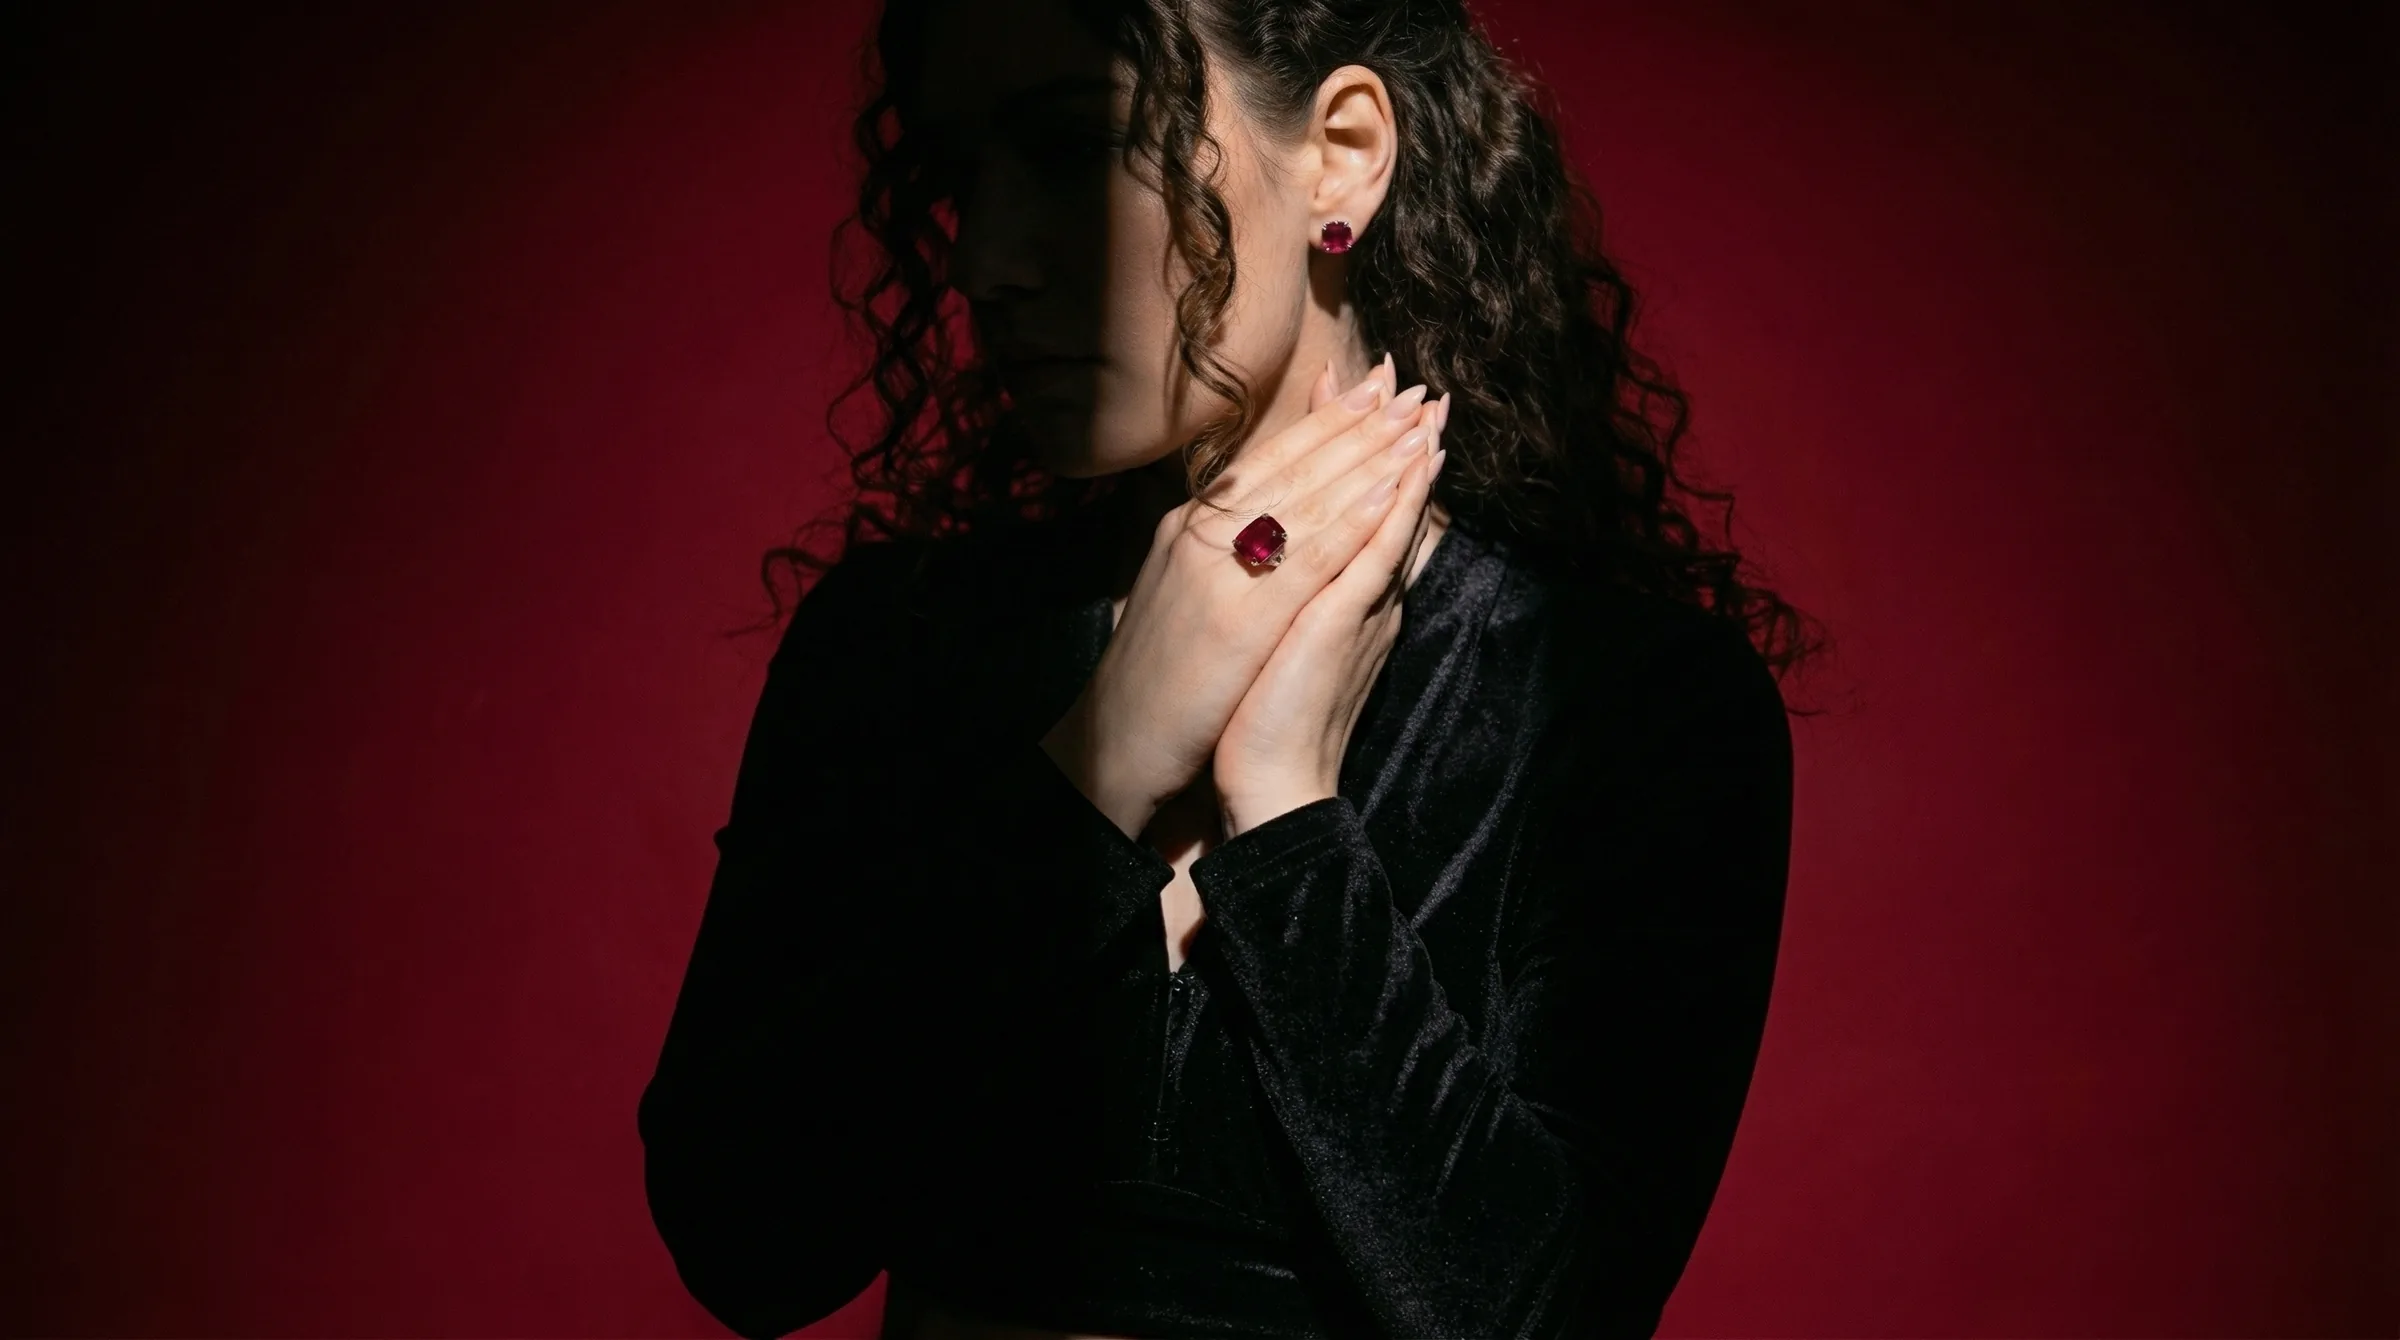
What Defines Professional Necklace Photography
Necklace photography presents a unique set of geometric and optical challenges that separate it from shooting rings or earrings. A necklace is not a compact, single-plane object; it consists of a sprawling chain, a focal pendant or centerpiece, and a clasp, all of which interact differently with light. Professional necklace photography is defined by its ability to manage this scale while retaining macro-level detail on the smallest components.
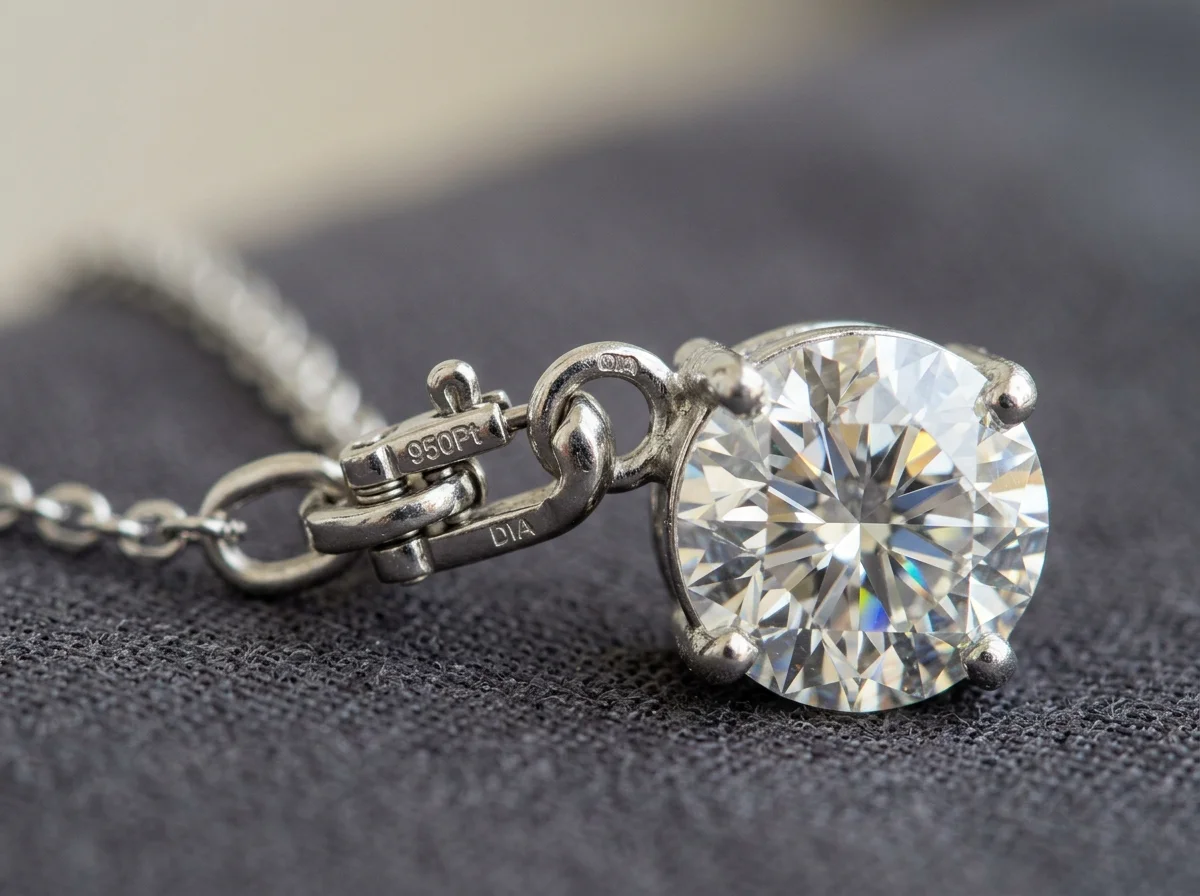
The visual hallmarks of editorial-grade necklace photography include perfect symmetry in the chain drape, a razor-sharp focal point on the pendant or central setting, and controlled highlights across the metal links. Whether you are shooting a delicate 14k gold cable chain or a heavy diamond tennis necklace, the goal is to communicate weight, texture, and scale.
In a standard e-commerce setting, this means eliminating distracting shadows and ensuring the negative space inside the chain loop is perfectly clean. In editorial or lifestyle photography, it means demonstrating how the piece sits against the collarbone or layers with other jewelry. The defining characteristic of a successful necklace shot is that the viewer instantly understands how the piece will look and feel when worn, without being distracted by tangled links, blown-out highlights, or blurry edges.
Achieving this requires meticulous styling. Professional studios use specialized tools—museum wax, clear acrylic risers, and precision tweezers—to force chains into perfect arcs. The lighting must be broad enough to illuminate 18 inches of chain evenly, yet directional enough to make the gemstones pop. It is a balancing act that demands specific equipment and a deep understanding of how light behaves on curved, reflective surfaces.
When to Use Different Necklace Photography Styles
Jewelry brands cannot rely on a single type of image to sell a necklace. A high-converting product page requires a mix of styles to answer different customer questions: What does the pendant look like up close? How long is the chain? How does it look on a person?
Understanding when to deploy specific styles is critical for multi-channel success. Hylo's public inspiration gallery curates 400 real, pass-graded, safety-checked jewelry looks, providing a blueprint for the exact styles top brands use to drive conversion.
The E-Commerce Flatlay (Packshot)
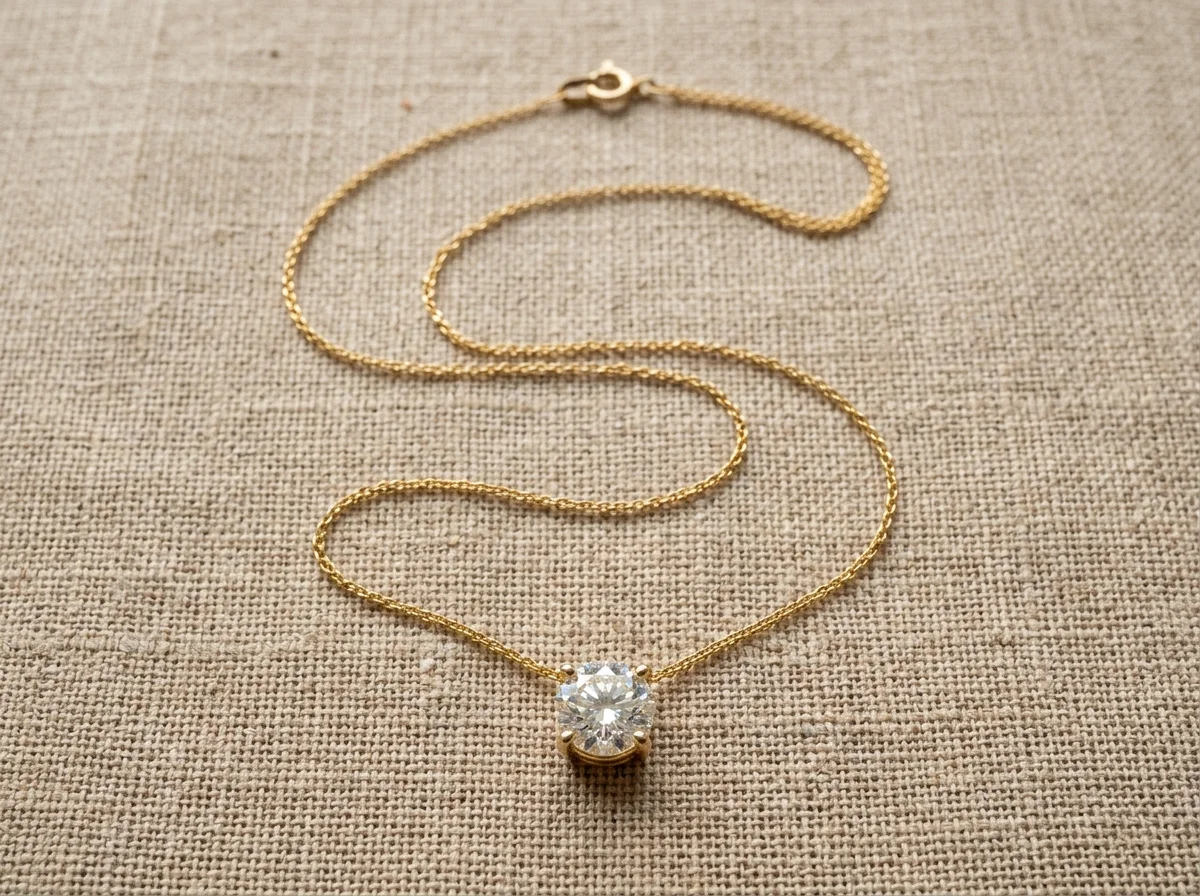
Use this for your primary Shopify product image, Amazon listings, and wholesale linesheets. The flatlay isolates the necklace on a pure white or neutral background. It is purely informational. The chain is typically styled in a symmetrical teardrop or oval shape, with the pendant perfectly centered. This style removes all distractions, allowing buyers to inspect the craftsmanship, clasp type, and metal finish.
The Studio Neckline
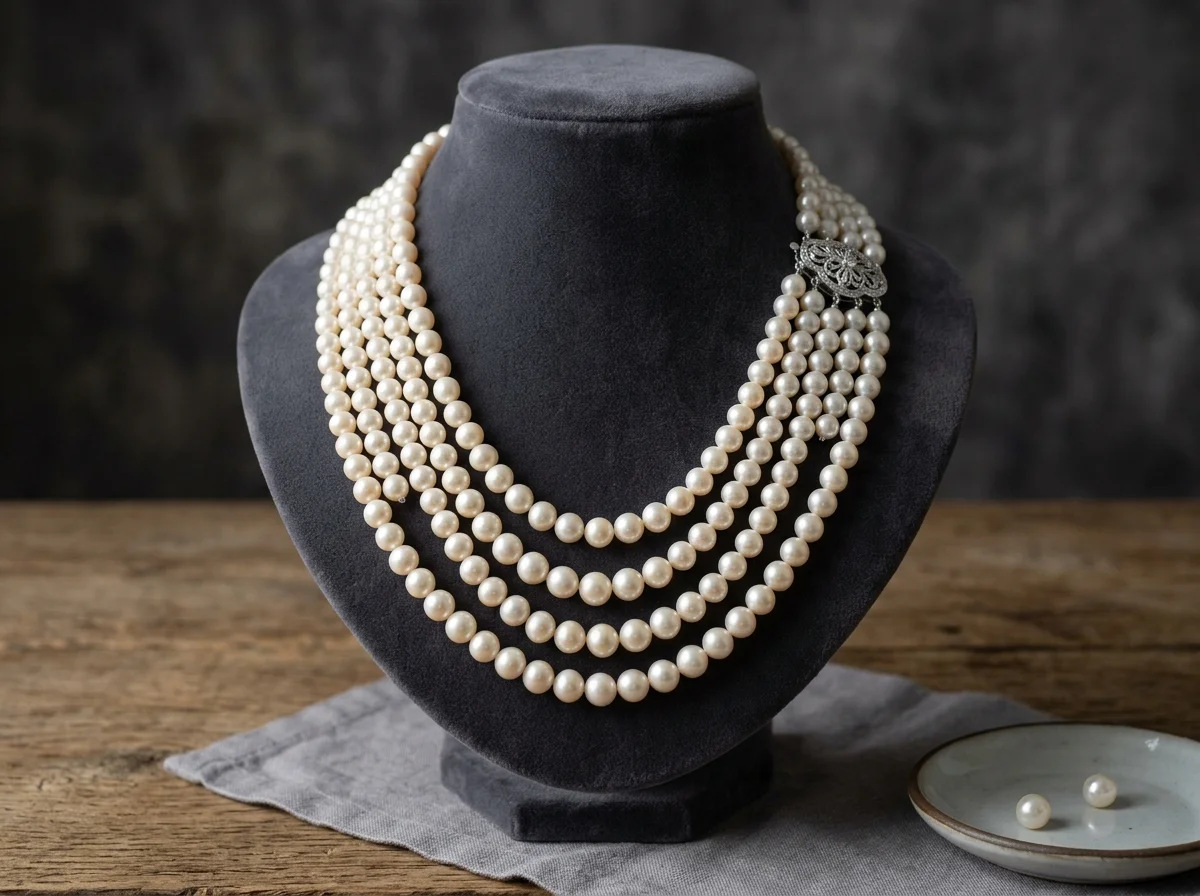
Represented in the Hylo gallery as the "Studio Neckline — Necklace" look, this style bridges the gap between a flatlay and a live model. It shows the necklace draped over a minimalist bust or a stylized anatomical form. Use this style in your product page image carousel to communicate scale and drop length. It helps customers visualize where an 18-inch chain sits compared to a 24-inch chain, which is one of the most common pre-purchase hesitations.
The Editorial Model Portrait
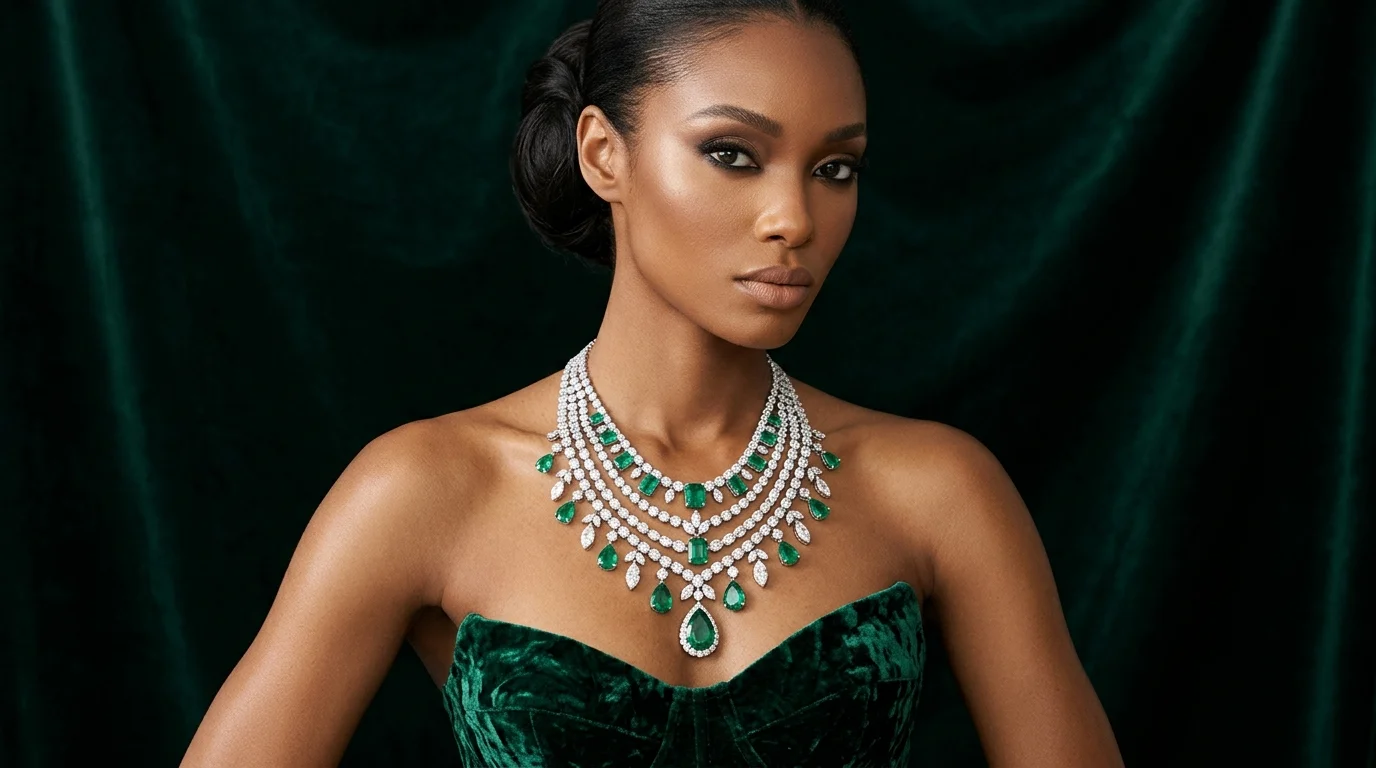
Categorized as "Studio Neckline Portrait — Necklace" in the Hylo gallery, this style features the jewelry on a human model in a controlled studio environment. Use this for hero banners, Instagram grids, and lookbooks. It provides context, skin tone contrast, and emotional resonance. A gold herringbone chain looks entirely different against human skin than it does on a white background.
The Social Proof / UGC Style
Categorized as the "Gift Reveal Selfie — Necklace", this style mimics high-quality user-generated content. It looks like a customer holding the necklace in natural light or wearing it casually. Use this for TikTok Shop, Instagram Stories, and retargeting ads. It lowers the barrier to trust by presenting the jewelry in an accessible, everyday context.
Across the 116 necklace looks in the Hylo gallery, these four styles form the foundation of a complete visual merchandising strategy. Relying solely on flatlays makes a brand feel clinical, while relying solely on lifestyle shots obscures product details. The most successful brands use all four.
How to Shoot Necklaces Manually
Executing professional necklace photography in a traditional studio requires a specific gear loadout and a methodical approach to styling and lighting. A typical setup requires a full-frame DSLR or mirrorless camera, a 100mm macro lens, and at least two strobe lights.
Equipment and Camera Settings
Because necklaces cover a large physical area, depth of field is your primary adversary. If you focus on the pendant at f/2.8, the chain will immediately blur into an unrecognizable smudge. To keep the entire piece sharp, you must shoot at a narrow aperture.
- Aperture: f/11 to f/16. This provides the necessary depth of field to keep both the front of the pendant and the back of the chain in focus.
- Shutter Speed: 1/125s or 1/160s. When using studio strobes, this sync speed eliminates ambient light and freezes any micro-vibrations.
- ISO: 100. Always use the lowest base ISO to prevent digital noise from degrading the fine details of the metal.
The Lighting Diagram
The most effective lighting setup for necklace flatlays is the overhead diffusion tent. Because chains are essentially hundreds of tiny, curved mirrors, direct light will create harsh, blown-out hotspots and deep, distracting shadows.
- The Key Light: Place a large strobe with a softbox directly above the necklace, firing downward through a sheet of diffusion paper or white acrylic. This creates a soft, even wash of light over the entire piece.
- Bounce Cards: Surround the necklace with white foam core boards. These will catch the overhead light and bounce it back into the edges of the chain, ensuring the metal looks bright and dimensional rather than dark and flat.
- Black Flags (Optional): If you are shooting a highly polished silver or platinum chain on a white background, the edges of the metal can blend into the background. Place small strips of black cardboard just outside the frame to reflect dark lines onto the edges of the metal, defining its shape.
Styling and Positioning
Styling a necklace takes longer than lighting it. When shooting flatlays, never just drop the necklace on the table. Use a jewelry styling board.
To create perfect symmetry, draw a faint pencil line or use a laser level down the center of your board. Place the pendant exactly on the line. Use precision tweezers to shape the chain link by link. If the chain refuses to lay flat or twists awkwardly (a common issue with snake or herringbone chains), use tiny dabs of museum wax underneath the stubborn links to hold them in place.
For mannequin or bust shots, use double-sided tape on the back of the bust to pull the chain taut, ensuring the pendant sits perfectly flat against the front.
How to Generate Necklace Photography with Hylo
Shooting a complete necklace catalog manually is a logistical bottleneck. A traditional studio can process perhaps 15 to 20 necklaces per day, factoring in the time required to style chains, adjust lighting, and focus-stack macro shots. At standard commercial rates, this costs between $2,000 and $5,000 per session.
General AI image editors like Photoroom, Canva, or Adobe Firefly are excellent at removing backgrounds, but they struggle with jewelry. Tools like Pebblely or Booth offer basic AI scenes, but they cannot accurately generate the complex negative space inside a chain loop or simulate how a pendant drapes across a collarbone.
Hylo's AI Photoshoot is purpose-built for jewelry, allowing you to bypass the manual styling and lighting process entirely.

The Workflow
- Capture the Base Image: You do not need a macro lens or studio strobes. Shoot the necklace flat on a piece of white paper using your smartphone. Ensure the pendant is in focus and the chain is relatively neat.
- Select a Gallery Look: Instead of writing complex prompt engineering strings, open Hylo's Inspiration Gallery. Filter by the "Necklace" category, which contains 116 pass-graded looks.
- Apply the Style: Select a specific look, such as "Studio Neckline — Necklace" for product pages or "Gift Reveal Selfie — Necklace" for social media. Hylo's AI understands the geometry of the chain and will drape your uploaded image naturally onto the selected model or bust.
- Enforce Consistency with Brand Kit: If you are generating a 50-piece linesheet, use Hylo's Brand Kit to lock in your specific lighting preferences, background tones, and shadow intensity. This ensures that a delicate gold pendant and a chunky silver chain look like they were shot in the exact same studio on the exact same day.
Hylo preserves the intricate details of your specific piece—the exact prong settings on the pendant, the specific link structure of the chain—while generating photorealistic lighting and environments around it.
Examples Across Jewelry Categories
To understand how necklace photography fits into a broader brand aesthetic, it is helpful to look at how different jewelry categories require different visual treatments. Hylo's gallery of 400 curated looks provides a clear breakdown of these category-specific needs:
- Necklaces (116 looks) & Pendants (42 looks): These categories require vertical space. The visual emphasis is on the drape and the drop length. Lighting must be broad to cover the entire chain, while maintaining a sharp focal point on the pendant.
- Rings (131 looks): Rings require micro-environments. The focus is entirely on the center stone, the setting, and the band texture. Lighting is highly targeted, often using pinpoint specular highlights to maximize diamond sparkle. Rings are frequently shot straight-on or at a slight 45-degree angle to show the gallery.
- Earring-studs (28 looks): Studs require extreme macro focus and are often shot in pairs to demonstrate scale. They demand crisp, high-contrast lighting to highlight the metalwork and gemstones without the distraction of a chain.
- Bracelets (17 looks) & Bangles (17 looks): These pieces require a focus on circumference and clasp details. Bangles are often shot stacked or propped up at an angle to show their rigid structure, while flexible bracelets are styled in gentle curves, similar to necklaces but on a much smaller scale.
When building a catalog, consistency across these categories is paramount. The lighting on your 116 necklace shots must match the lighting on your 131 ring shots. This is where manual photography often fails—a slight shift in the strobe position between Tuesday's ring shoot and Wednesday's necklace shoot ruins the cohesion of your product grid. AI generation solves this by mathematically locking the lighting environment across all categories.
Common Mistakes in Necklace Photography
Even experienced photographers struggle with necklaces. Avoiding these common errors will immediately elevate your brand's visual presentation.
Mistake 1: Tangled or Asymmetric Chains The most jarring mistake in necklace photography is a sloppy chain. If the left side of the chain arcs smoothly but the right side has a kink, the image looks cheap. Buyers subconsciously associate messy styling with poor product quality. Always use a grid or laser level to ensure perfect symmetry in flatlays.
Mistake 2: Missing the Focal Plane Because necklaces have depth, relying on autofocus often results in the clasp being sharp while the pendant is soft, or vice versa. In manual photography, you must focus manually on the pendant and use a narrow aperture (f/11+). If shooting on a bust, ensure the pendant is the closest part of the necklace to the lens.
Mistake 3: Harsh Chain Shadows If your overhead light is too small or too direct, every link in the chain will cast a distinct, hard shadow onto the background. This creates visual clutter that distracts from the jewelry. Always use large, heavily diffused light sources to create soft, wrap-around lighting that minimizes drop shadows.
Mistake 4: Unrealistic Scale Representation Shooting a tiny, delicate pendant with a massive macro lens can make it look like a statement piece. When the customer receives it, they feel misled. Always include at least one contextual image—like the "Studio Neckline Portrait"—to provide an accurate, human-scale reference for the piece.