What Defines Exceptional Ring Photography
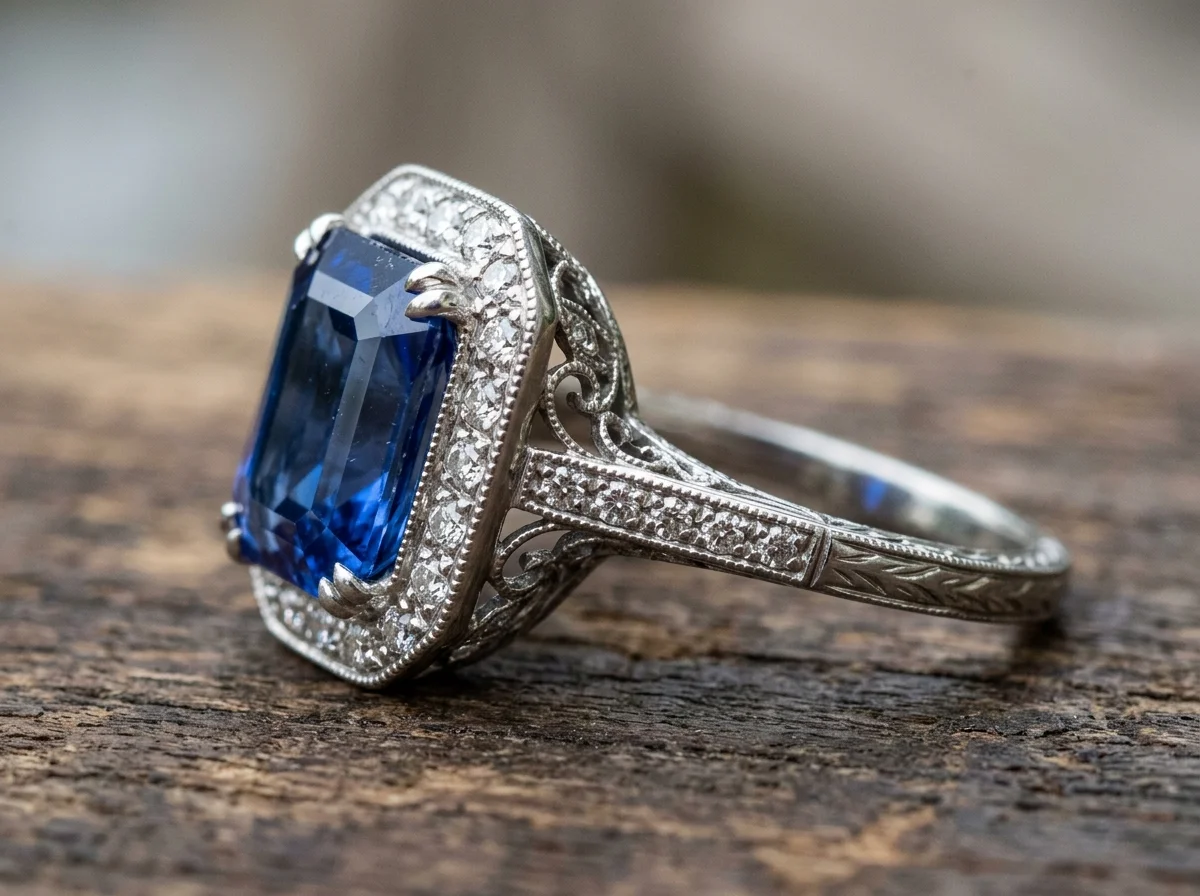
Rings are arguably the most difficult category of jewelry to photograph. Unlike pendants that lay flat or earrings that hang vertically, a ring is a complex, three-dimensional object. It features a highly reflective shank, intricate settings (like prongs, bezels, or galleries), and center stones that require specific light angles to reveal their facets and fire.
Exceptional ring photography solves three primary physical challenges: managing specular highlights, maximizing depth of field, and capturing color accuracy.
The Physics of Lighting Metal
Highly polished metals—whether 18k gold, platinum, or sterling silver—do not absorb light; they reflect their environment. The fundamental rule of lighting rings is that the angle of incidence equals the angle of reflection. If you point a bare strobe directly at a polished gold band, you will not get a gold band; you will get a blown-out white highlight and a stark black shadow reflecting the rest of your dark studio.
Professional ring photography relies on diffusion. By surrounding the ring with white diffusion material (like a light cone or a diffusion tent) and firing light through it, you create a seamless, continuous gradient of light that wraps around the shank. This is what gives metal its volume and shape.
Depth of Field and Dimensionality
Because rings are shot at high magnification (often 1:1 macro ratios), the depth of field becomes razor-thin. Even at f/11 or f/16, it is physically impossible to keep the front claw setting, the center diamond, and the back of the band in sharp focus in a single exposure.
To capture a ring in full focus, photographers use a technique called focus stacking. This involves taking 15 to 30 individual photos, shifting the focal plane by a fraction of a millimeter between each shot, and blending them together in post-production software like Helicon Focus or Adobe Photoshop.
Color Accuracy in Gemstones
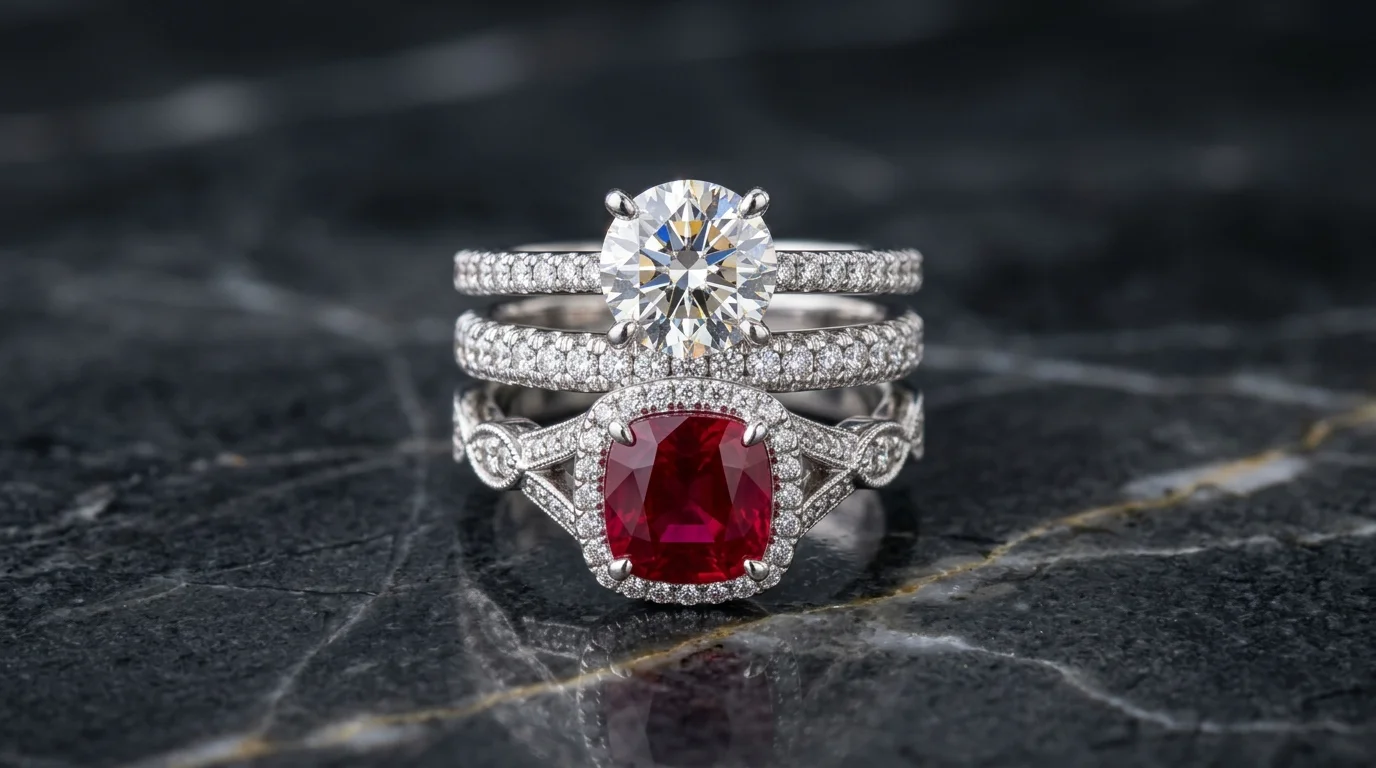
Diamonds, sapphires, and emeralds require different lighting treatments than the metal bands that hold them. While diffused light is perfect for a smooth gold shank, it can make a diamond look flat and lifeless. Exceptional ring photography often utilizes a "sparkler light"—a small, undiffused, directional LED or strobe placed at an angle to hit the facets of the gemstone directly, creating the high-contrast sparkle (scintillation) that buyers expect.
When to Use Different Ring Photography Styles
Jewelry brands operate across multiple channels, and a single white-background packshot is no longer enough to drive conversion. Different styles serve different psychological purposes in the buyer's journey.
E-commerce Packshots (The Foundation)
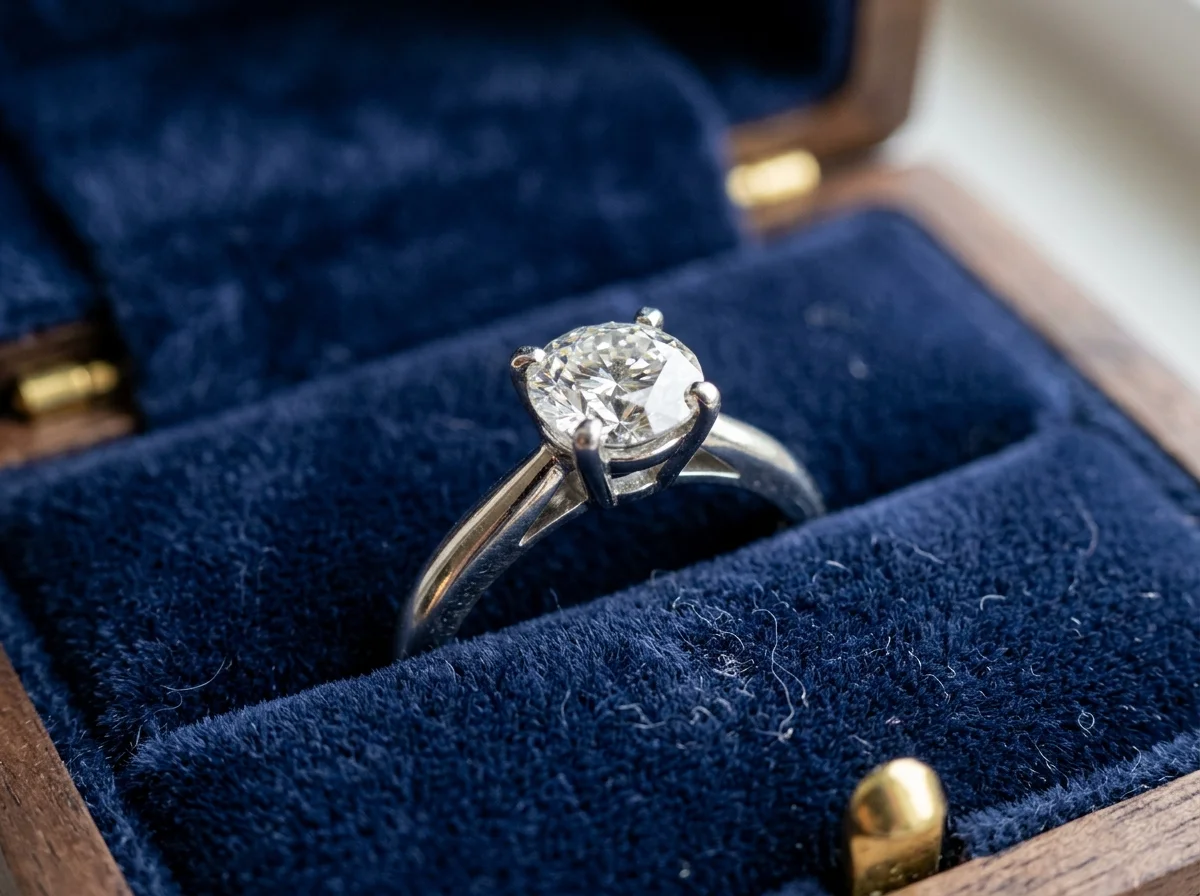
The standard e-commerce packshot features the ring isolated on a pure white or light grey seamless background.
- Where it lives: Shopify product pages, Amazon Handmade listings, Faire wholesale linesheets.
- Buyer psychology: Trust and clarity. The buyer wants to inspect the architecture of the ring without distraction. They need to see the height of the basket, the thickness of the shank, and the exact shape of the center stone.
- Key angles required: Top-down (face up), profile (side view), and a 45-degree isometric view.
On-Model Editorial
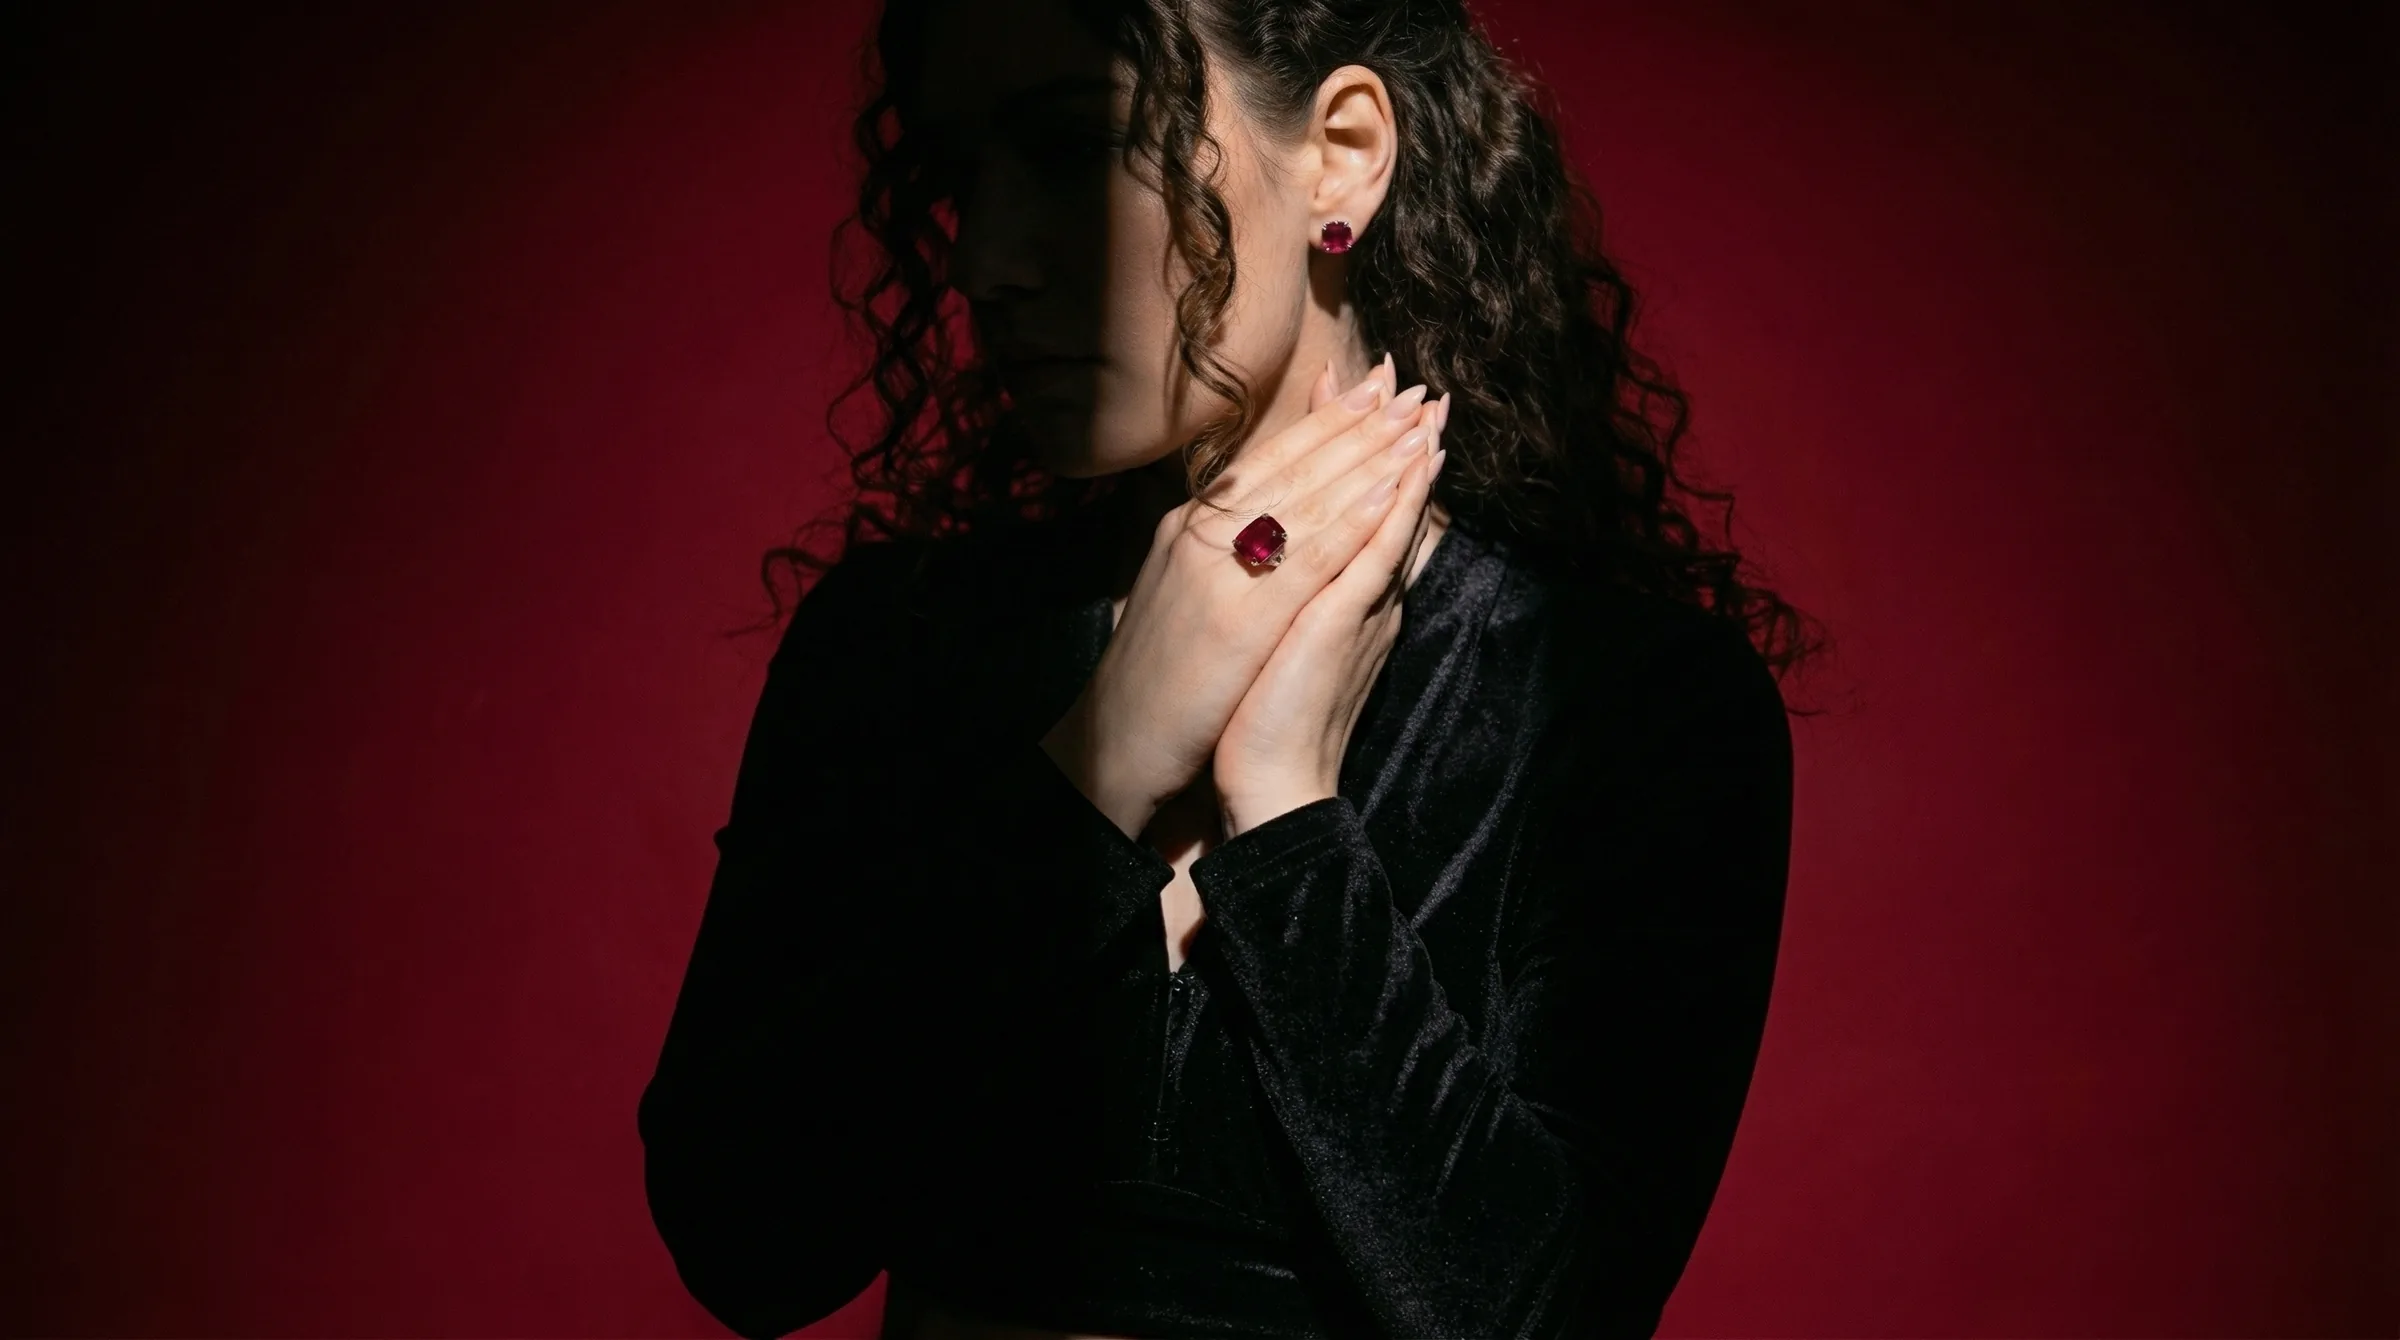
Editorial photography places the ring on a model in a stylized environment, often with dramatic lighting, specific wardrobe choices, and props.
- Where it lives: Homepage hero banners, Instagram grids, print lookbooks.
- Buyer psychology: Aspiration and brand identity. This style sells the lifestyle associated with the brand. It answers the question, "Who is the person that wears this ring?"
Lifestyle Context
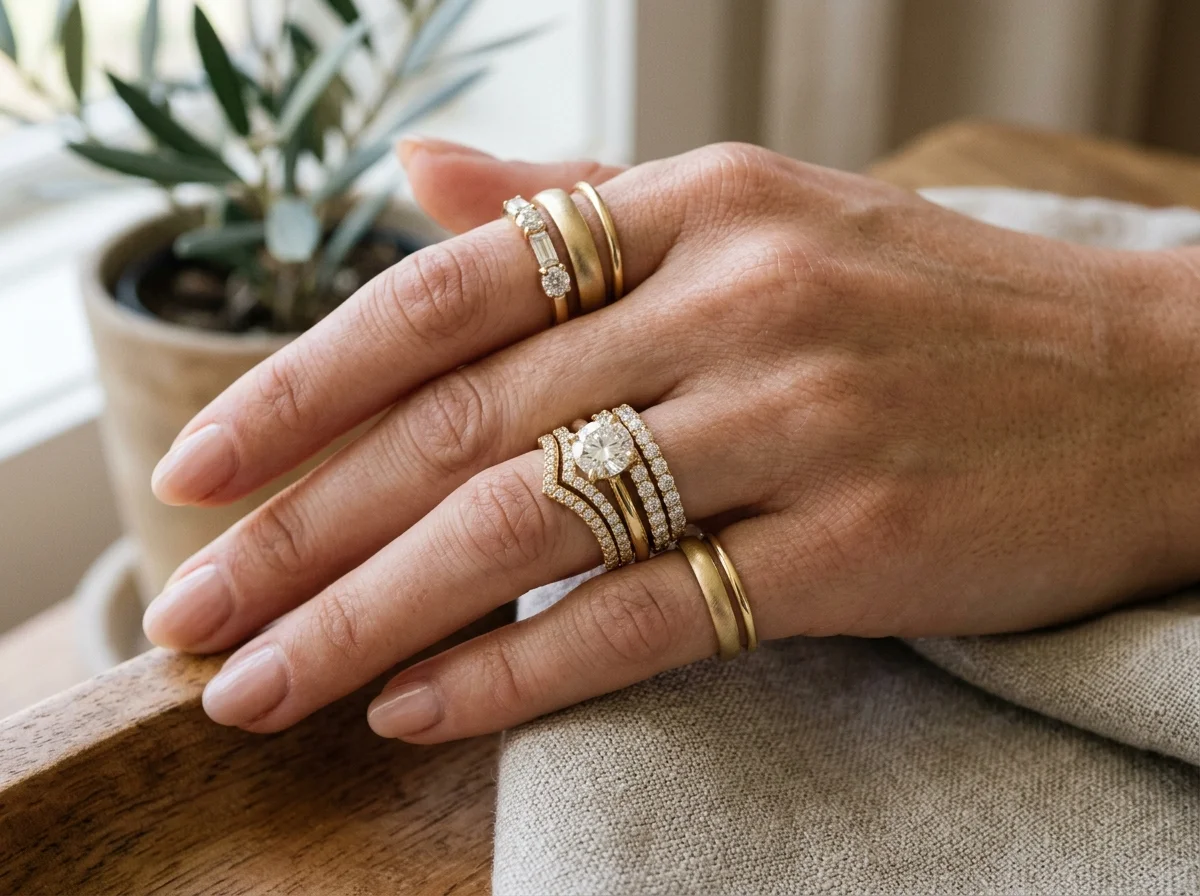
Lifestyle photography shows the ring in realistic, everyday scenarios—worn while holding a coffee cup, resting on a bedside table, or clasped in another person's hand.
- Where it lives: Meta ad creatives, TikTok videos, Pinterest boards.
- Buyer psychology: Scale and relatability. Rings can look deceptively large or small when isolated on white. Lifestyle shots give the buyer an immediate understanding of the ring's true proportions on a human hand.
How to Shoot Ring Photography Manually
If you are building an in-house studio to shoot rings manually, you need to invest in specific macro equipment. A standard portrait photography setup will not yield professional results.
The Essential Macro Equipment List
- Camera & Lens: A full-frame mirrorless camera paired with a dedicated 100mm or 105mm macro lens capable of 1:1 magnification.
- Support System: A heavy-duty studio stand or a rigid carbon-fiber tripod. Micro-vibrations will ruin a focus stack.
- Macro Focusing Rail: An automated or manual rail that allows you to move the camera forward in millimeter increments without touching the lens focus ring.
- Lighting: Two to three strobe heads (e.g., Profoto or Godox) or high-CRI continuous LED panels.
- Modifiers: A specialized macro diffusion cone or a custom-built diffusion tunnel made from Lee 216 white diffusion paper.
The Standard Lighting Diagram
Place the ring on a piece of white acrylic or glass to create a soft reflection. Place your diffusion cone over the ring, dropping your camera lens through the top hole of the cone.
Position your main light (key light) above and slightly behind the cone, firing down at a 45-degree angle. Position a second light (fill light) on the side to wrap light around the shank. Finally, position a small, bare-bulb LED outside the cone, aimed directly through a small slit at the center stone to create sparkle.
Camera Settings and Focus Stacking Workflow
- Settings: Set your camera to ISO 100 to minimize noise. Set your shutter speed to your camera's sync speed (usually 1/125s or 1/200s). Set your aperture between f/8 and f/11—this is the "sweet spot" for most macro lenses where sharpness is highest before diffraction softens the image.
- Execution: Lock your camera on the focusing rail. Focus on the very front edge of the front prong. Take a shot. Move the rail forward by 1 millimeter. Take another shot. Repeat this process until you have reached the back edge of the ring band (usually 15 to 30 frames).
- Post-Production: Export the raw files to Helicon Focus. The software will analyze the contrast in each frame, extract the sharpest pixels, and merge them into a single, fully-focused composite image.
How to Generate Ring Photography with Hylo
Shooting rings manually is expensive and time-consuming. A professional jewelry photographer typically charges $2,000 to $5,000 per day and may only deliver 15 to 20 fully retouched, focus-stacked ring images in that timeframe.
For jewelry brands that need to scale their visual content across e-commerce, social media, and wholesale channels, Hylo replaces the $2,000–$5,000/day studio booking with an AI-powered studio that generates editorial-grade ring photography in seconds.
The AI Photoshoot Workflow
Hylo is specifically engineered for the complexities of jewelry. While general-purpose AI tools like Canva, Pebblely, or Photoroom are excellent for basic background removal, they struggle with rings. They frequently distort shanks, hallucinate extra prongs, or melt pavé diamonds into a blurry mess. Hylo's AI Photoshoot preserves the exact CAD geometry of your jewelry.
- Upload a Base Image: Start with a simple, well-lit smartphone photo of your ring on a flat surface, or an existing white-background e-commerce shot.
- AI Retouch: Use Hylo's AI Retouch tools to instantly clean up dust, fingerprints, and minor scratches on the metal shank—eliminating the need for tedious Photoshop clone-stamping.
- Select a Style: Open the Hylo Inspiration Gallery and select a specific ring photography style.
- Generate: Hylo places your exact ring into the chosen environment, generating realistic shadows, reflections, and lighting interactions based on the style's parameters.
Utilizing the Brand Kit
To maintain visual consistency across your entire catalog, you can save your preferred lighting setups, background colors, and prop styles into your Hylo Brand Kit. This ensures that a ring photographed in November matches the aesthetic of a ring photographed in March, creating a cohesive, premium brand experience.
| Metric | Manual Studio Workflow | Hylo AI Photoshoot |
|---|---|---|
| Setup Time | 45-60 minutes | 2 minutes |
| Focus Stacking | 15-30 frames (10 mins) | Not required (1 single image) |
| Retouching | 20-30 mins per image | AI Retouch (instant) |
| Cost per Look | $150 - $300 | ~$0.31 - $0.48 |
Ring Photography Examples from the Hylo Inspiration Gallery
Hylo's public Inspiration Gallery serves as first-party visual evidence of what the platform can achieve. The gallery currently curates 400 real, pass-graded, safety-checked jewelry looks across multiple categories, including: ring (131 looks), necklace (116 looks), pendant (42 looks), earring-stud (28 looks), bracelet (17 looks), and bangle (17 looks).
Within the ring category, the 131 curated looks cover everything from minimalist flatlays to high-end editorial scenes. Here are three real looks from the current ring set that show the range:
Sunlit Solitaire Diamond Ring
A solitaire on hand, photographed so the stone catches soft daylight. The gallery's curator note describes it as a "luminous design that captures soft sunlight with captivating warmth" — a useful reference for daylight-toned ring shots that keep the diamond's fire without studio diffusion.
Romantic Solitaire Proposal Ring
An engagement-style presentation in which a clasping gesture frames the central stone. The curator note highlights the "clasping gesture" accentuating "central engagement gem fire" — a reference for bridal imagery that keeps the ring the hero of a human moment.
Linen Fold Hero Solitaire Diamond Ring
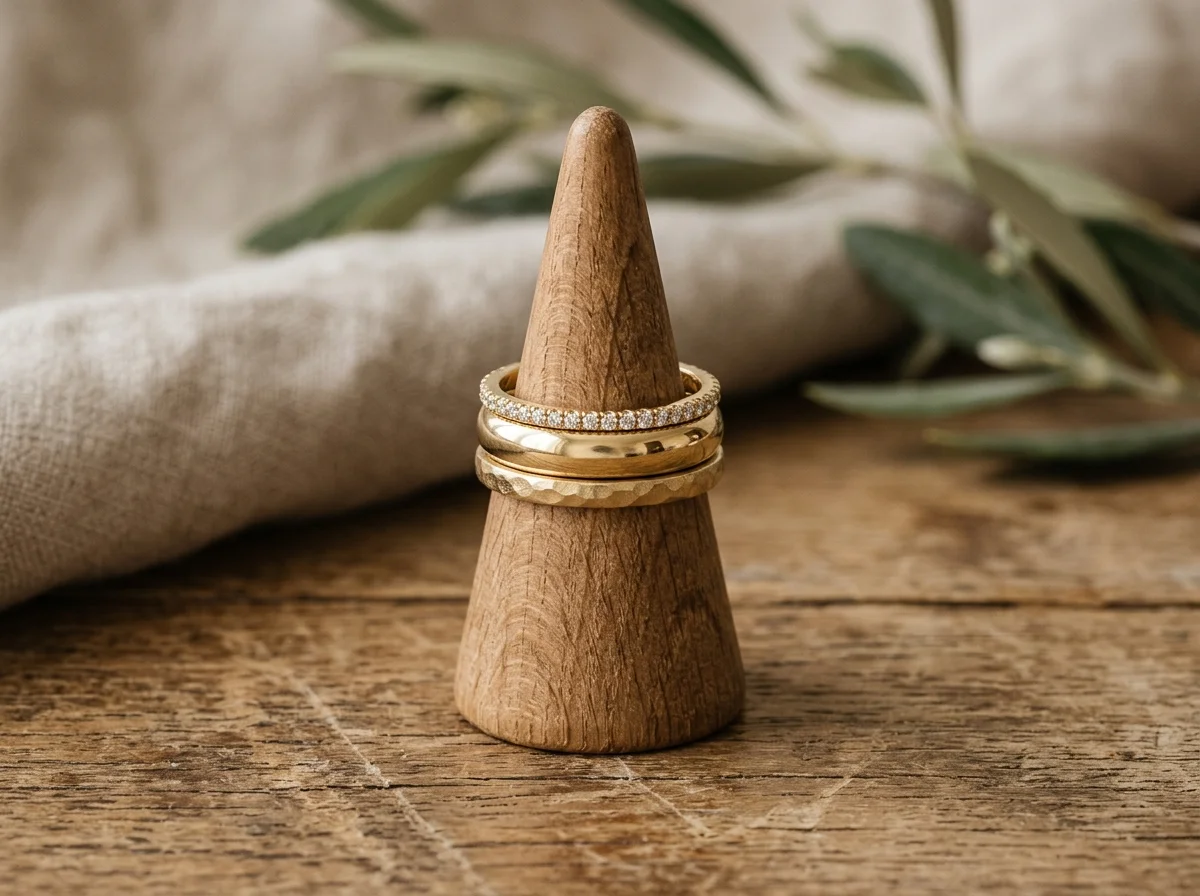
A styled display on a linen fold, described as harmonizing "classic silhouette with modern glamour" and ideal for curated jewelry stacks — a good reference for editorial display styling with a single stone as the focal point.
You can browse the full ring set (131 looks), or filter the gallery by category, at the Hylo Inspiration Gallery.
Common Mistakes in Ring Photography
Whether shooting manually or reviewing outsourced imagery, watch out for these common ring photography pitfalls.
The "Black Hole" Reflection
This occurs when the diffusion tent is not fully sealed. The polished metal of the ring reflects the dark opening of the tent or the black body of the camera lens, resulting in a harsh, black void right in the middle of a gold or silver band.
- The Fix: Ensure your diffusion material wraps 360 degrees around the ring. If shooting through a hole in a light cone, keep the hole as small as physically possible.
Dead Center Stones
A diamond that looks like a piece of clear glass or dark grey plastic is a "dead" stone. This happens when the lighting setup is entirely diffused, with no direct light source to interact with the gem's facets.
- The Fix: Introduce a small, hard light source (a sparkler light) aimed directly at the stone. Ensure the light hits the table (top flat facet) or crown facets to create internal reflections.
Shallow Depth of Field on Prongs
Trying to shoot a ring at f/2.8 or f/4 to achieve a "moody" blurred background often results in the back prongs or the back half of the center stone falling out of focus. In fine jewelry, buyers need to see the security of the setting.
- The Fix: Always use focus stacking for e-commerce packshots. If you want a blurred background for an editorial shot, focus stack the ring itself and blur the background in post-production, or use Hylo's AI to generate the exact depth of field required.
Plastic-Looking Metal Retouching
In an attempt to remove scratches and dust, retouchers often rely too heavily on noise reduction plugins or the clone stamp tool, smoothing the metal until it looks like rendered plastic. Real metal has a subtle grain and texture.
- The Fix: Use frequency separation techniques in Photoshop to remove blemishes while retaining the underlying texture of the metal, or utilize Hylo's AI Retouch to intelligently clean the surface without destroying its natural metallic properties.