Earrings present a unique optical challenge in jewelry photography. Unlike rings that sit flat or necklaces that drape naturally over a bust, earrings are designed to be suspended. Photographing them requires managing gravity, scale, and extreme macro reflections simultaneously.
Whether you are shooting 18k gold huggie hoops for a Shopify storefront or 2ct diamond drop earrings for an Instagram campaign, the technical requirements remain the same: flawless focus, controlled light, and accurate metal rendering. A standard e-commerce studio booking for this level of detail typically runs $2,000 to $5,000 per day.
Here is exactly how to execute professional earring photography, whether you are building a manual tabletop studio or utilizing AI to scale your visual output.
What Defines Professional Earring Photography
Professional earring photography is defined by three visual hallmarks: absolute edge sharpness, intentional reflection management, and contextual scale.
Because earrings are small and highly reflective, they act like tiny convex mirrors, reflecting the entire room—including the camera lens, the photographer, and any harsh light sources. Professional setups eliminate these environmental reflections, replacing them with smooth, controlled gradients that define the shape of the metal.
The Role of Suspension and Gravity
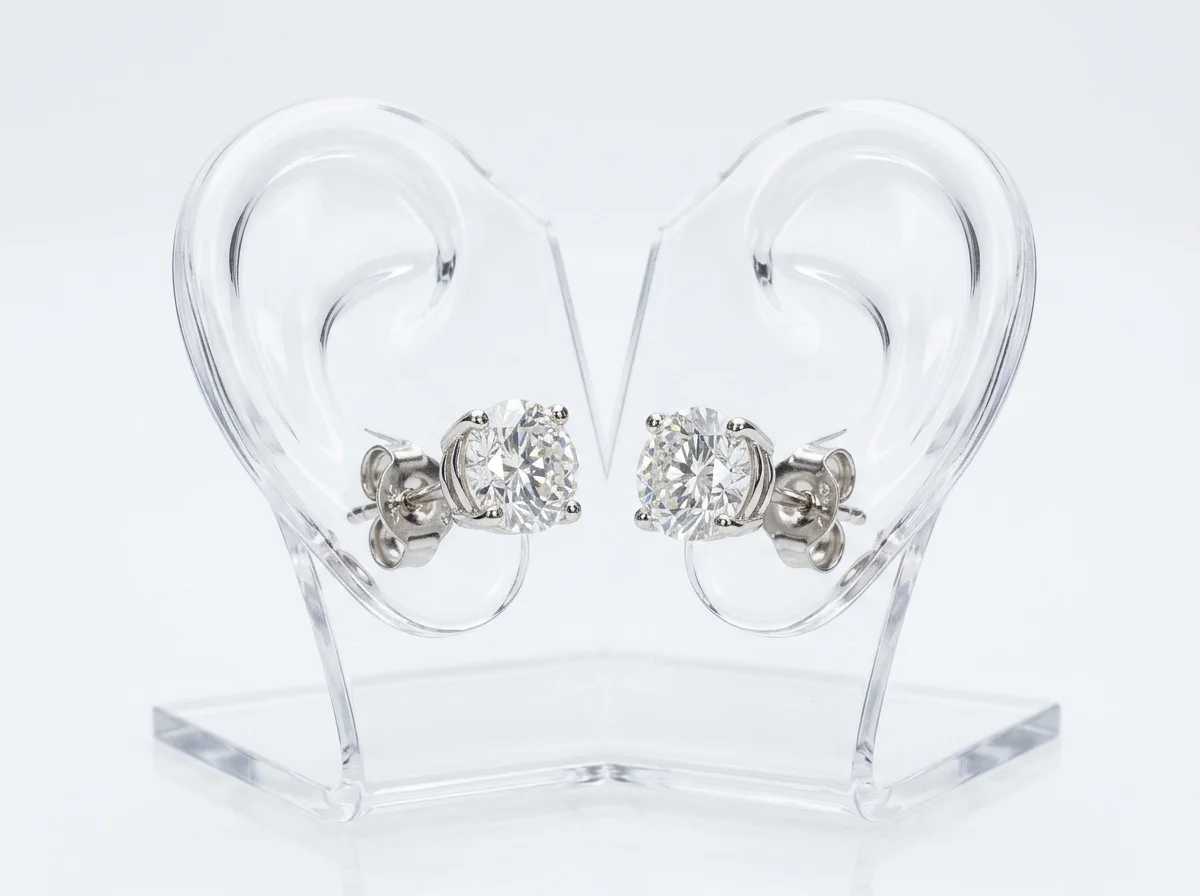
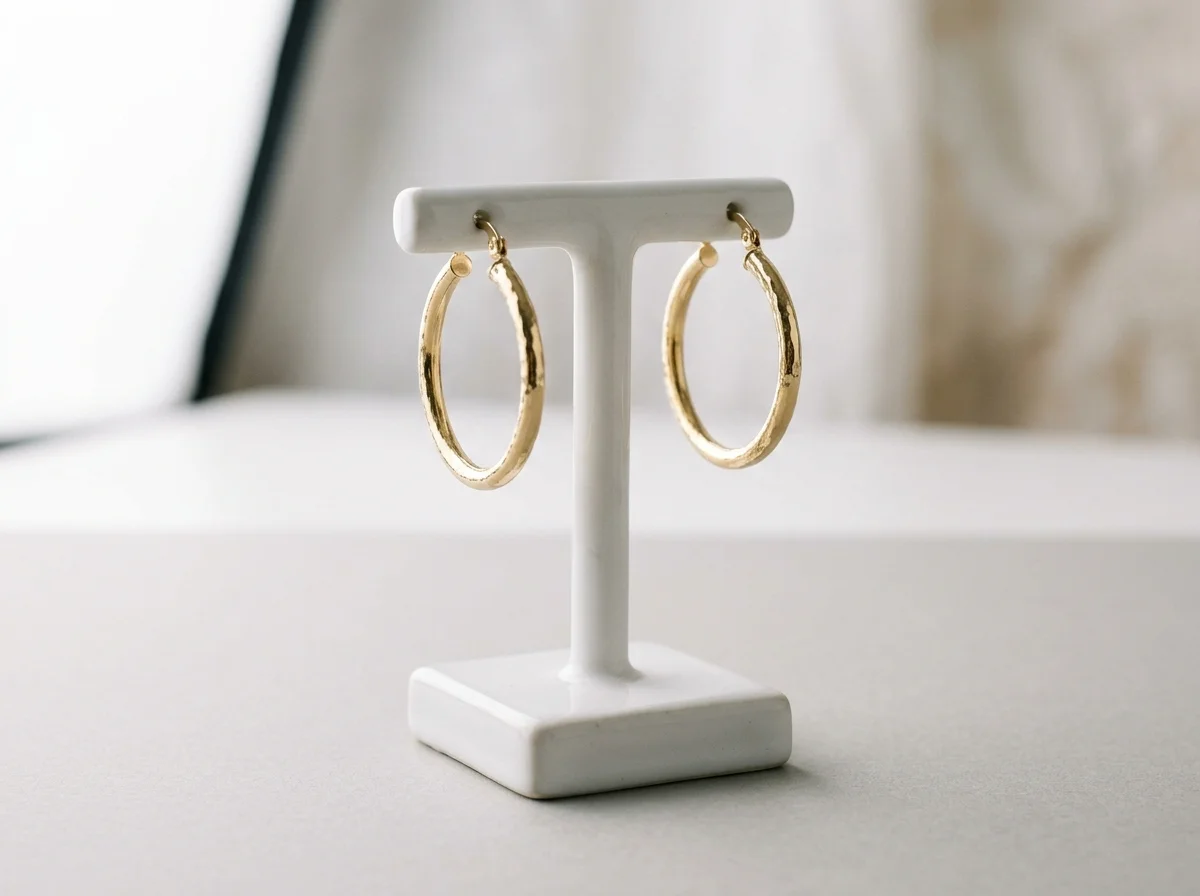
Earrings look unnatural when laid completely flat. Dangle, drop, and chandelier earrings must demonstrate how they hang. Even stud earrings benefit from a slight angle to reveal the depth of the post, the basket setting, and the clutch. Professional photography uses styling wax, acrylic blocks, or invisible nylon thread to pose the earring as it would sit on the earlobe.
Lighting Characteristics
Earring photography relies on diffused, wrap-around lighting. Hard light creates blown-out highlights on polished gold and casts distracting, dense shadows behind the piece. The defining characteristic of a professional shot is the "gradient highlight"—a soft transition from bright white to mid-tone across the curved surface of the metal, achieved using diffusion cones or double-baffled softboxes.
Focus Stacking Necessity
When shooting a 5mm stud earring with a 100mm macro lens, the depth of field at f/11 is often less than a millimeter. If you focus on the front prong, the back of the earring will blur. Professional earring photography almost always requires focus stacking—taking 5 to 15 images at different focal points and merging them in post-production to achieve front-to-back sharpness.
When to Use Specific Earring Photography Styles
Your choice of photography style dictates how a customer interacts with the product. Different channels require different visual treatments.
The E-Commerce Packshot (White Seamless)
Best for: Shopify product pages, Amazon, wholesale linesheets, Google Shopping.
The pure white (RGB 255,255,255) background shot is non-negotiable for conversion. Buyers need a distraction-free environment to evaluate the symmetry of a pair of earrings, the clarity of the stones, and the exact tone of the metal. These shots should feature soft drop shadows to ground the product, preventing the earrings from looking like they are floating in empty space.
Editorial and Lifestyle
Best for: Instagram, TikTok, email marketing hero images, website banners.
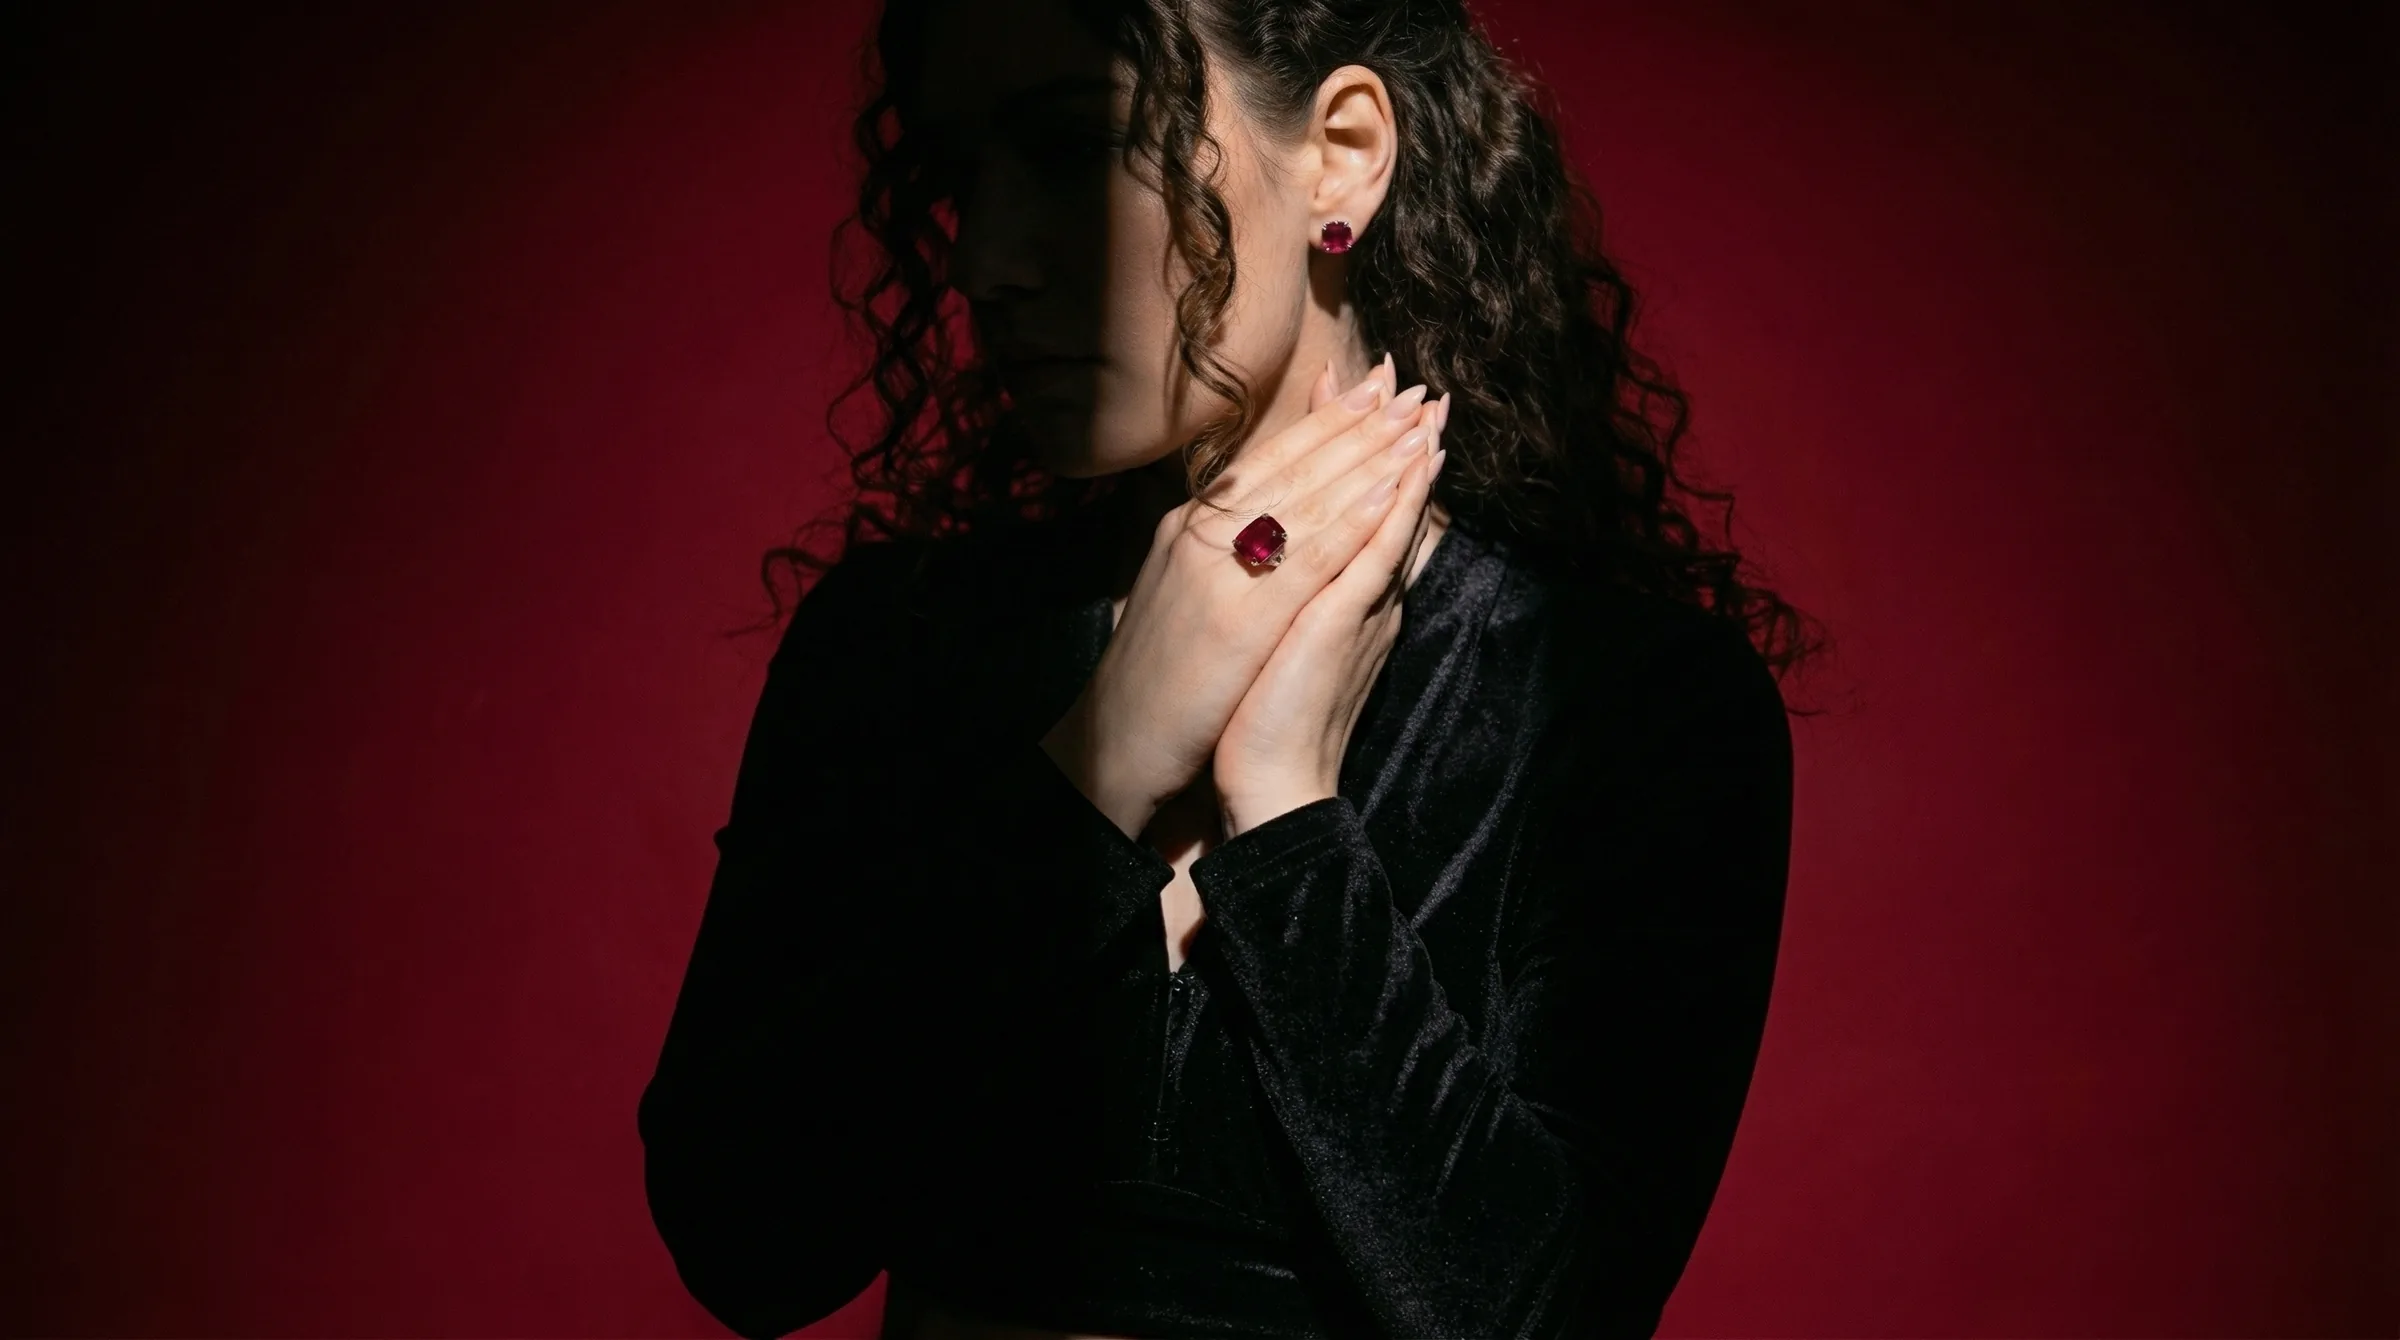
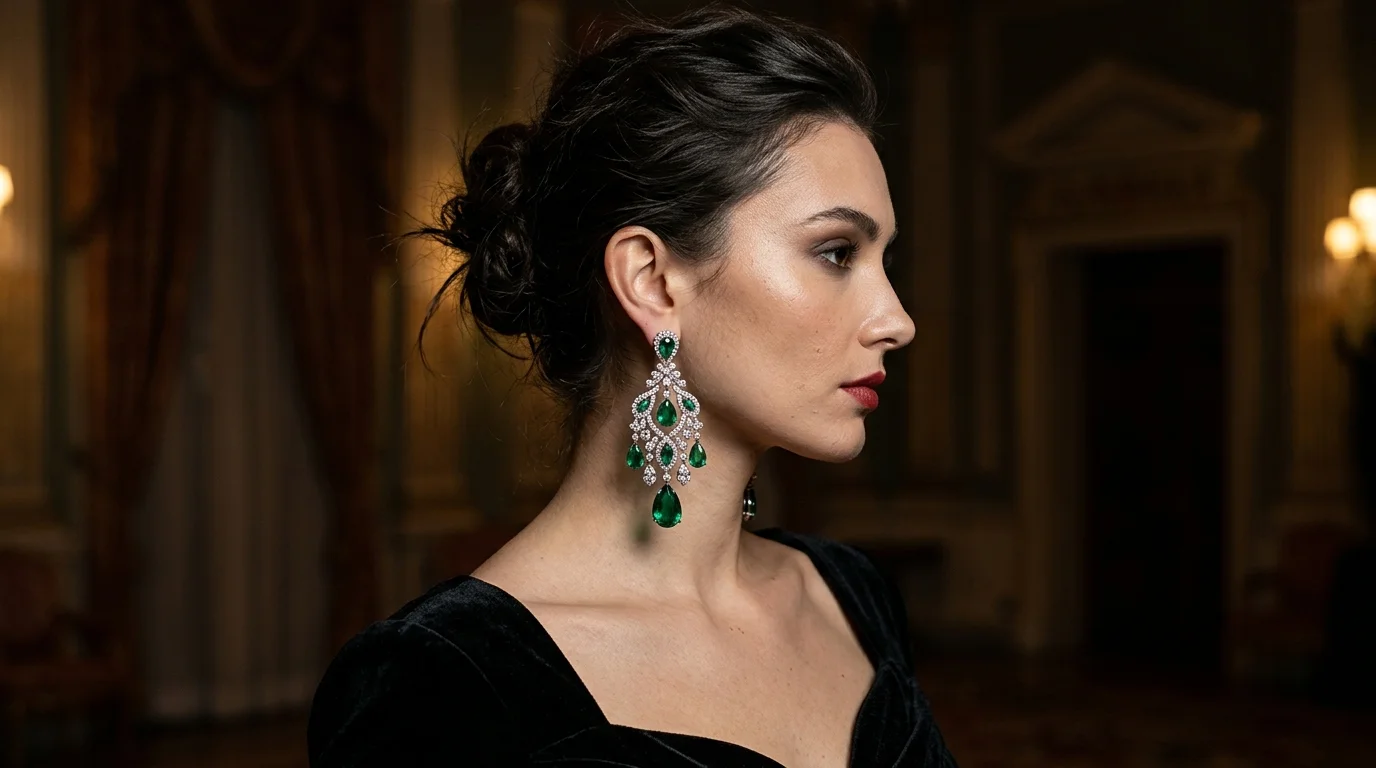
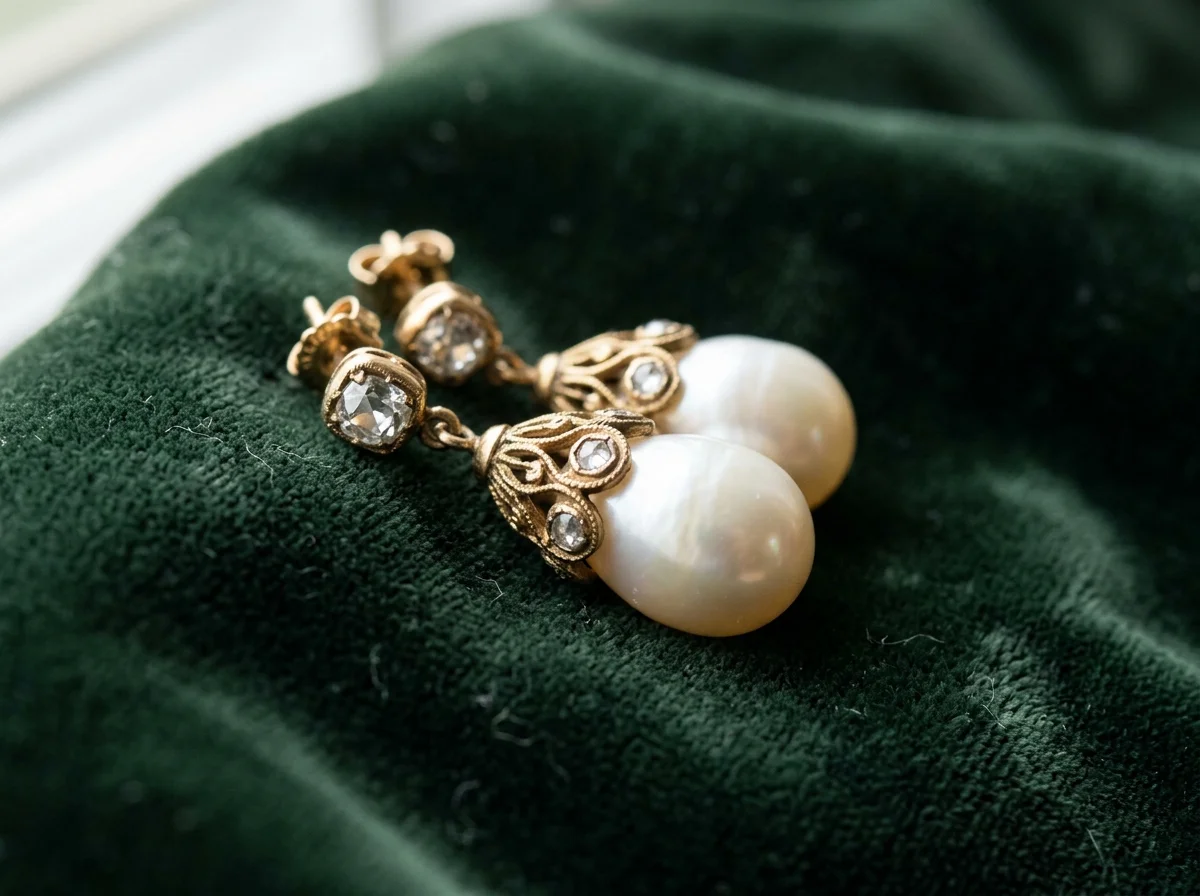
Editorial photography places the earring in a physical context. This helps the buyer understand scale and brand identity. A minimalist silver hoop shot on a slab of raw travertine communicates a different brand ethos than a pearl drop earring shot on a silk drape.
In Hylo's public inspiration gallery, we track the performance of these specific contextual styles. For example, our "Sunlit Stone Editorial — Earring Stud" look uses hard, directional sunlight and natural stone textures to create a high-contrast, organic feel that performs exceptionally well on social media.
Contextual Scale Shots
Best for: Secondary product images, sizing guides.
Buyers consistently struggle to visualize the size of earrings online. Is that hoop 10mm or 25mm? Including a style shot that references a known object—like the "Poolside Towel Wrap — Earring Stud" look from the Hylo gallery—provides immediate, intuitive scale without requiring the customer to read a millimeter measurement in the product description.
How to Shoot Earring Photography Manually
Shooting earrings manually requires patience, a dedicated macro setup, and strict control over your lighting environment.
Essential Equipment
- Camera & Lens: A full-frame mirrorless or DSLR camera paired with a dedicated 100mm or 105mm 1:1 macro lens.
- Tripod: A heavy-duty tripod with a geared head. Micro-adjustments are impossible with a standard ball head.
- Lighting: At least two strobe lights or high-CRI continuous LED panels.
- Modifiers: A macro diffusion cone (placed directly over the earrings) or large softboxes.
- Styling Tools: Dental wax (for propping up studs), clear acrylic T-bars (for hanging drops), microfiber cloths, and compressed air to remove dust.
The Standard Earring Lighting Diagram
To achieve the perfect e-commerce packshot:
- The Base: Place the earrings on a sheet of glossy white acrylic. This creates a natural, elegant reflection beneath the piece.
- The Diffusion: Place a translucent diffusion cone completely over the earrings. The camera lens shoots through the hole in the top of the cone.
- The Key Light: Position a strobe outside the cone, firing directly through the diffusion material from the rear-left at a 45-degree angle. This illuminates the stones and creates the primary metal gradient.
- The Fill Light: Position a second strobe or a white bounce card on the right side to fill in the shadows and ensure the metal doesn't render too dark.
- The Sparkle Light (Optional): If shooting diamonds, introduce a small, undiffused pinpoint light source (like an LED wand) to hit the facets directly. Diffused light shows metal shape, but hard light creates gemstone sparkle.
Camera Settings for Earring Photography
| Setting | Recommendation | Reason |
|---|---|---|
| Aperture | f/8 to f/11 | The sweet spot for macro lens sharpness. Avoid f/22 as diffraction will soften the image. |
| Shutter Speed | 1/125s to 1/160s | Standard flash sync speed to eliminate ambient room light. |
| ISO | 100 | Maximum dynamic range and zero digital noise. |
| Focus | Manual | Autofocus will hunt on reflective metal. Manually rack focus for your stack. |
How to Generate Earring Photography with Hylo
Manual macro photography is incredibly time-consuming. Setting up the lighting, staging the wax, shooting a 10-image focus stack, and spending 30 minutes in Photoshop masking out the acrylic stands is why traditional studios charge premium day rates.
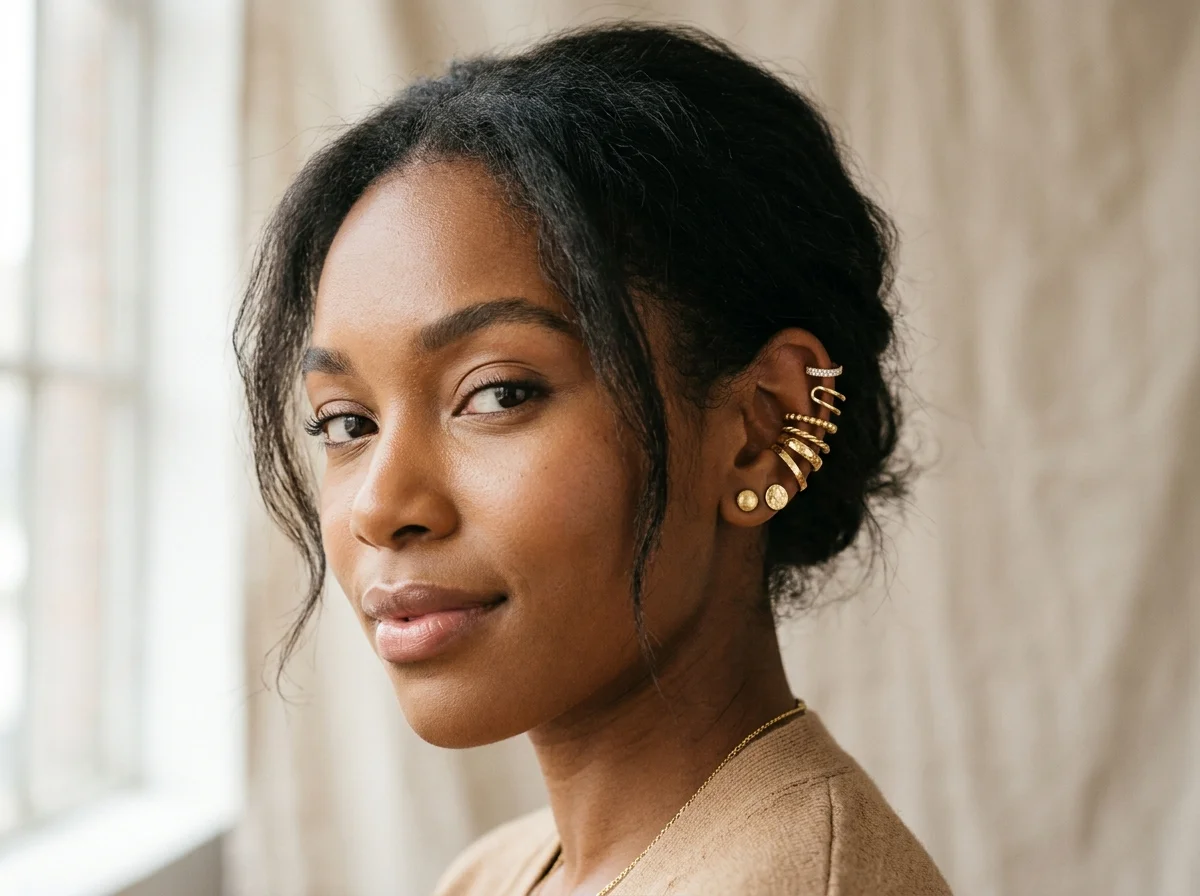
Hylo's AI Photoshoot replaces this workflow, allowing you to generate editorial-grade earring photography from a single flatlay reference image.
The Hylo Inspiration Gallery
To ensure consistent, high-converting results, Hylo maintains a public inspiration gallery of 400 real, pass-graded, safety-checked jewelry looks. We do not rely on random AI prompting.
Within this gallery, we have categorized specific setups engineered for different jewelry types:
- Ring: 131 looks
- Necklace: 116 looks
- Pendant: 42 looks
- Earring-Stud: 28 looks
- Bracelet: 17 looks
- Bangle: 17 looks
The 28 curated looks in the "earring-stud" category are specifically trained to handle the scale and shadow casting of small earrings.
The Workflow
- Upload a Flatlay: Take a simple, well-lit photo of your earring on a flat surface using your smartphone.
- Select a Gallery Look: Choose from the 28 dedicated earring styles. For a bright, outdoor lifestyle feel, apply the "Sky Field Portrait — Earring Stud" look. For high-end editorial contrast, select the "Sunlit Stone Editorial — Earring Stud" look.
- Apply Brand Kit: Lock in your brand colors and specific prop preferences using your saved Brand Kit.
- Generate: Hylo's AI Retouch and Canvas Editor will automatically mask the earring, generate the contextual environment, cast accurate drop shadows, and render realistic environmental reflections on the metal.
Hylo vs. General AI Tools
General-purpose photo editors like Canva, Photoroom, and Pebblely are excellent for standard consumer goods. However, they use generalized diffusion models. When asked to generate a background for a diamond stud earring, they often hallucinate the prongs, melt the facets of the stone, or fail to accurately reflect the new background color into the metal.
Hylo is a dedicated jewelry model. It understands the structural integrity of a basket setting and the optical physics of a polished gold surface, ensuring the product remains 100% accurate while the environment changes.
Examples Across Jewelry Categories
Consistency across your entire catalog is vital for brand trust. The lighting and styling rules that apply to earrings must apply just as well to the rest of your collections.
Using Hylo's gallery framework, you can apply a unified aesthetic across all product categories:
- Earrings to Rings: If you use the "Sunlit Stone Editorial — Earring Stud" look for your 0.5ct diamond studs, you can apply the exact same lighting and stone texture environment to your engagement rings (drawing from the 131 ring looks in the gallery). The AI understands how to adjust the shadow casting for a ring standing upright versus a stud resting on its side.
- Earrings to Necklaces: Translating an earring aesthetic to a necklace requires a shift in scale. A prop that looks large next to a 5mm stud will look tiny next to an 18-inch chain. By selecting a matching style from the 116 necklace looks, the environment scales appropriately while maintaining the same lighting direction and mood.
- Earrings to Bracelets: Bracelets (17 looks) and Bangles (17 looks) require wider aspect ratios and different light wrapping. A cohesive Brand Kit ensures that the raw travertine stone used in your earring shots appears with the exact same texture and color grading in your bracelet photography.
Common Mistakes in Earring Photography
Even experienced photographers make critical errors when shooting earrings. Avoid these common pitfalls:
1. The "Floating in Space" Shadow When masking out the background in Photoshop (or using basic background removal tools), it is common to delete the drop shadow entirely. This makes the earring look like a flat 2D graphic floating on the screen. Always retain or digitally recreate a soft, directional drop shadow to ground the piece.
2. Dead Gemstones Softbox lighting is beautiful for metal, but it kills the sparkle of diamonds and faceted stones. A diamond lit only by a diffusion cone will look like flat glass. You must introduce a hard, direct pinpoint light source to activate the facets and create contrast within the stone.
3. Unnatural Suspension Angles When shooting dangle earrings flat on a table, gravity pulls the components in unnatural directions. The jump rings may sit crooked, or the drop may not align perfectly with the post. If you cannot shoot them hanging vertically on an acrylic stand, you must carefully arrange the links with tweezers so they mimic vertical suspension before shooting.
4. The Black Line of Death Highly polished silver and white gold act like mirrors. If you shoot in a room with dark walls or if the camera lens is exposed, the metal will reflect those dark elements, creating harsh, ugly black lines across the surface of the earring. Total enclosure using a diffusion cone or white foam core boards is mandatory to keep the metal looking bright and clean.