What Defines High-Converting Bracelet Photography
Unlike rings, which have a concentrated focal point, bracelets demand that the viewer's eye travels across the entire piece. High-converting bracelet photography must balance sharpness, scale, and material accuracy across a wide physical area. Whether you are selling a flexible 2mm solid gold snake chain or a rigid 15mm diamond pavé cuff, the visual hallmarks of a successful shot remain consistent.
The Geometry of the Piece
Bracelet photography is dictated by the physical structure of the jewelry. You are generally dealing with three categories, each requiring a different visual approach:
- Flexible Chains (Cuban, Rope, Snake): These require styling that highlights fluidity. The defining characteristic of a good chain photograph is the perfection of the curve. Messy, kinked, or unevenly laid chains immediately signal amateur photography.
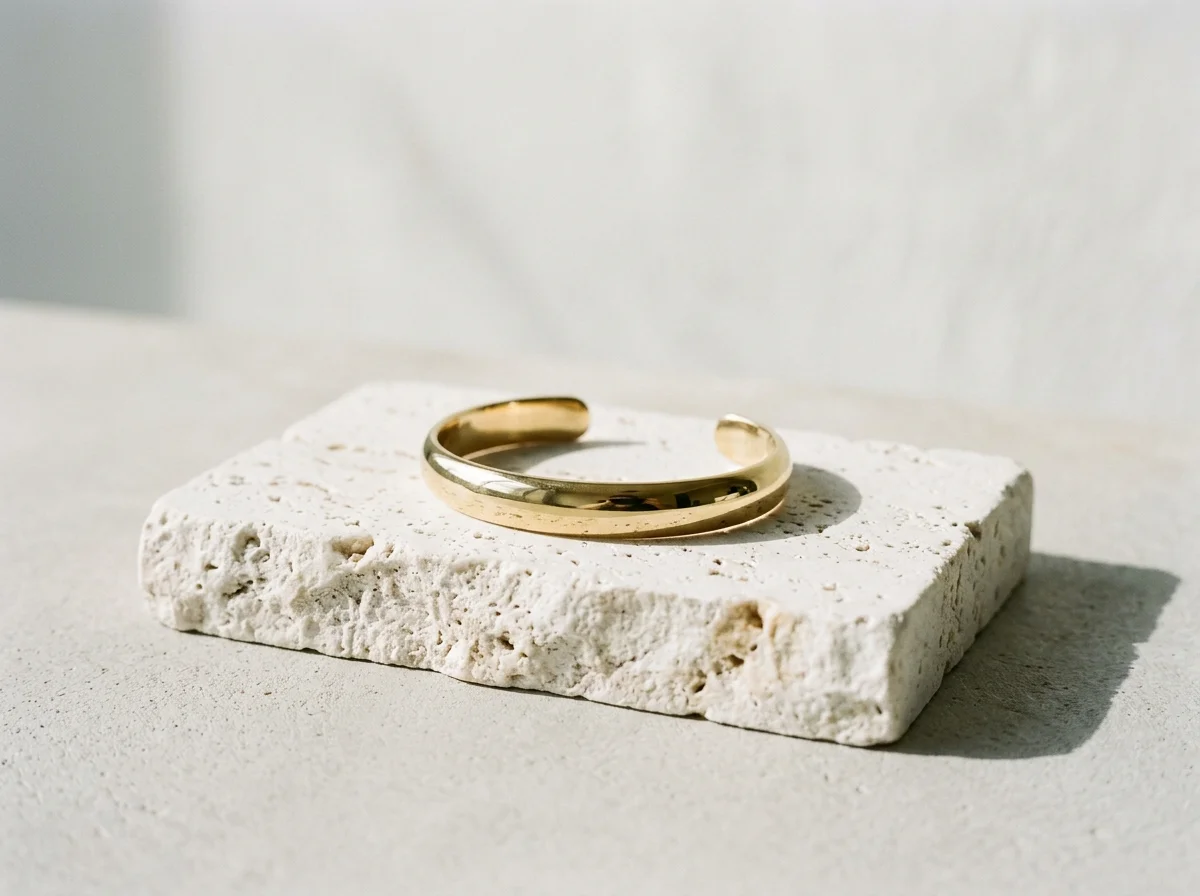
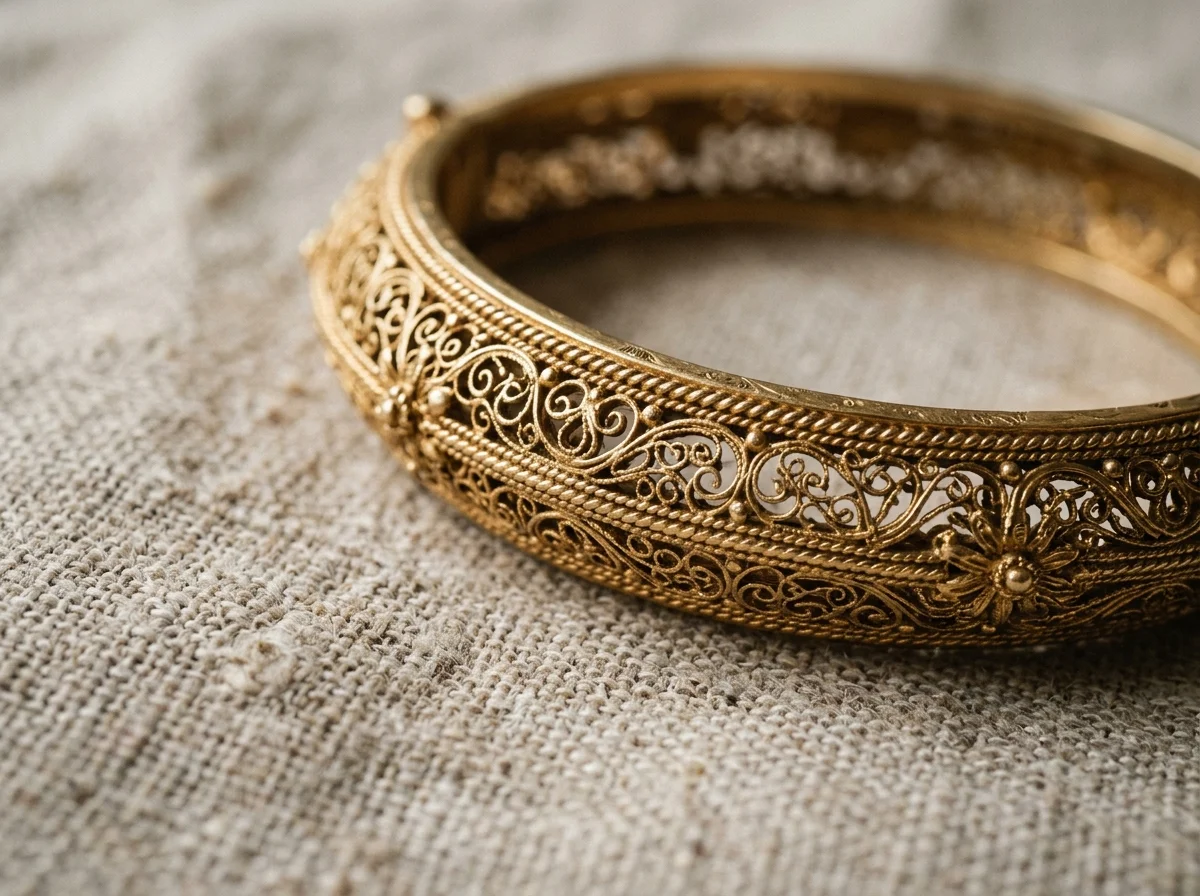
- Rigid Bangles and Cuffs: These act like funhouse mirrors. The defining hallmark here is smooth, continuous lighting gradients (highlights) that trace the curve of the metal without showing the reflection of the camera lens, the room, or the photographer.
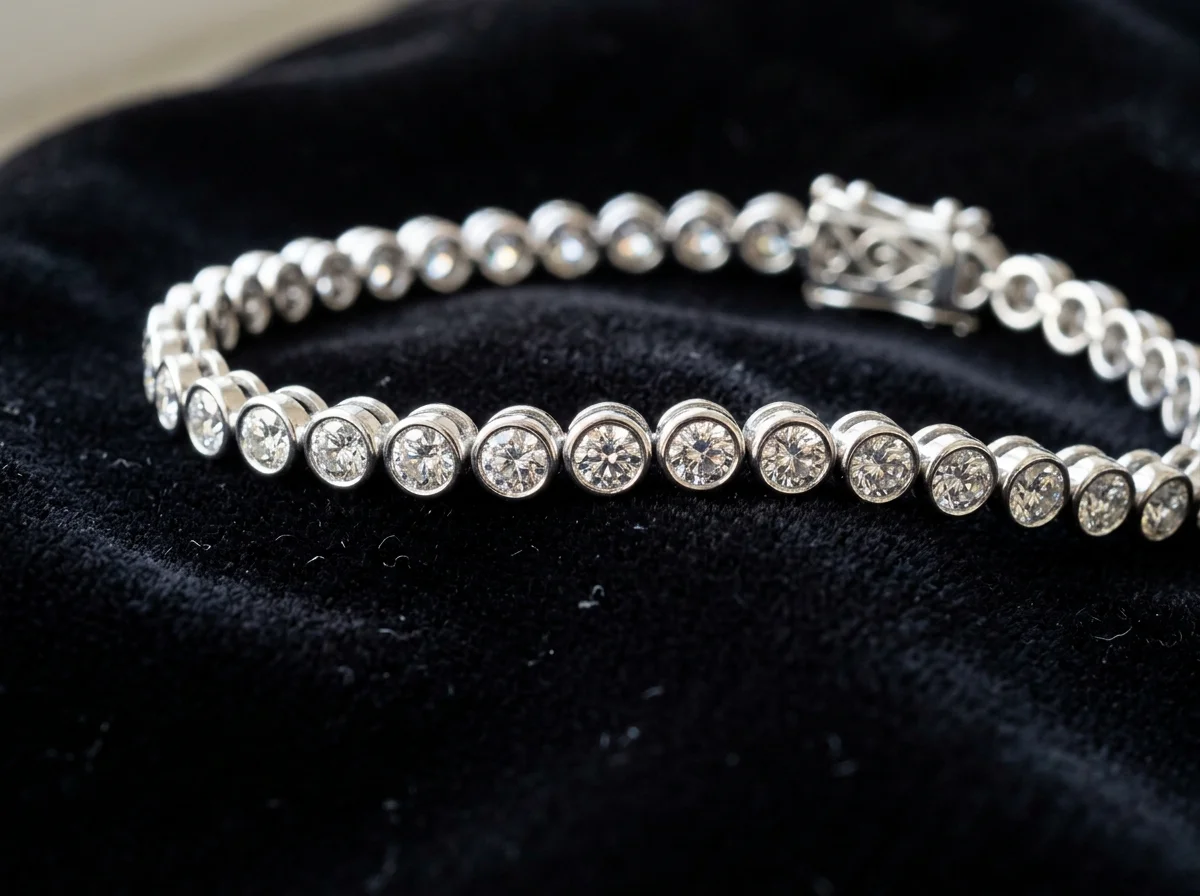
- Articulated Pieces (Tennis Bracelets): These combine flexibility with high-refractive gemstones. The photography must balance soft, diffused light (to show the metal settings) with hard, directional light (to create fire and scintillation in the diamonds).
Lighting and Mood Characteristics
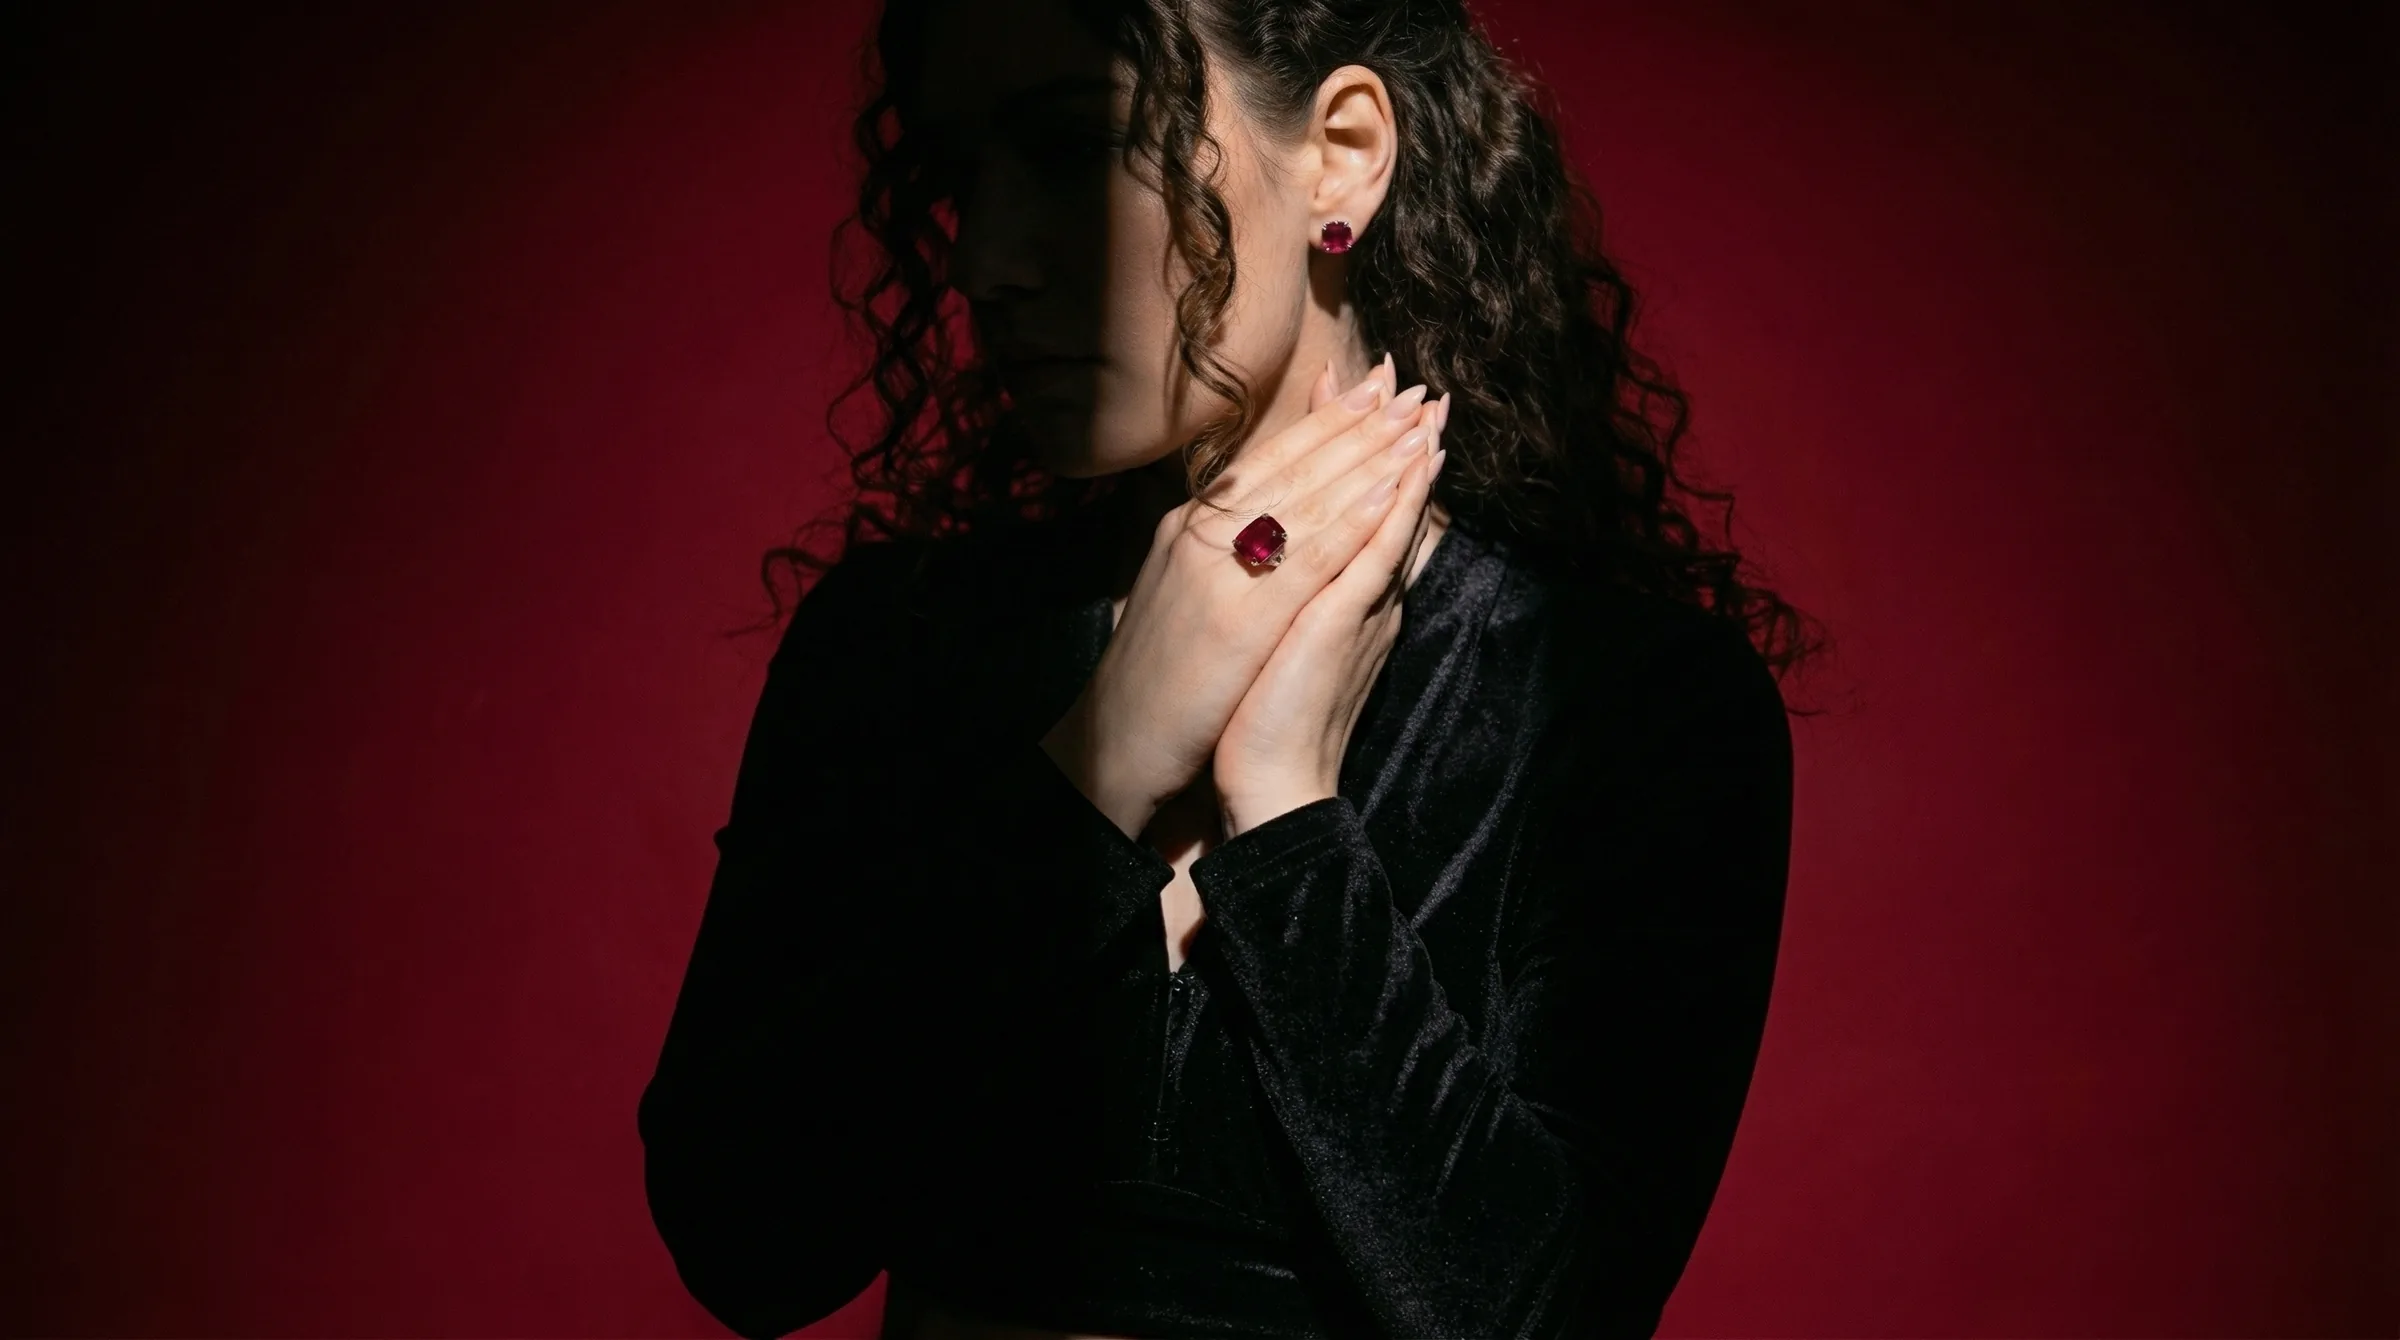
In e-commerce flatlays, the defining lighting characteristic is absolute clarity. Shadows are either pure white (for ghosted catalog shots) or softly dropped to ground the piece. In editorial and lifestyle bracelet photography, the mood shifts toward context. A heavy gold men's Cuban link shot on dark, textured slate communicates rugged luxury, while a delicate pearl bracelet shot in a 'Getting Ready Window' setup emphasizes soft, morning light and bridal aesthetics.
Ultimately, high-converting bracelet photography eliminates buyer hesitation. It answers the subconscious questions: How thick is this? Will it sit flat on my wrist? What does the clasp look like?
When to Use Different Bracelet Photography Styles
Jewelry brands cannot rely on a single style of photography. A high-converting funnel requires specific visual styles deployed at specific touchpoints in the customer journey.
E-Commerce Flatlays (The White Seamless)
Where to use it: Shopify PDPs (Product Detail Pages), wholesale linesheets, Amazon, Faire. Buyer Psychology: Trust and clarity. When a buyer is on a product page, they are evaluating the physical reality of the bracelet. They need to see a top-down view of the entire piece, a macro shot of the clasp mechanism (lobster, box, toggle), and a close-up of the link structure or gemstone setting. These shots should be brightly lit, focus-stacked for front-to-back sharpness, and entirely devoid of distracting props.
Lifestyle and On-Wrist Photography
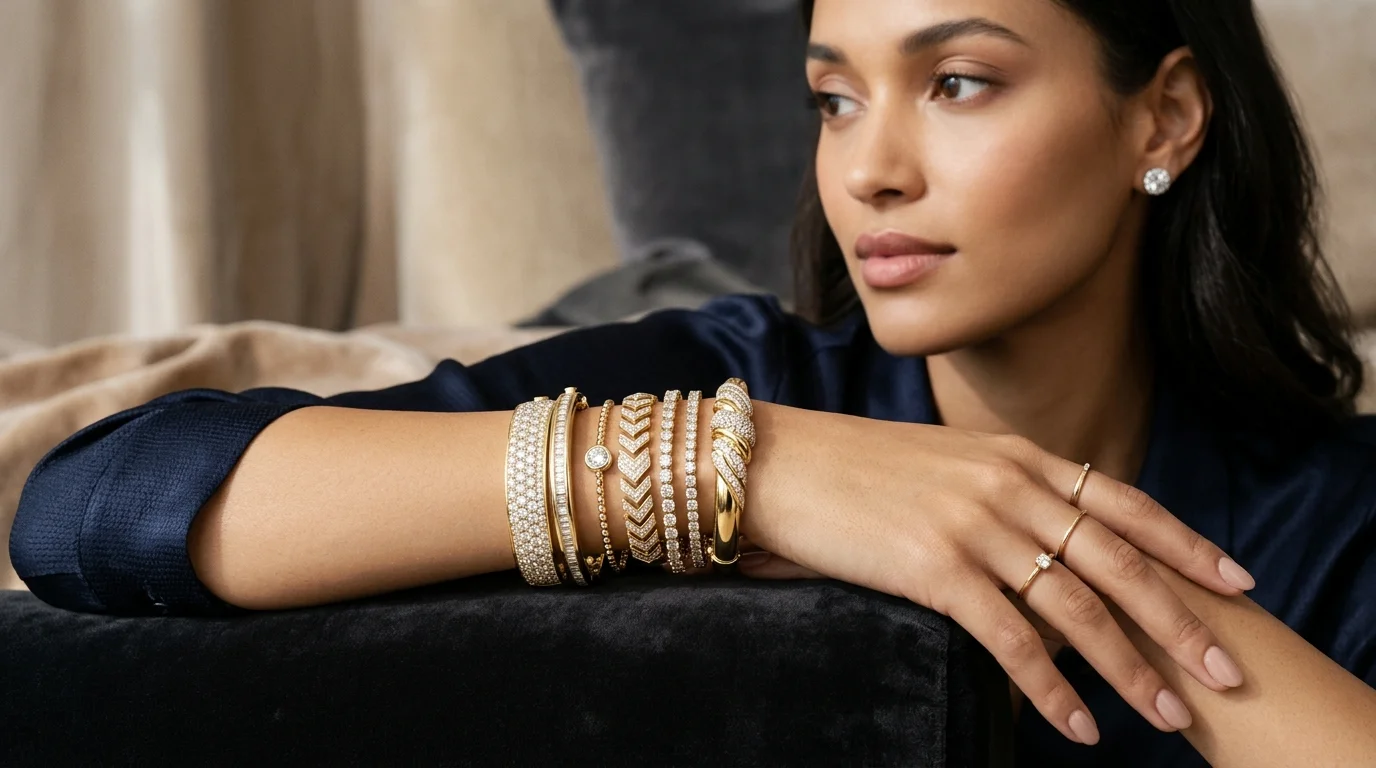
Where to use it: Instagram grids, TikTok, Facebook Ads, PDP secondary images. Buyer Psychology: Scale and aspiration. A 3mm tennis bracelet looks identical to a 6mm tennis bracelet on a white background. On-wrist photography provides instant visual scale. It also helps the buyer visualize the piece in their own life. Seeing a bracelet stacked with a watch or other complementary pieces drives multi-item add-to-carts.
Editorial and Conceptual Photography
Where to use it: Website hero banners, email marketing campaigns, lookbooks, holiday promotions. Buyer Psychology: Brand identity and desire. Editorial photography uses props, dramatic lighting, and styling to tell a story. A 'Gift Box Presentation' style shot during Q4 triggers the gifting impulse. These shots don't need to show every technical detail of the clasp; they need to evoke an emotional response.
How to Shoot Bracelet Photography Manually
Executing professional bracelet photography in-house requires specific gear and a deep understanding of light modification. A standard $2,000-$5,000 per day studio booking pays for the photographer's ability to manage reflections and depth of field.
The Equipment Loadout
- Camera & Lens: A full-frame mirrorless or DSLR camera paired with a 100mm or 105mm macro lens. Bracelets require close focusing distances to capture link details.
- Support: A heavy-duty tripod with a lateral arm (boom arm). This is non-negotiable for top-down flatlays. If your camera moves even a fraction of a millimeter between shots, focus stacking becomes impossible.
- Lighting: At least two studio strobes (e.g., Godox AD400 Pro or Profoto D2). Continuous LED lights can work, but strobes allow you to shoot at f/11 or f/16 while maintaining a fast sync speed (1/125s) to freeze any micro-vibrations.
- Modifiers: A large overhead softbox (strip boxes are excellent for laying down long, continuous highlights on bangles) and white/black bounce cards (foam core).
Lighting Setup: The Bangle Tent
Rigid bangles are notoriously difficult to shoot because polished gold reflects everything in the room. To shoot a bangle manually:
- Place the bangle on a white acrylic riser to lift it off the background.
- Surround the bangle with a diffusion cone or build a 'tent' using Savage Translum paper. This blocks the room out.
- Position your strobes outside the tent. One strobe fires from above and slightly behind, acting as the main light. The second strobe fires from the side to create a gradient.
- Cut a small hole in the tent just large enough for your camera lens.
- Use small strips of black tape on the inside of the cone to create intentional 'black reflections' on the bangle. Without these dark structural lines, a perfectly lit gold bangle will look flat and fake.
Camera Settings and Focus Stacking
For a top-down flatlay of a chain bracelet, set your camera to ISO 100, 1/125s, and f/11.
If you are shooting a bracelet at a 45-degree angle (e.g., draped over a prop), f/11 will not keep the entire piece in focus due to the macro lens's shallow depth of field. You must use focus stacking. Take 10-15 photos, shifting the focal point slightly deeper into the frame each time, and merge them in post-production using Photoshop or Helicon Focus.
Styling Tools
- Jeweler's Wax (Museum Putty): Use tiny amounts to hold clasps upright or keep a chain perfectly curved.
- Acrylic Cylinders: Excellent for wrapping flexible bracelets around to mimic the shape of a wrist without needing a hand model.
- Microfiber Cloths and Canned Air: Dust and fingerprints are magnified at 100mm. Clean the bracelet obsessively before pressing the shutter.
How to Generate Bracelet Photography with Hylo
Manual photography is slow. Styling a single Cuban link chain into a perfect circle, lighting it, shooting a focus stack, and retouching out the jeweler's wax can take an hour per SKU.
Hylo replaces this manual workflow, allowing jewelry brands to generate editorial, lifestyle, and e-commerce bracelet photography in seconds using AI. Tools like Photoroom or Canva are useful for basic background removal, but they lack the domain expertise required to render realistic metal reflections, accurate chain shadows, and complex gemstone lighting. Hylo is purpose-built for jewelry.
Hylo's public inspiration gallery currently curates 400 real, pass-graded, safety-checked jewelry looks. For wristwear specifically, this includes 17 bracelet looks and 17 bangle looks, providing a massive library of pre-configured lighting and styling setups.
Workflow: From Flatlay to Editorial
- Upload the Base Image: Start with a basic, well-lit smartphone shot or an existing white-background catalog image of your bracelet.
- Configure the Brand Kit: Ensure your metal tones are dialed in. Hylo's Brand Kit allows you to lock in the exact hue of your 14k yellow gold or 18k rose gold, ensuring the AI doesn't alter the physical reality of your product.
- Select an Inspiration Gallery Look: Instead of prompting from scratch, select a pre-tested look from the gallery.
- For a lifestyle aesthetic, select 'Resting Hands Studio — Bracelet'. This generates a photorealistic hand model wearing the piece, providing instant scale and humanity.
- For Q4 campaigns, select 'Gift Box Presentation — Bracelet'. The AI will generate a premium unboxing context, complete with textured ribbons and soft, inviting light.
- For a bridal or delicate aesthetic, select 'Getting Ready Window — Bracelet'. This applies a soft, directional morning light with sheer curtain shadows falling across the scene.
- Generate and Refine: Run the AI Photoshoot. Use the Canvas Editor to make micro-adjustments, ensuring the drop shadow aligns perfectly with the angle of the links.
By leveraging these curated gallery looks, brands can produce an entire cohesive campaign across their bracelet category in an afternoon, rather than booking a $3,000 studio day.
Examples Across Jewelry Categories
Creating a cohesive brand identity means your bracelet photography must visually match your rings, necklaces, and earrings. Hylo's inspiration gallery ensures cross-category consistency. With 131 ring looks, 116 necklace looks, 42 pendant looks, and 28 stud earring looks, you can map your bracelet styling directly to the rest of your catalog.
Matching Bracelets to Rings
If you are selling a bridal set, consistency is key. If you generate a diamond engagement ring using a dark, moody slate texture, you cannot place the matching tennis bracelet on a bright, sunny beach setup. Use the same core environmental prompts or gallery selections across both SKUs.
Matching Bracelets to Necklaces
Necklaces and bracelets often share link styles (e.g., a paperclip chain necklace and a matching paperclip bracelet). When shooting or generating these, maintain the same styling geometry. If your necklace chains are styled in soft, organic 'S' curves, your flatlay bracelet shots should mirror that fluidity, rather than being styled in rigid, perfect circles.
The 'Getting Ready Window' Across Categories
One of the most powerful ways to use Hylo is to run an entire collection through a single gallery look. Take the 'Getting Ready Window' aesthetic:
- Ring (131 looks): The ring sits on a marble vanity, catching the morning light.
- Earring-Stud (28 looks): The studs rest in a small ceramic dish next to the ring.
- Bracelet (17 looks): The bracelet is draped elegantly over the edge of the dish.
This creates a unified visual merchandising strategy for your website, making the pieces feel like a true collection.

Common Mistakes in Bracelet Photography
Even experienced photographers stumble when transitioning to jewelry. Avoid these common pitfalls when shooting or generating bracelet content:
1. The 'Floating' Chain
When shooting a flexible chain flatlay, inexperienced stylists often leave the chain looking unnaturally stiff, or worse, perfectly straight like a ruler. Bracelets are meant to drape. Always style chains with organic curves that mimic how they would fall naturally.
2. Ignoring the Clasp
The clasp is a functional piece of engineering and a major buying consideration. Hiding the clasp in all your photos frustrates buyers. Always include at least one macro shot detailing the lobster claw, box clasp, or toggle.
3. Unmanaged Bangle Reflections
As mentioned, polished bangles reflect the room. If a customer zooms in on your product photo and sees a warped reflection of a window, a light stand, or the photographer's t-shirt, the luxury illusion is broken. You must use a light tent or diffusion cone to control the environment.
4. Inconsistent Scale
If you shoot a delicate 1mm cable chain close up so it fills the frame, and then shoot a chunky 10mm Cuban link further back so it also fills the frame, they will look the same size on your category page. Maintain a consistent camera distance and focal length for all flatlays so the relative scale of the bracelets is obvious to the browsing customer.