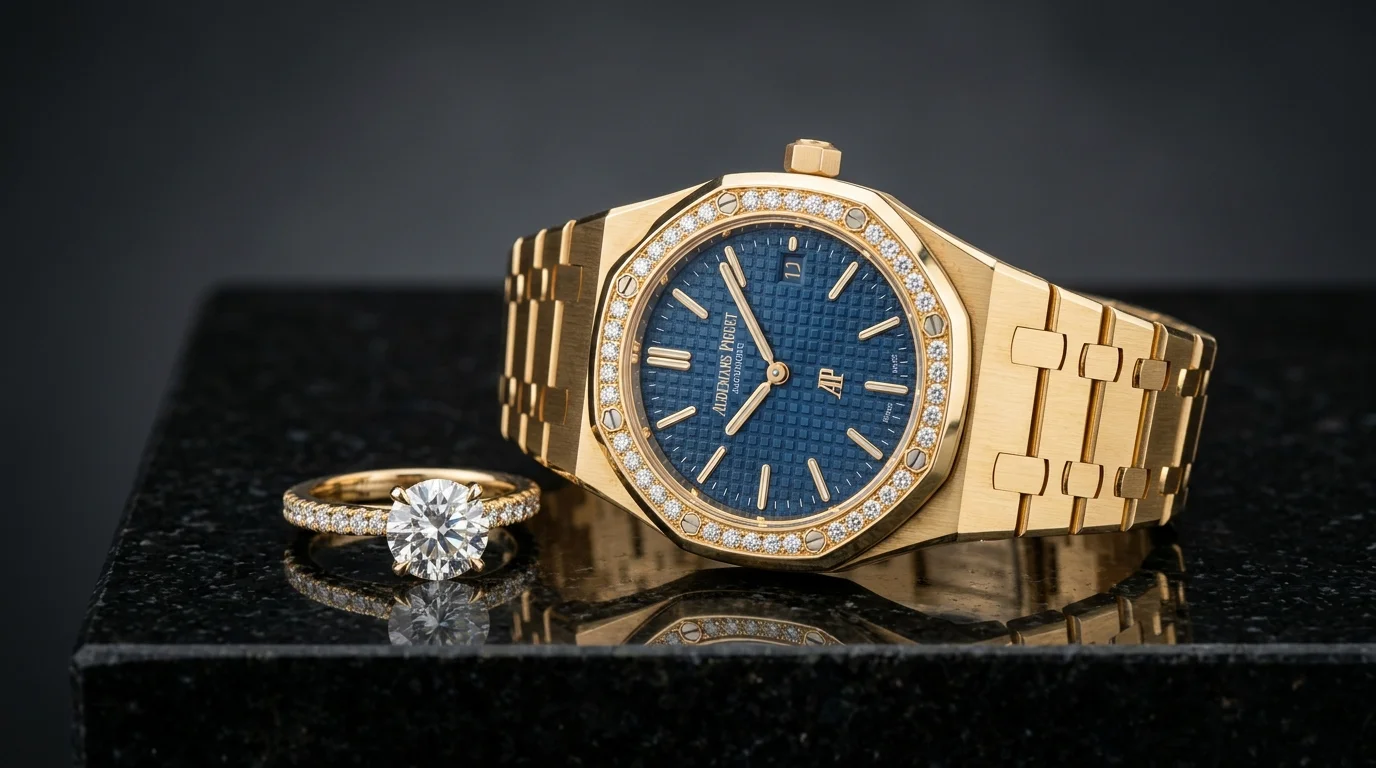
What defines professional jewelry product photography
Standard jewelry product photography—often referred to as the e-commerce packshot—is the foundational visual asset for any jewelry brand. It prioritizes absolute clarity over artistic interpretation. The defining visual hallmark of this style is a pristine, distraction-free background, typically pure white (RGB 255, 255, 255) or a very subtle neutral gray.
Lighting in this style is highly controlled. Unlike lifestyle photography which might embrace harsh shadows and dramatic contrast, standard product photography relies on heavy diffusion. The goal is to wrap the metal in soft, continuous light to create a smooth gradient across curved surfaces, such as a polished gold band or a bezel setting. This controlled environment eliminates harsh hotspots and prevents the metal from looking dull or flat.
Sharpness is non-negotiable. A professional jewelry product photo exhibits edge-to-edge sharpness. If you are shooting a 1ct round-cut solitaire, the front prong, the table of the diamond, and the back of the band must all be in crisp focus. This requires shooting at high f-stops (f/11 to f/16) or utilizing focus stacking techniques to ensure every millimeter of the piece is perfectly resolved.
Color accuracy is the final pillar. White gold must look like white gold, not silver or platinum. Diamonds must appear icy and brilliant, free from the yellow or blue color casts that plague amateur setups. The mood is clinical but premium—it is the visual equivalent of handing a customer a jeweler's loupe, allowing them to inspect the craftsmanship without any visual interference.
When to use standard product photography
Standard product photography is the workhorse of your sales funnel. It belongs on the primary image slot of your Shopify, WooCommerce, or Webflow product pages. When a customer lands on a product page, they are transitioning from browsing to evaluating. They need to see the exact thickness of the band, the security of the claw setting, and the clarity of the gemstone.
This style is also mandatory for specific distribution channels. Google Shopping and Amazon require pure white backgrounds for their primary listing images. Submitting lifestyle or heavily styled editorial shots as your main image on these platforms will frequently result in listing suppression or a drop in algorithmic ranking.
Wholesale linesheets and retail catalogs also demand this style. When pitching to a buyer at Faire or presenting a collection to a boutique owner, they need to see the jewelry clearly to make purchasing decisions. A linesheet cluttered with moody editorial shots makes it difficult for buyers to assess the actual inventory they are ordering.
Buyer psychology dictates that clarity builds trust. A blurry, poorly lit photo of a $2,500 pavé diamond ring signals a lack of professionalism and raises immediate red flags about the quality of the piece itself. Distractions lower conversion. By isolating the jewelry on a clean background, you force the buyer's eye exactly where you want it: on the craftsmanship and inherent value of your product.
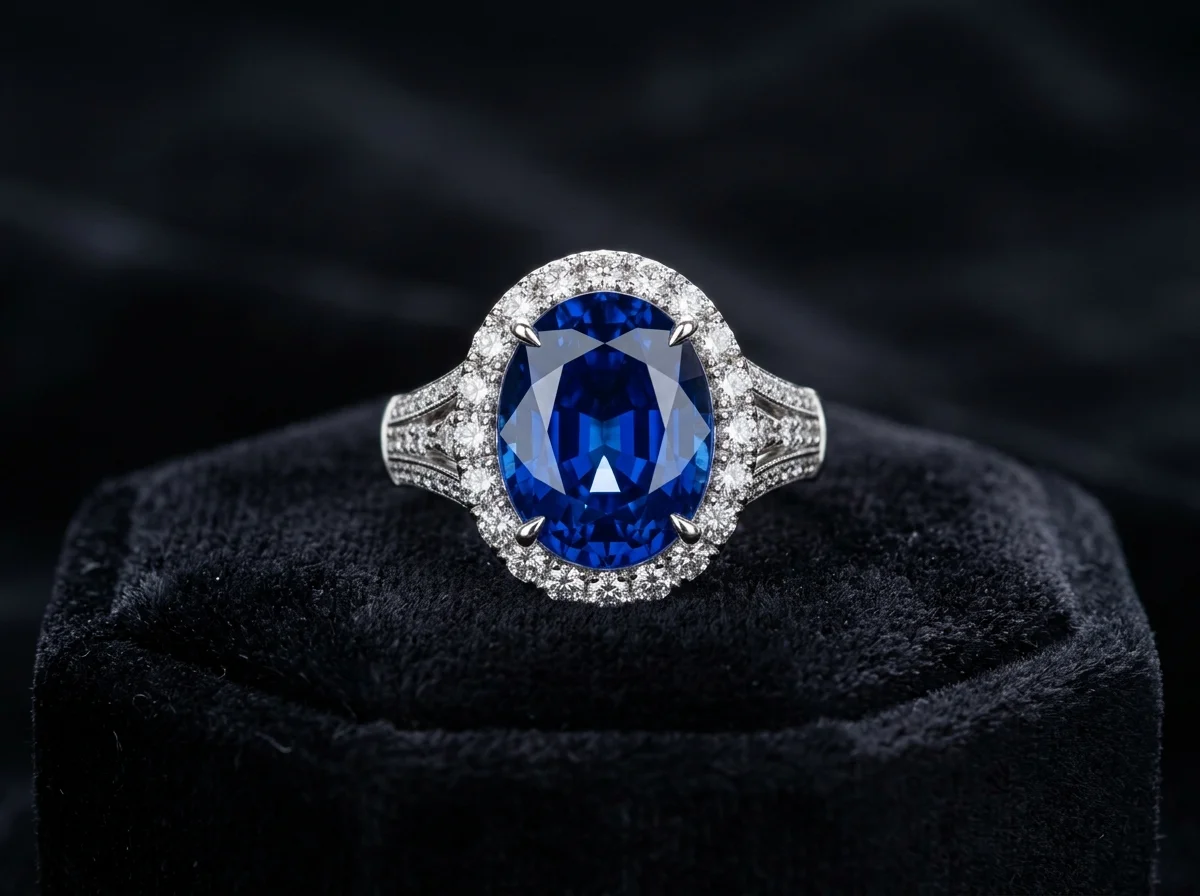
How to shoot jewelry product photography manually
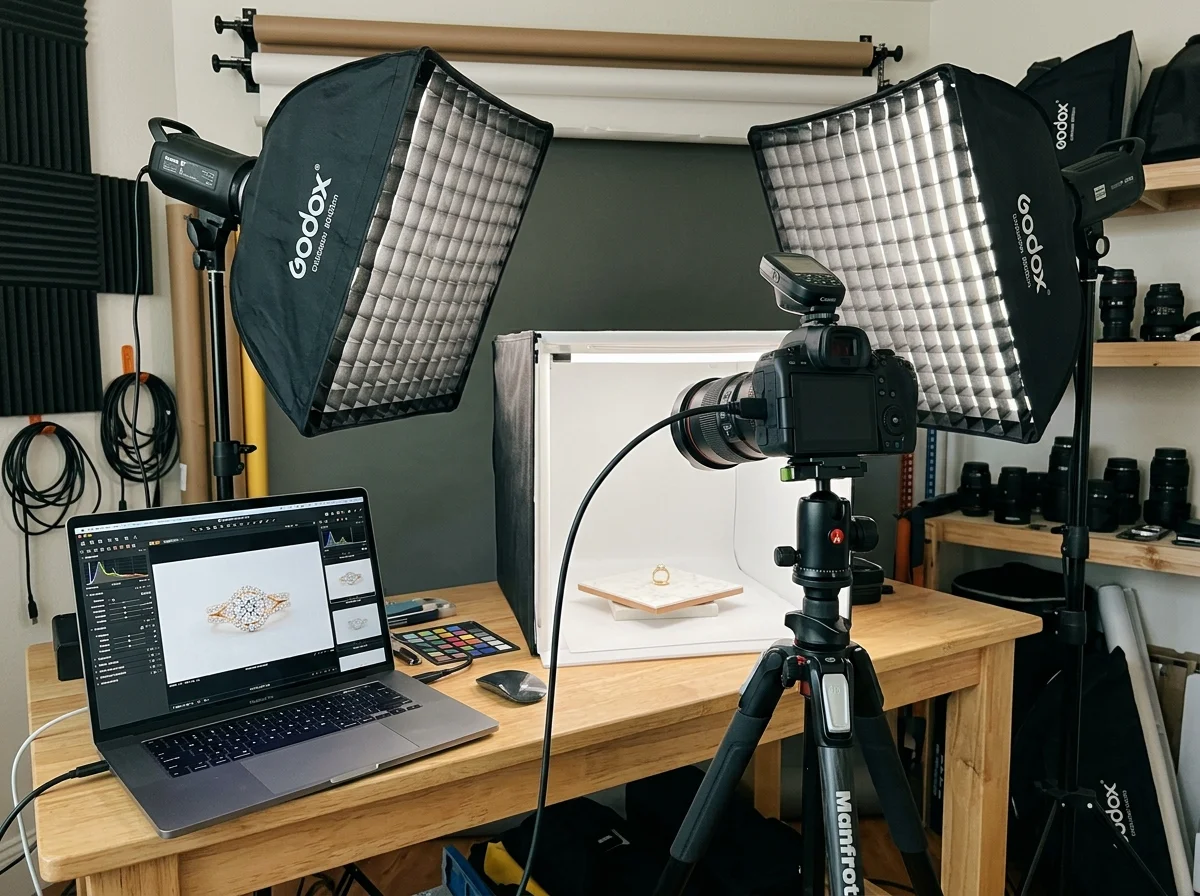
Shooting jewelry manually requires specialized equipment and a rigorous understanding of light physics. Jewelry acts like a series of tiny, curved mirrors; you are not photographing the jewelry itself, but rather what is reflecting off of it.
The Equipment
You need a DSLR or mirrorless camera equipped with a true 1:1 macro lens. A 100mm or 105mm macro lens is the industry standard, allowing you to fill the frame with a small pendant or ring without distorting its shape. A heavy-duty, geared tripod is mandatory. When shooting at high magnifications, even the vibration of the camera's shutter can cause motion blur, ruining a shot.
The Lighting Setup
The most reliable lighting diagram for standard product photography is the "light cone" or diffused light tent setup.
- Place your jewelry on a piece of white acrylic or seamless white paper.
- Surround the piece with a diffusion cone (a cone made of frosted plastic or heavy diffusion fabric).
- Position two strobe lights at 45-degree angles on either side of the cone, firing directly into the diffusion material.
- Place a third light (or a white reflector board) directly above the cone. This top light is crucial for illuminating the table of a diamond and creating the internal refraction that makes gemstones sparkle.
To create definition in highly polished metals like silver or platinum, you must introduce "negative fill." Place small strips of black foam core inside the light cone, just out of the camera's frame. These black strips will reflect onto the edges of the jewelry, creating a dark contour line that separates the piece from the white background and defines its shape.
Camera Settings and Focus Stacking
Set your camera to its native base ISO (usually ISO 100) to eliminate digital noise. Set your shutter speed to your camera's flash sync speed (typically 1/125s or 1/200s if using strobes).
To achieve edge-to-edge sharpness, set your aperture to f/11. However, at macro distances, even f/11 yields a depth of field of only a few millimeters. To get the entire piece in focus, you must use a technique called focus stacking.
Mount the camera on your tripod and manually focus on the very front edge of the jewelry. Take a shot. Move the focus ring a fraction of a millimeter backward, and take another shot. Repeat this process until you have 10 to 15 images covering the entire depth of the piece. Finally, import these images into Adobe Photoshop and use the "Auto-Blend Layers" function to merge the sharpest parts of each image into a single, perfectly focused composite.
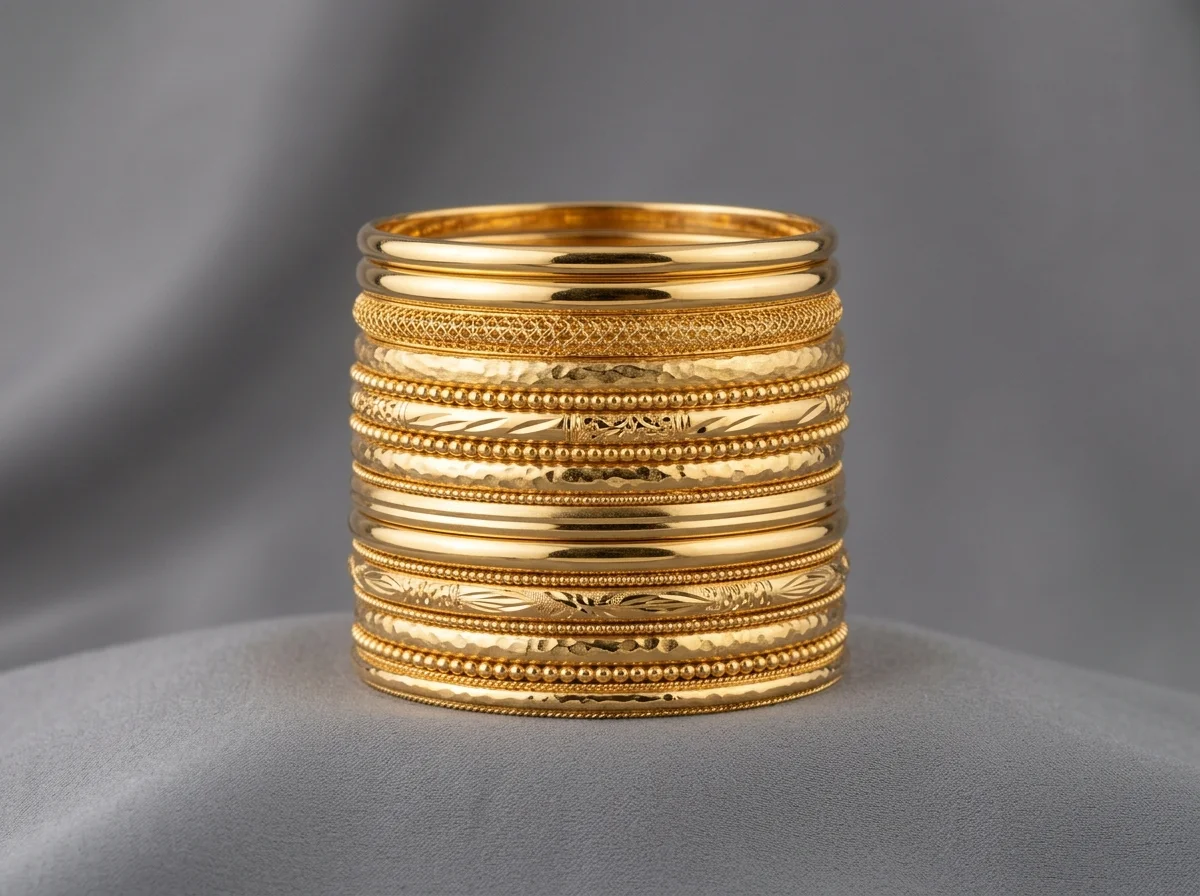
How to generate standard product photography with Hylo
Manual jewelry photography is a slow, technical process that routinely costs brands $2,000 to $5,000 per studio session. Hylo replaces this workflow by generating pass-graded, studio-quality product photography in seconds.
Hylo's public inspiration gallery currently curates 400 real, safety-checked jewelry looks, serving as first-party visual evidence of the platform's capabilities. Rather than wrestling with light cones and focus stacking, you can leverage Hylo's AI Photoshoot to recreate these exact professional looks instantly.
Configuring your Brand Kit
Start by establishing your baseline style in the Hylo Brand Kit. For standard product photography, select a "Clean Studio" or "White Seamless" environment. You can define specific reflection styles—such as a soft drop shadow or a hard acrylic reflection—ensuring every image you generate maintains strict brand consistency across your catalog.
The AI Photoshoot Workflow
Upload a basic flatlay or a well-lit smartphone photo of your jewelry. Hylo's AI instantly maps the architecture of the piece. Unlike general-purpose tools like Photoroom, which excel at basic background removal but often blur fine prongs or flatten diamond facets, Hylo is purpose-built for jewelry. It preserves the exact geometry of a claw setting and the refractive index of your gemstones.
Once the piece is mapped, select a look from the inspiration gallery or prompt the AI Photoshoot. The engine renders the soft, continuous studio lighting and negative fill automatically. Tools like Pebblely and Booth offer generalized AI backgrounds, but they lack the domain-specific understanding of how light wraps around a polished gold band versus a brushed platinum surface.
If minor adjustments are needed, Hylo's Canvas Editor and AI Retouch features allow you to enhance metal shine, clean up minor casting flaws, or adjust the intensity of a diamond's sparkle without relying on extensive Adobe Photoshop manipulation.
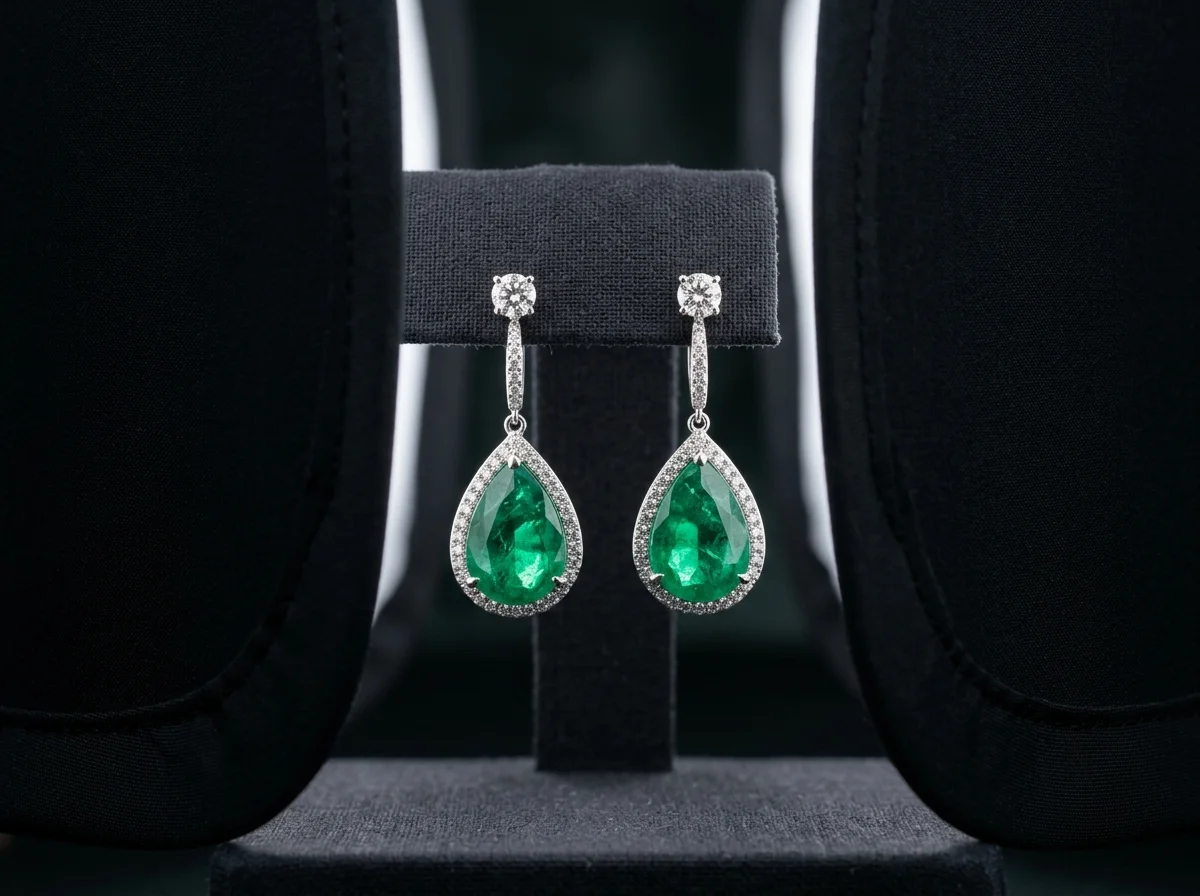
Examples across jewelry categories
Standard product photography requires slight adjustments depending on the category of jewelry being shot. The Hylo inspiration gallery breaks down these nuances across 400 specific looks, providing a blueprint for how different pieces should be handled.
Rings (131 looks)
Rings, particularly solitaires, demand precise top-lighting. The gallery's 131 ring looks demonstrate how direct overhead light is required to illuminate the table of a center stone, driving light down into the pavilion to create brilliance. Without this top light, diamonds appear dark or dead, resembling glass.
Necklaces and Pendants (116 and 42 looks)
Chain management is the primary challenge here. Necklaces (116 looks) and pendants (42 looks) are typically shot using a flatlay approach or a ghost mannequin technique to show how the piece drapes. The standard product photography style dictates that chains must be perfectly symmetrical, often requiring painstaking manual arrangement with tweezers or utilizing Hylo's AI to auto-align and smooth chain links.
Earrings (28 stud looks)
For the 28 earring-stud looks in the gallery, symmetry and scale are paramount. Studs are often shot in pairs, requiring identical lighting on both pieces. A common technique is to shoot one earring perfectly, duplicate it in post-production, and flip it, though this can sometimes look overly artificial if not handled carefully with realistic shadow mapping.
Bracelets and Bangles (17 looks each)
Bracelets and bangles require lighting that highlights their curvature. The 17 bracelet and 17 bangle looks in the gallery utilize side-lighting to create a gradient across the metal, emphasizing the roundness of the piece. Capturing the clasp detail is also a critical requirement for this category, as buyers need to see the functional mechanics of the piece before committing to a purchase.
Common mistakes in jewelry product photography
Even experienced photographers struggle with jewelry. The margin for error is microscopic, and small mistakes can ruin the perceived value of a piece.
Mixed Lighting
Mixing color temperatures is a fatal flaw. If you shoot near a window (daylight, ~5500K) while a standard room lamp is on (tungsten, ~3200K), your metal will exhibit bizarre color casts. Silver will look simultaneously blue on one side and yellow on the other. Standard product photography requires 100% controlled, uniform lighting.
The "Black Hole" Reflection
Highly polished domes or wide bands act like fisheye mirrors. If you shoot in a dark room or wear a black shirt, the jewelry will reflect you and the room, resulting in massive black spots on the metal. This is why white diffusion cones and white foam core are mandatory in manual setups—you must give the metal something white and bright to reflect.
Missed Focus
Shooting a ring at f/2.8 might look artistic, but it fails as a product photo. If the front prong is sharp but the diamond and the back of the band are a blur, the buyer cannot evaluate the piece. Edge-to-edge sharpness is a non-negotiable requirement for e-commerce packshots.
Destructive Retouching
Over-smoothing metal in tools like Canva or applying heavy-handed filters destroys the natural texture of the material. Gold and silver should look like metal, complete with subtle, natural gradients. Over-retouched jewelry looks like cheap plastic renders, instantly eroding buyer trust and increasing return rates.