What Defines White Background Photography in Jewelry
White background photography—often referred to as "packshot" or "e-commerce standard" photography—is the foundational visual asset for any jewelry brand. Unlike lifestyle or editorial imagery, the defining characteristic of this style is absolute isolation. The jewelry is presented against a pure, unadulterated white canvas, specifically corresponding to the digital hex code #FFFFFF or RGB value 255, 255, 255.
But pure white does not mean flat. A professional white background jewelry photo is defined by three critical visual hallmarks:
1. Absolute Edge Contrast
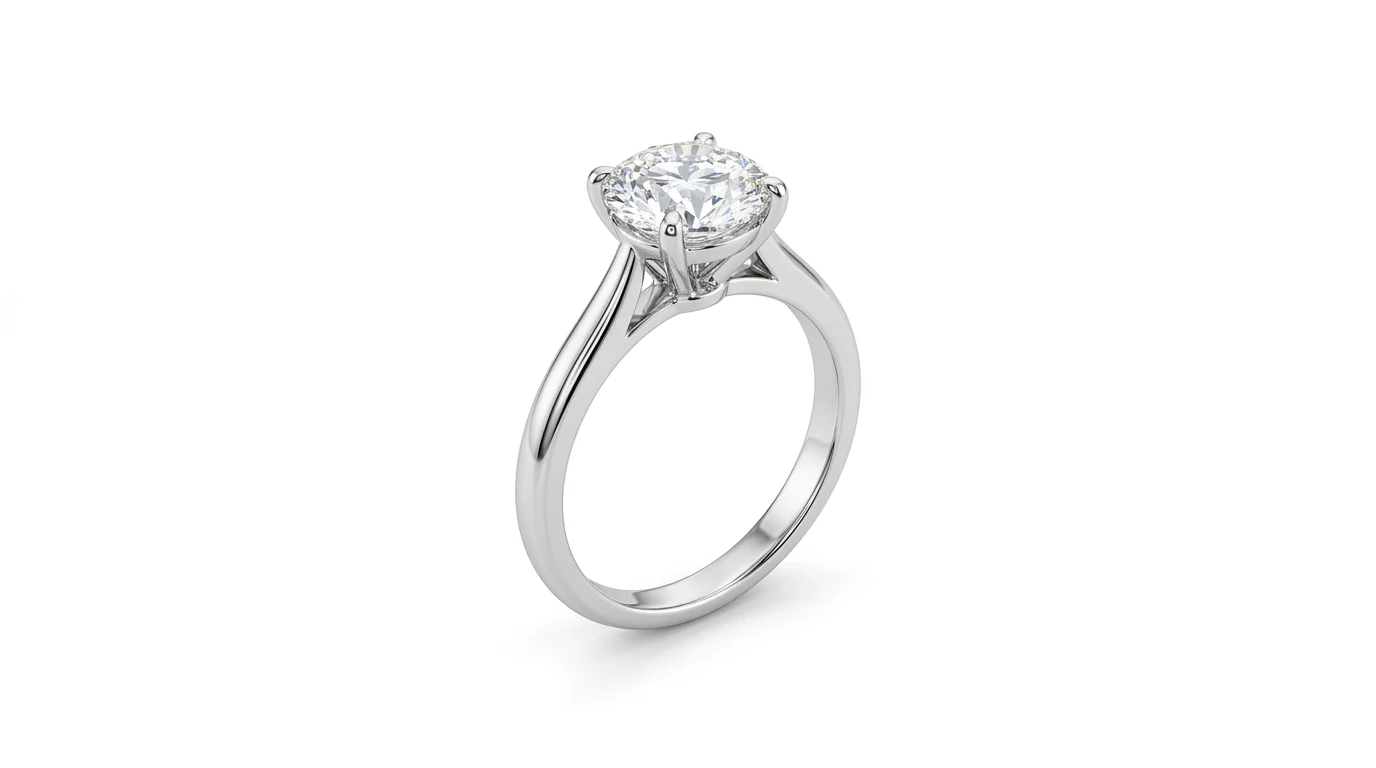
The most difficult aspect of white background photography is maintaining a crisp, defined edge around the jewelry piece—especially with highly reflective metals like silver, platinum, or white gold. Because the background is blasting pure white light, reflective metals will naturally bounce that white light back into the camera lens. Without proper black flags or negative fill, the edges of a white gold band will visually melt into the white background. A successful packshot maintains a distinct, high-contrast dark edge around the perimeter of the metal.
2. Grounding Shadows
A common misconception is that a pure white background means no shadows. Removing all shadows results in "floating jewelry syndrome," where the piece looks like a cheap digital sticker pasted onto a white canvas. Professional white background photography utilizes subtle, realistic grounding shadows. These can take two forms:
- Drop Shadows: A soft, diffused shadow directly beneath the piece, simulating a soft overhead light.
- Reflection Shadows: A mirrored reflection directly beneath the piece, achieved by shooting the jewelry on glossy white acrylic or glass.
3. Preserved Internal Highlights
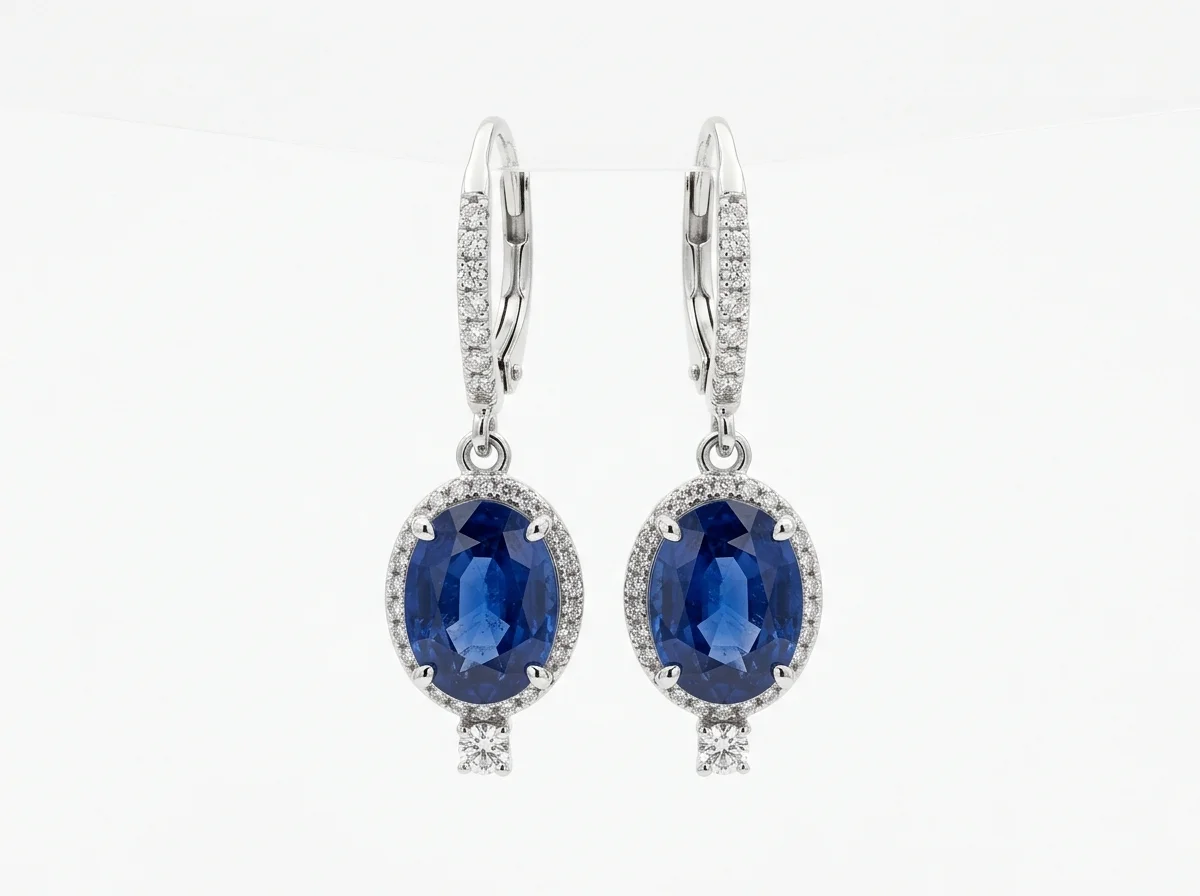
When exposing a camera sensor to achieve a pure white background, it is incredibly easy to overexpose the jewelry itself. This "blows out" the facets of a diamond or the texture of a brushed gold band, turning them into featureless white blobs. A true professional packshot achieves #FFFFFF in the background while keeping the internal exposure of the gemstone and metal perfectly balanced, retaining deep blacks and crisp specular highlights.
When to Use Pure White Backgrounds
Pure white background photography is not a creative choice; it is a commercial requirement. While editorial and lifestyle photography drive brand desire on Instagram and Pinterest, white background photography is the workhorse that drives actual conversion at the bottom of the funnel.
Mandatory Marketplace Compliance
If you sell on major digital marketplaces, white background photography is strictly enforced.
- Amazon: The main product image (MAIN) must feature the product on a pure white background (RGB 255, 255, 255). The product must fill 85% or more of the image frame. Non-compliance results in suppressed listings.
- Google Shopping: Google Merchant Center requires a solid white or transparent background for primary product images. Lifestyle images are relegated to secondary slots.
- Etsy: While Etsy allows lifestyle main images, their algorithm and off-site ads program (which feeds into Google Shopping) heavily favor listings that include a clean, white background packshot.
E-Commerce Collection Pages
On your own Shopify, WooCommerce, or Webflow storefront, white background photography creates visual harmony. When a customer views a collection page with 24 different rings, a uniform white background ensures their eye evaluates the designs, not the varying lighting setups or background props. It creates a clean, premium, and trustworthy browsing experience.
Wholesale Linesheets
When pitching retail buyers via Faire or direct wholesale linesheets, buyers need to see the unvarnished product. Pure white backgrounds allow buyers to easily clip your products into their own digital merchandising mockups and catalog layouts.
How to Shoot White Background Jewelry Photography Manually
Achieving a true #FFFFFF background in-camera without overexposing the jewelry is one of the most technically demanding disciplines in product photography. A standard commercial photographer (day rates of $2,000–$5,000) often struggles with this; it requires a specialized jewelry studio setup.
The Equipment Roster
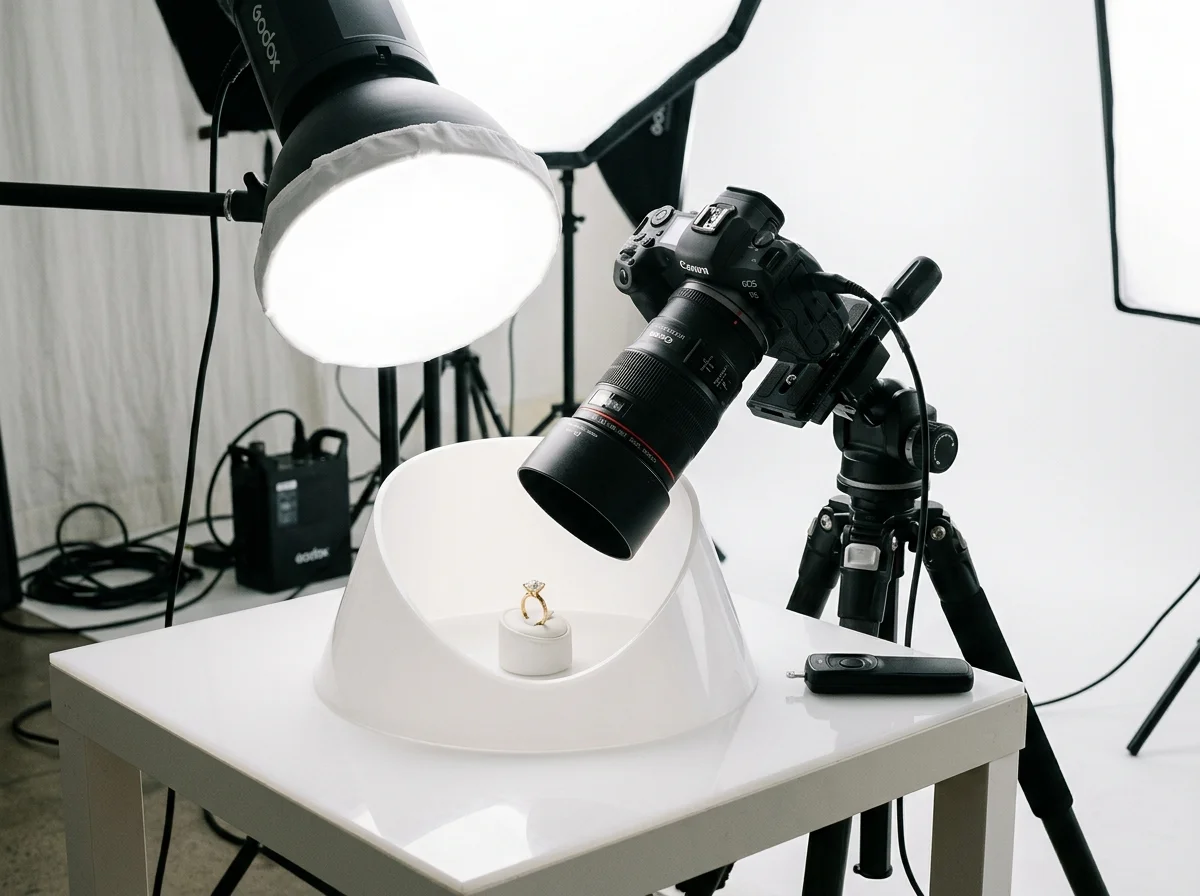
- Camera: Full-frame DSLR or Mirrorless (e.g., Canon R5, Sony A7R V) for maximum resolution and dynamic range.
- Lens: 100mm or 105mm Macro lens. Standard lenses cannot focus close enough to fill the frame with a single solitaire ring.
- Tripod: A heavy-duty studio stand or tripod with a geared head for micro-adjustments.
- Lighting: Three studio strobes (e.g., Godox, Profoto) with modeling lights.
- Modifiers: A diffusion cone (like the Karl Taylor Light Cone) or a custom DIY diffusion tent made from Savage Translum paper.
- Surface: White glossy acrylic for reflections, or matte white PVC sweep for soft drop shadows.
The 3-Point Lighting Diagram
To get a pure white background without destroying the jewelry's contrast, you must light the background and the jewelry separately.
- The Background Light: Place one strobe behind your white sweep, pointing directly at the background. Overexpose this light by about 1.5 to 2 stops relative to your main exposure. This blasts the background to pure white (#FFFFFF).
- The Key Light: Place your jewelry inside a diffusion cone. Position your main strobe above and slightly in front of the jewelry. The diffusion cone scatters the light, wrapping the metal in smooth, even gradients rather than harsh, pinpoint reflections.
- The Fill/Sparkle Light: Use a smaller, undiffused LED or low-power strobe pointed directly at the main gemstone. Diamonds need hard, direct light to create "sparkle" (refraction and dispersion). Soft diffused light makes diamonds look like dead glass.
Camera Settings & Focus Stacking
Set your camera to ISO 100 for maximum clarity. Set your shutter speed to your camera's sync speed (usually 1/160s or 1/200s).
To keep the entire piece of jewelry in focus, you must shoot at a narrow aperture—typically f/11 to f/16. However, in macro photography, even f/16 will leave the back of a ring out of focus. Professional studios use focus stacking: taking 10 to 30 photos, shifting the focus millimeter by millimeter from the front prong to the back band, and merging them in Adobe Photoshop.
How to Generate White Backgrounds with Hylo's AI Photoshoot
Manually shooting, focus stacking, and pen-tooling clipping paths in Photoshop takes an experienced retoucher 15 to 30 minutes per image. If you have a 50-piece collection, that is days of manual labor or thousands of dollars in studio fees.
Generalist tools like Photoroom, Canva, or Adobe Express offer one-click background removal. While excellent for clothing or furniture, they frequently fail on jewelry. They struggle to detect the negative space between pavé diamonds, often deleting delicate prongs or leaving jagged, pixelated edges on fine chains.
Hylo is purpose-built for jewelry. Here is how to achieve flawless white background packshots using Hylo's Canvas Editor and AI Photoshoot:
Step 1: Upload and Auto-Clip
Upload a standard photo of your jewelry taken on your phone. Hylo's jewelry-trained AI automatically generates a pixel-perfect clipping path. It recognizes the difference between a white gold prong and a white background, preserving the structural integrity of the piece.
Step 2: Apply the Brand Kit
Inside Hylo, navigate to your Brand Kit. Select the Pure White (#FFFFFF) canvas preset. This instantly drops your isolated jewelry onto a compliant e-commerce background.
Step 3: Configure Grounding Shadows
To prevent the "floating sticker" effect, use Hylo's shadow generation tools. Depending on your brand guidelines, select:
- Soft Drop Shadow: Best for matte or lifestyle-leaning e-commerce grids.
- Studio Reflection: Best for high-end, luxury packshots, simulating a glossy acrylic riser.
Step 4: AI Retouch
If your phone photo captured harsh reflections of your room or your hands in the metal, run the image through Hylo's AI Retouch. This smooths the metallic gradients and enhances gemstone clarity, matching the look of a multi-strobe diffusion cone setup in seconds.
White Background Examples Across Jewelry Categories
Hylo's public inspiration gallery curates 400 real, pass-graded, safety-checked jewelry looks. When analyzing the pure white and isolated background styles within this dataset, we see specific requirements for different product categories:
Rings (131 Gallery Looks)
Rings are the most scrutinized category in white background photography. The focus is entirely on the center stone and the setting. A successful white background ring shot must feature crisp negative space between the prongs and the gemstone. In our gallery of 131 ring looks, the most successful packshots utilize a subtle reflection shadow, which anchors the circular shape of the band without distracting from the crown.
Necklaces (116 Gallery Looks) & Pendants (42 Gallery Looks)
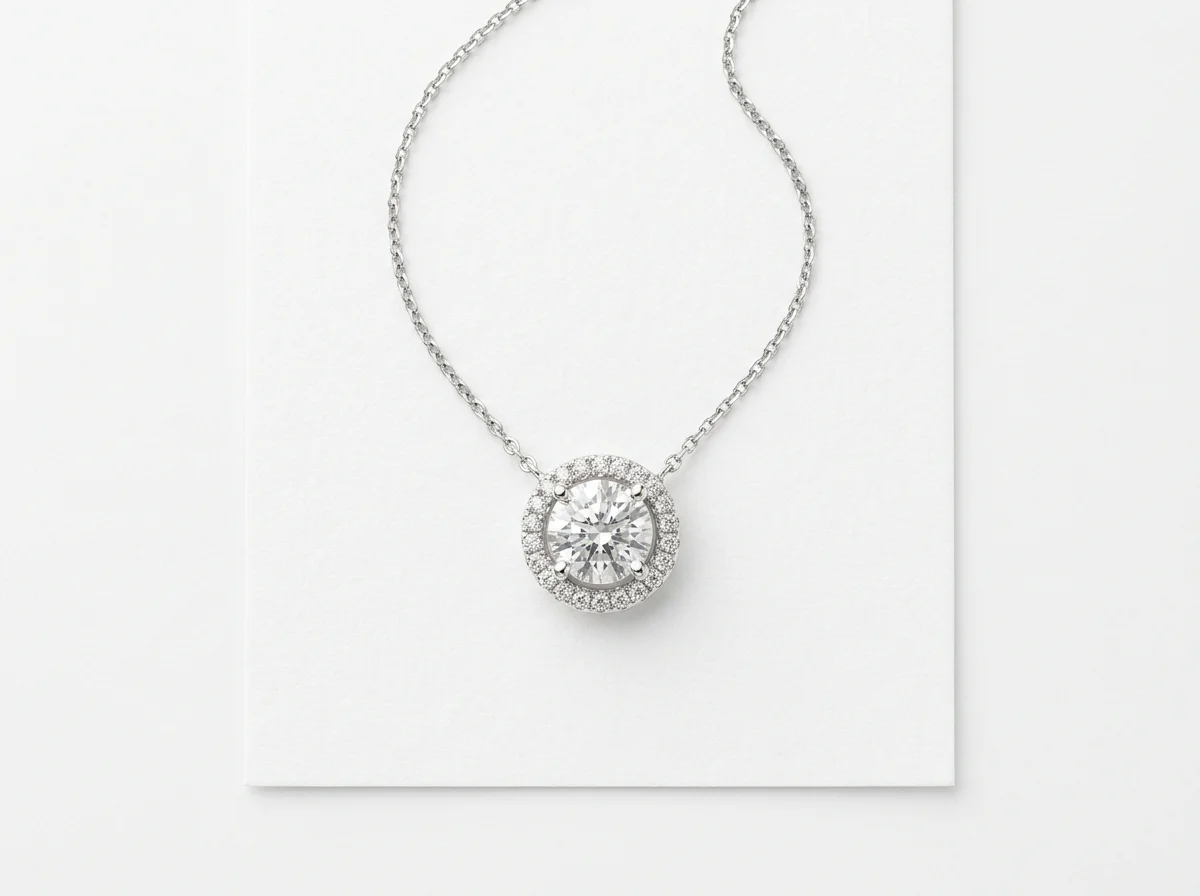
Necklaces present a unique challenge: the chain. On a pure white background, a fine 1mm cable chain can easily vanish if overexposed. The 116 necklace and 42 pendant looks in the Hylo gallery demonstrate the importance of edge contrast. Often, these are shot as flatlays. The AI must perfectly clip the negative space inside every single chain link—a task that takes hours manually but seconds with Hylo.
Earring-Studs (28 Gallery Looks)
Stud earrings are tiny and require extreme macro magnification. Because they are shot so closely, dust and micro-scratches become highly visible against a stark white background. The 28 curated earring-stud looks rely heavily on focus stacking and AI Retouching to ensure the metal appears flawless and the post/butterfly back (if visible) is sharply defined.
Bracelets (17 Gallery Looks) & Bangles (17 Gallery Looks)
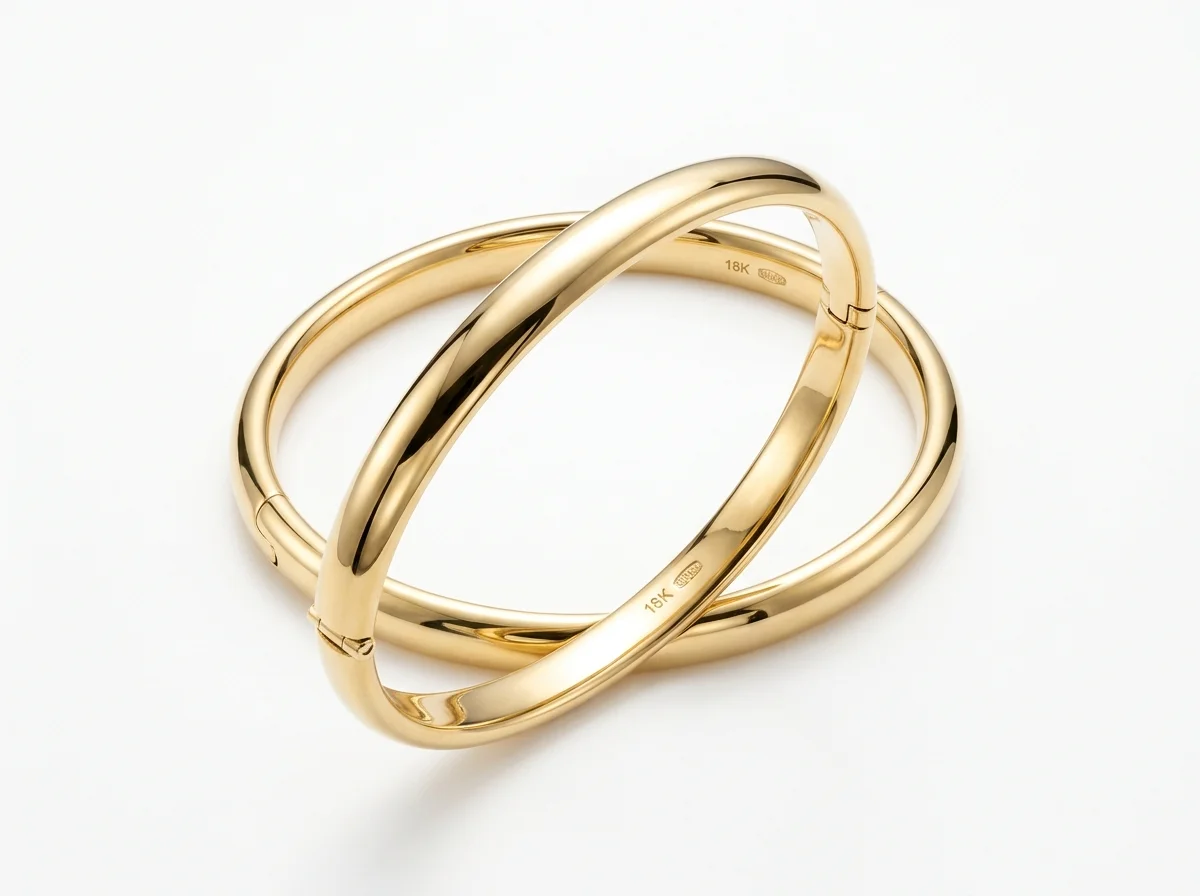
Bangles are highly reflective cylinders. When placed on a white background, they reflect the white surface, often causing the bottom half of the bangle to disappear. The 17 bangle looks in the Hylo gallery showcase the necessity of artificial black flags (or AI equivalent edge-darkening) to maintain the structural outline of the metal against the #FFFFFF canvas.
Common Mistakes in White Background Jewelry Photography
Even experienced photographers make critical errors when attempting jewelry packshots. Avoid these common pitfalls:
1. Settling for "Grey" Backgrounds
Shooting on white seamless paper does not guarantee a white background. If you do not light the paper separately, it will photograph as light grey (around hex #E0E0E0). Amazon algorithms will flag this and suppress the listing. You must verify the background is true #FFFFFF using a color picker tool.
2. The "Floating" Jewelry Syndrome
Using a magic wand tool to delete a background without adding a shadow back in makes the jewelry look unnatural. Buyers subconsciously register this as a cheap, manipulated image, which damages trust. Always anchor the piece with a subtle drop or reflection shadow.
3. Blown-Out Diamonds
To make the background white, beginners often turn up the exposure on their camera. This turns diamonds into glowing white circles with no visible facets. The background exposure and the jewelry exposure must be handled independently.
4. Poor Negative Space Clipping
Leaving the original background color visible inside the loop of a pendant or between the links of a chain ruins the illusion of a pure white packshot. If you are masking manually, you must clip every interior gap. If you are using AI, ensure you are using a jewelry-specific tool like Hylo that understands intricate metallic structures.