What defines macro jewelry photography
Macro jewelry photography is the art of extreme magnification. In technical terms, true macro photography requires a 1:1 magnification ratio, meaning the physical size of the gemstone or setting on the camera's sensor is identical to its size in real life. In commercial application, it means filling the frame with the smallest, most intricate details of a piece.
Unlike standard e-commerce packshots that show the entire silhouette of a necklace or ring on a stark white background, macro photography isolates specific design elements. It acts as a digital jeweler's loupe.
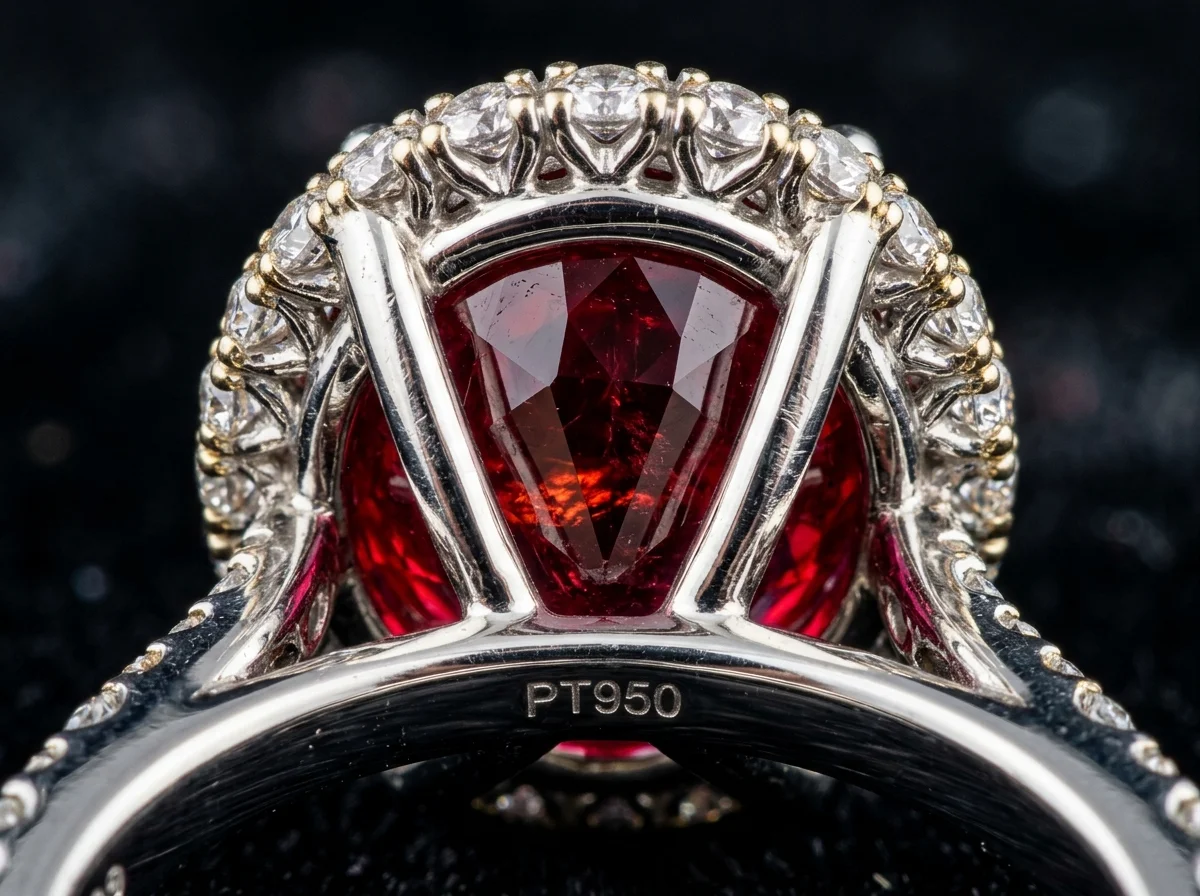
The visual hallmarks of this style are highly specific. First, there is a razor-thin focal plane. When shooting a 2-carat round-cut solitaire at a macro distance, the front prongs might be in pin-sharp focus while the back of the band melts into a creamy, smooth bokeh. This rapid focus falloff creates a sense of intimacy and depth that flatlays cannot achieve.
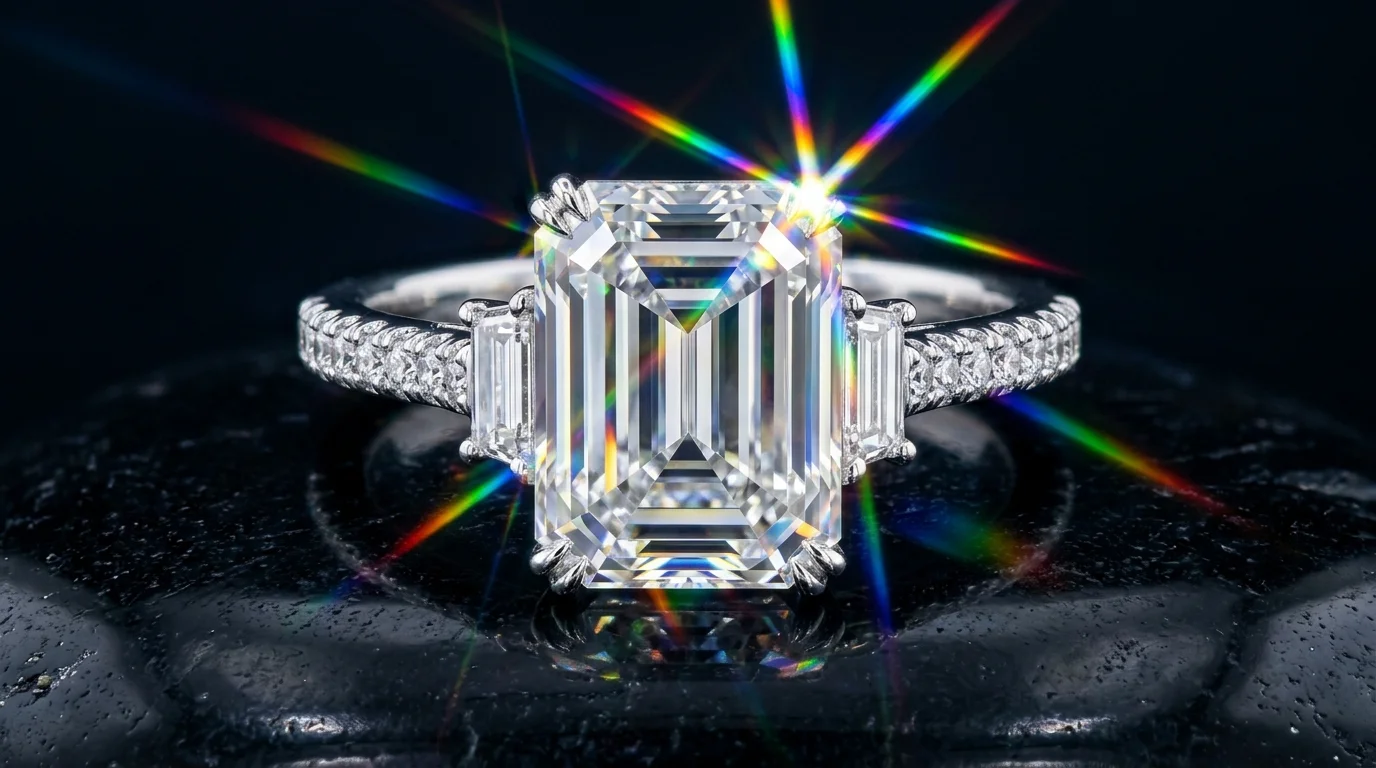
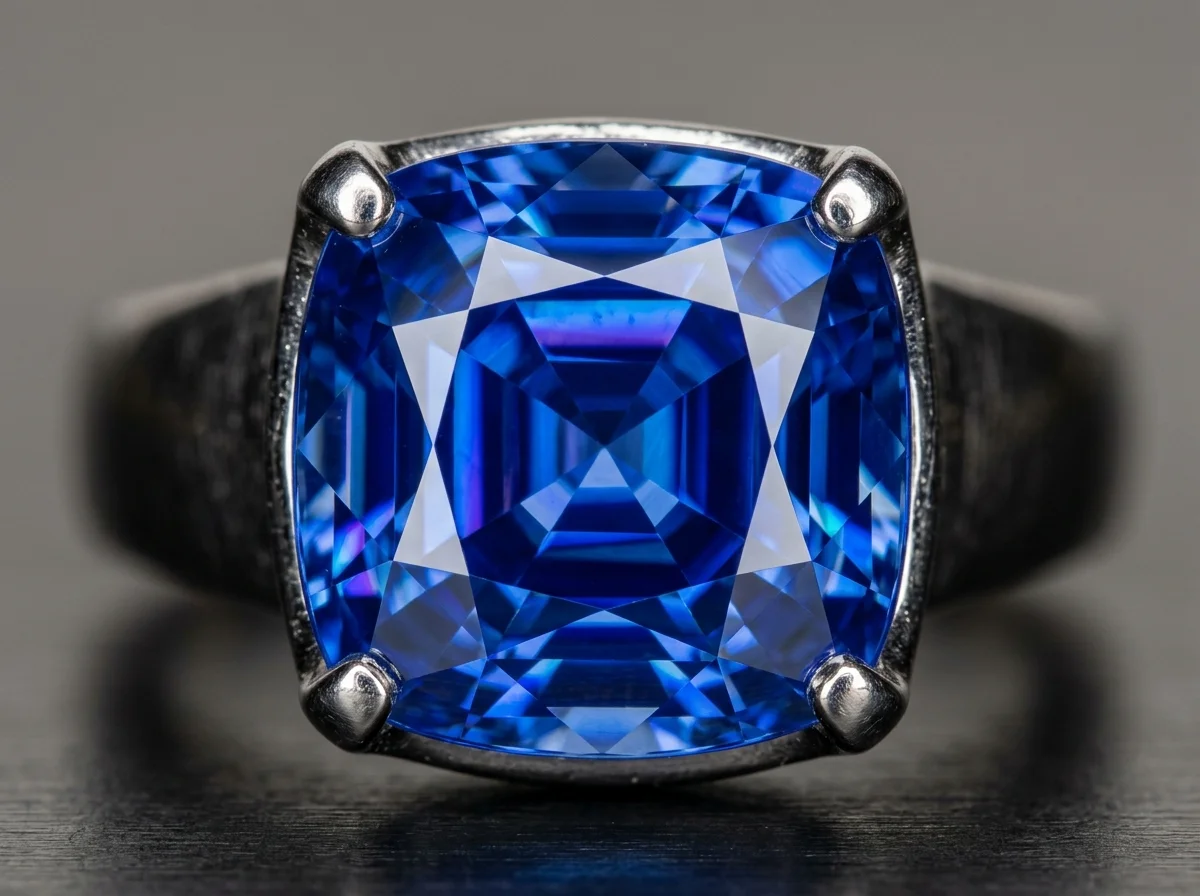
Second, macro photography demands absolute control over specular highlights and reflections. Because you are shooting millimeters away from highly polished metals—which act as convex mirrors—every light source, bounce card, and even the camera lens itself threatens to reflect in the jewelry. A successful macro shot features smooth, gradient lighting across curved metal surfaces and crisp, defined light refractions inside faceted gemstones.
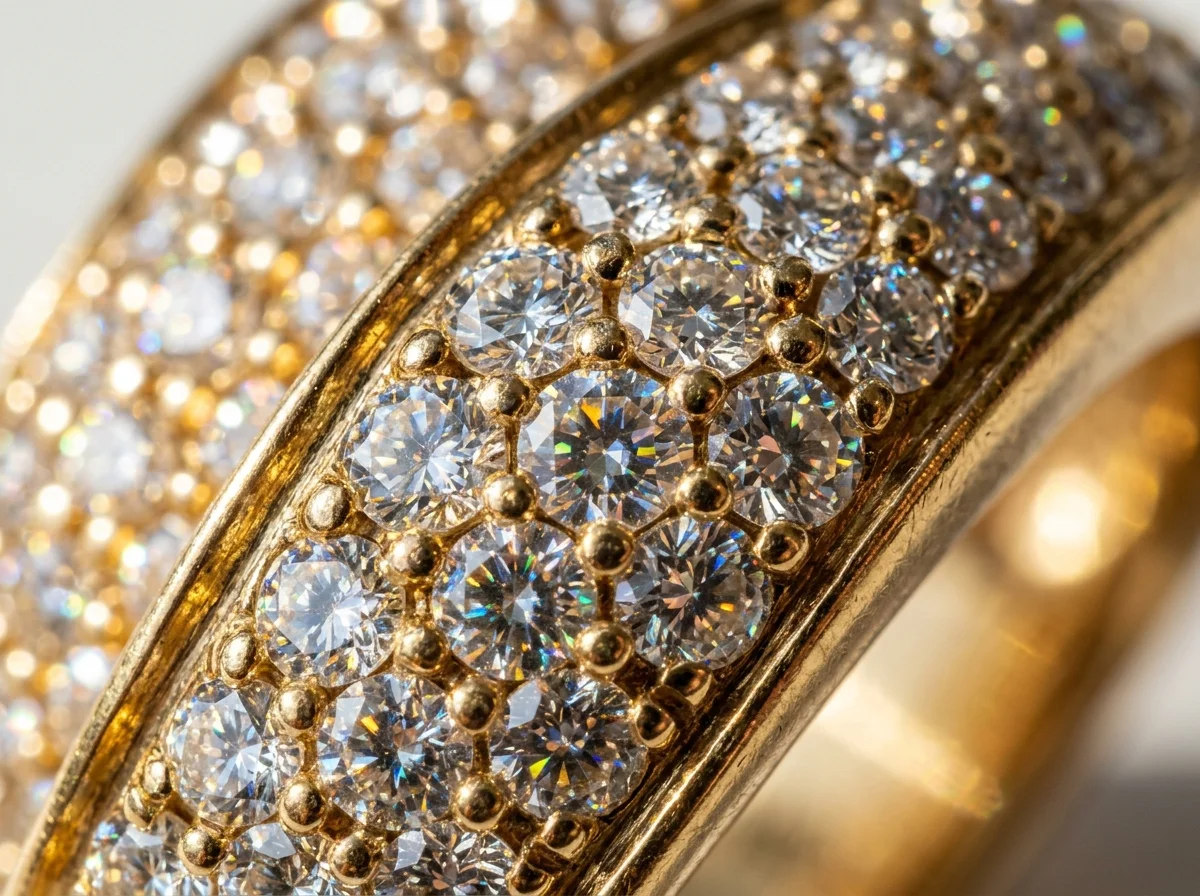
The mood of macro jewelry photography is inherently high-value and transparent. By showing the customer a microscopic view of a milgrain edge, a hidden halo, or the specific inclusions of a salt-and-pepper diamond, the brand communicates absolute confidence in its craftsmanship. There is nowhere to hide poor casting or sloppy stone setting at 10x magnification.
When to use macro jewelry photography
Macro photography serves a distinct purpose in the jewelry buyer's journey. It is rarely the hero image that introduces a product, but it is the image that closes the sale.
E-commerce Product Pages (PDPs)
On a standard Shopify or WooCommerce product page, the macro shot belongs in the third or fourth slot of the image carousel. Once the buyer has seen the product on a white seamless background (to understand the shape) and on a model (to understand the scale), they need to inspect the quality. For high-ticket items—like a $4,500 engagement ring or a bespoke $12,000 tennis necklace—buyers expect proof of value. A macro shot of the claw prongs or the V-end setting on a marquise diamond provides the necessary visual reassurance to add a high-value item to their cart.
Social Media and Visual Discovery
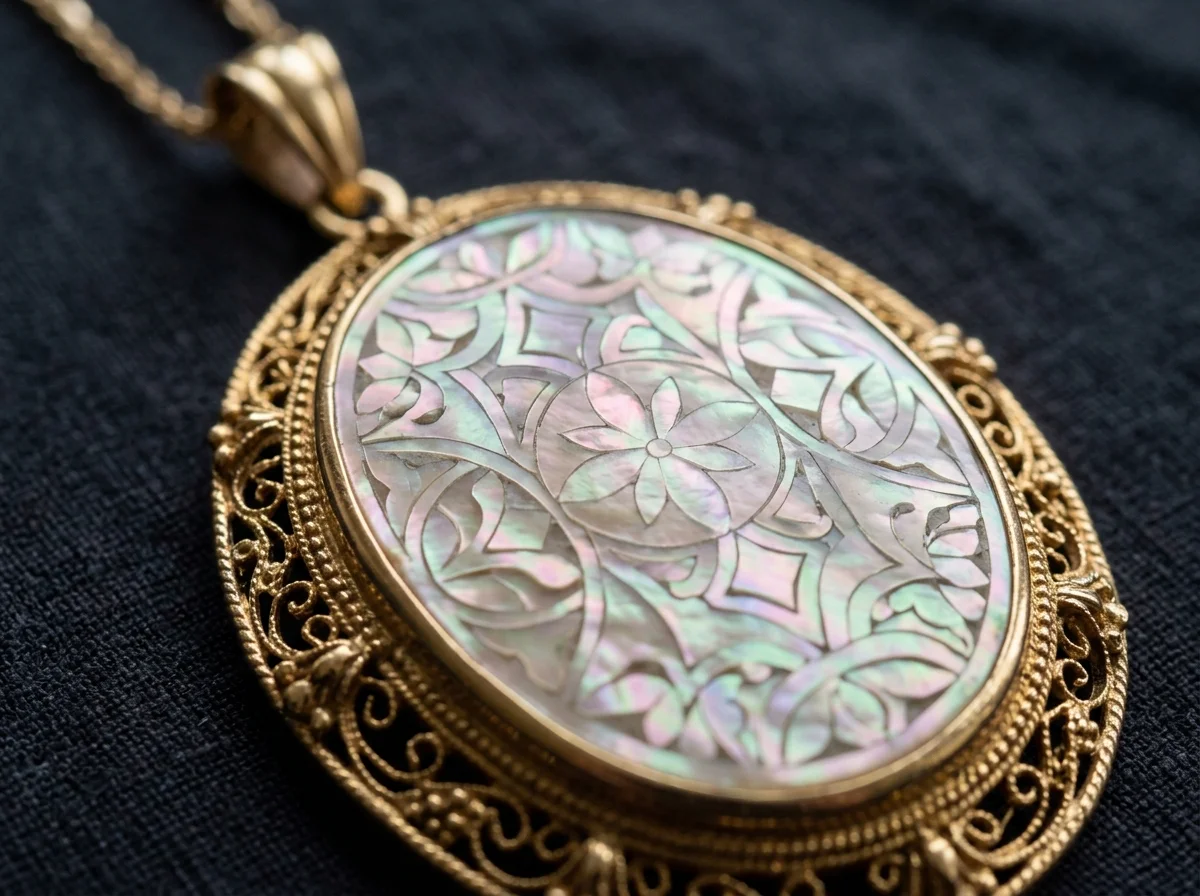
Platforms like Instagram, Pinterest, and TikTok thrive on texture. A macro shot of brushed 18k yellow gold or the intricate wirework of a filigree pendant stops the scroll far more effectively than a zoomed-out flatlay. These tight crops abstract the jewelry, turning a simple band into a landscape of light and shadow, which performs exceptionally well for brand-building and aesthetic mood boards.
Wholesale Linesheets and Retail Training
For brands selling via Faire or pitching to independent boutiques, macro photography proves construction quality to wholesale buyers who cannot physically touch the samples. Furthermore, these images are invaluable for retail sales teams, allowing them to point out specific design features—like a gallery wire or a specific clasp mechanism—when selling to clients on the floor.
How to shoot macro jewelry photography manually
Executing a flawless macro jewelry shot in a traditional studio requires specialized gear, meticulous staging, and significant post-production time. A standard setup for this style easily exceeds $5,000 in equipment and demands a highly controlled environment.
Essential Equipment
To capture true macro details, you need a dedicated macro lens, typically in the 90mm to 105mm range (e.g., Canon RF 100mm f/2.8L Macro IS USM or Nikon Z MC 105mm f/2.8 VR S). This focal length provides enough working distance between the lens and the jewelry to position lighting equipment without casting shadows on the subject.
The camera must be mounted on a heavy-duty, vibration-dampening tripod. At 1:1 magnification, even the micro-vibrations from footsteps in the studio or the slap of a DSLR mirror will cause motion blur. A geared tripod head is essential for making millimeter-precise framing adjustments.
The Lighting Diagram
Lighting macro jewelry is an exercise in managing reflections. The most common setup involves a diffusion cone (like the Karl Taylor Light Cone) placed directly over the jewelry. This creates a 360-degree seamless white environment, eliminating the "black box" effect where the dark studio room reflects onto polished gold or silver.
- Key Light: A high-powered continuous LED (like an Aputure 300d) or a studio strobe fired through a heavily diffused softbox, positioned directly above or slightly behind the diffusion cone. This creates a soft, even gradient across the top of the piece.
- Fill Light / Reflectors: Small white bounce cards (often cut from foam core) are positioned just outside the camera's frame to bounce light back into the lower half of the ring or pendant, lifting the shadows.
- Sparkle Light: To ignite the facets of a diamond or sapphire, a small, hard, undiffused light source (like a fiber optic snoot or a small LED panel) is directed precisely at the gemstone. Soft light makes metal look beautiful but renders diamonds flat; hard light creates the necessary contrast and fire.
Camera Settings and Focus Stacking
Because depth of field becomes infinitesimally thin at macro distances, shooting a ring from front to back in a single frame is physically impossible, even at f/22. Furthermore, shooting at f/22 introduces lens diffraction, which softens the entire image.
The optimal aperture for sharpness is usually f/8 or f/11. To get the entire piece in focus at this aperture, photographers use a technique called focus stacking.
- The camera is locked down, and the lens is focused on the absolute front edge of the jewelry.
- A shot is taken.
- The focus ring is bumped a fraction of a millimeter backward (or the camera is moved on a motorized macro rail), and another shot is taken.
- This process is repeated 15 to 40 times until the focal plane has swept across the entire piece of jewelry.
- These 40 images are then loaded into specialized software like Helicon Focus or Adobe Photoshop, which analyzes the pixels, masks out the blurry sections of each frame, and merges the sharpest pixels into a single, infinitely deep composite image.
This manual process is incredibly labor-intensive. A single final focus-stacked macro image can take 45 minutes to shoot and process, which is why traditional jewelry photographers charge $2,000 to $5,000 per day.
How to generate macro jewelry photography with Hylo
For jewelry brands that need editorial-grade macro imagery but cannot justify the time or expense of a focus-stacked studio shoot, Hylo provides a specialized AI-powered alternative. Hylo's engine is specifically trained on high-end jewelry photography, allowing you to generate flawless macro shots without a $1,500 lens or complex lighting cones.
Hylo's public inspiration gallery currently curates 400 real, pass-graded, safety-checked jewelry looks, serving as first-party visual evidence of the platform's capabilities. By referencing these exact styles, you can recreate premium macro aesthetics in seconds.
Step 1: Configure your Brand Kit
Before generating a macro shot, the AI needs to understand the exact material properties of your piece. In the Hylo Brand Kit, define your metal type (e.g., 14k Rose Gold, Platinum, Brushed Brass) and your gemstone parameters. Because macro shots highlight texture, ensuring your brand kit specifies "high polish" versus "matte finish" is critical for the AI to render the correct specular highlights.
Step 2: Select the Macro Angle in AI Photoshoot
Upload your base image—this can be a standard flatlay or even a clean smartphone photo. In the AI Photoshoot module, select the "Macro" or "Extreme Close-Up" camera angle.
Step 3: Prompting for Macro Specifics
To achieve the best results, use descriptive prompts that mimic physical studio directions. For example: "Extreme macro shot, 100mm lens, f/4 depth of field, focus locked on the center diamond prong setting, soft diffused overhead lighting, creamy out-of-focus background, photorealistic."
Step 4: Utilizing the Inspiration Gallery
If you aren't sure how to prompt, leverage the Hylo Inspiration Gallery. The gallery contains 400 distinct, pre-tested looks. You can browse the macro-specific examples, select a lighting and styling setup that matches your brand's aesthetic, and apply those exact parameters to your own uploaded jewelry piece with a single click.
Step 5: Refine with AI Retouch
At 1:1 magnification, perfection is required. If the AI generation leaves a slight artifact on a prong or an unwanted reflection on the band, use Hylo's Canvas Editor and AI Retouch tools to instantly clean up the metal, ensuring the final asset meets editorial standards.
Examples across jewelry categories
The application of macro photography varies significantly depending on the type of jewelry being shot. The Hylo Inspiration Gallery breaks down its 400 looks across specific categories, providing a roadmap for what details to highlight.
Rings (131 looks)
Rings are the most common subject for macro photography. Out of the 131 ring looks in the gallery, the most successful macro setups focus on the architecture of the setting. A macro shot should highlight the security of the claw prongs, the precision of a milgrain bezel, or the hidden halo beneath a center stone. For wedding bands, macro shots are essential for showing the difference between a knife-edge band, a comfort fit, or a hammered texture.
Necklaces and Pendants (116 and 42 looks)
With 116 necklace looks and 42 specific pendant looks in the gallery, the focus shifts to linkage and bails. A macro shot of a necklace should clearly articulate the style of the chain—distinguishing a delicate cable chain from a dense wheat chain. For pendants, the macro lens should focus on the bail (how the pendant attaches to the chain) and the intricate metalwork or pavé diamonds surrounding the central motif.
Earrings (28 stud looks)
Earrings, particularly studs (which account for 28 gallery looks), require macro photography to demonstrate scale and security. Buyers want to see the thickness of the post, the security of the friction back or screw back, and the basket setting that holds the gemstone. A macro shot of a diamond stud should prove that the diamond is securely seated and that the metal is free from casting porosity.
Bracelets and Bangles (17 looks each)
For the 17 bracelet and 17 bangle looks, macro photography is used to highlight articulation and clasps. A macro shot of a diamond tennis bracelet must show the hinges between each link, proving that the piece will drape fluidly over the wrist rather than remaining stiff. For bangles, the focus is often on the hinge and the security of the box clasp or safety figure-eight catch.
Common mistakes in macro jewelry photography
Whether shooting manually or generating via AI, macro jewelry photography is unforgiving. The magnification amplifies minor errors into glaring distractions.
Mistake 1: Ignoring Dust and Fingerprints
When shooting manually, a single speck of dust or a microscopic smudge from a fingertip looks like a boulder or a smear of grease at 1:1 magnification. A common mistake is failing to thoroughly clean the jewelry with an ultrasonic cleaner, a microfiber cloth, and compressed air immediately before shooting. Photographers must wear lint-free cotton gloves when handling the pieces on set. If generating with AI, ensure your source image is immaculately clean, as AI will sometimes interpret deep smudges as physical textures.
Mistake 2: Insufficient Depth of Field
Attempting to shoot a macro jewelry image without focus stacking (or proper AI depth mapping) usually results in an unusable image. If you shoot a ring at f/2.8 without stacking, only a sliver of the front prong will be in focus, while the gemstone itself is entirely blurred. The image fails its primary purpose: showing the quality of the craftsmanship.
Mistake 3: Uncontrolled "Black Box" Reflections
Silver, platinum, and high-polish gold act as mirrors. A frequent mistake made by amateur photographers is shooting in a standard room without a diffusion cone. The result is a macro shot of the ring that clearly shows the reflection of the camera lens, the photographer's silhouette, and the dark corners of the studio mapped across the metal. Proper macro jewelry photography requires a seamless, 360-degree white environment to render metals with smooth, luxurious gradients.
Mistake 4: Over-Sharpening in Post-Production
Because focus stacking can sometimes soften edges, editors often overcompensate by aggressively applying the Unsharp Mask tool in Photoshop or Lightroom. This creates brittle, crunchy edges, introduces digital noise, and makes the jewelry look rendered and artificial rather than photographic. Sharpness should be achieved through proper capture techniques and high-quality optics, not forced through software sliders.