What defines professional gold jewelry photography
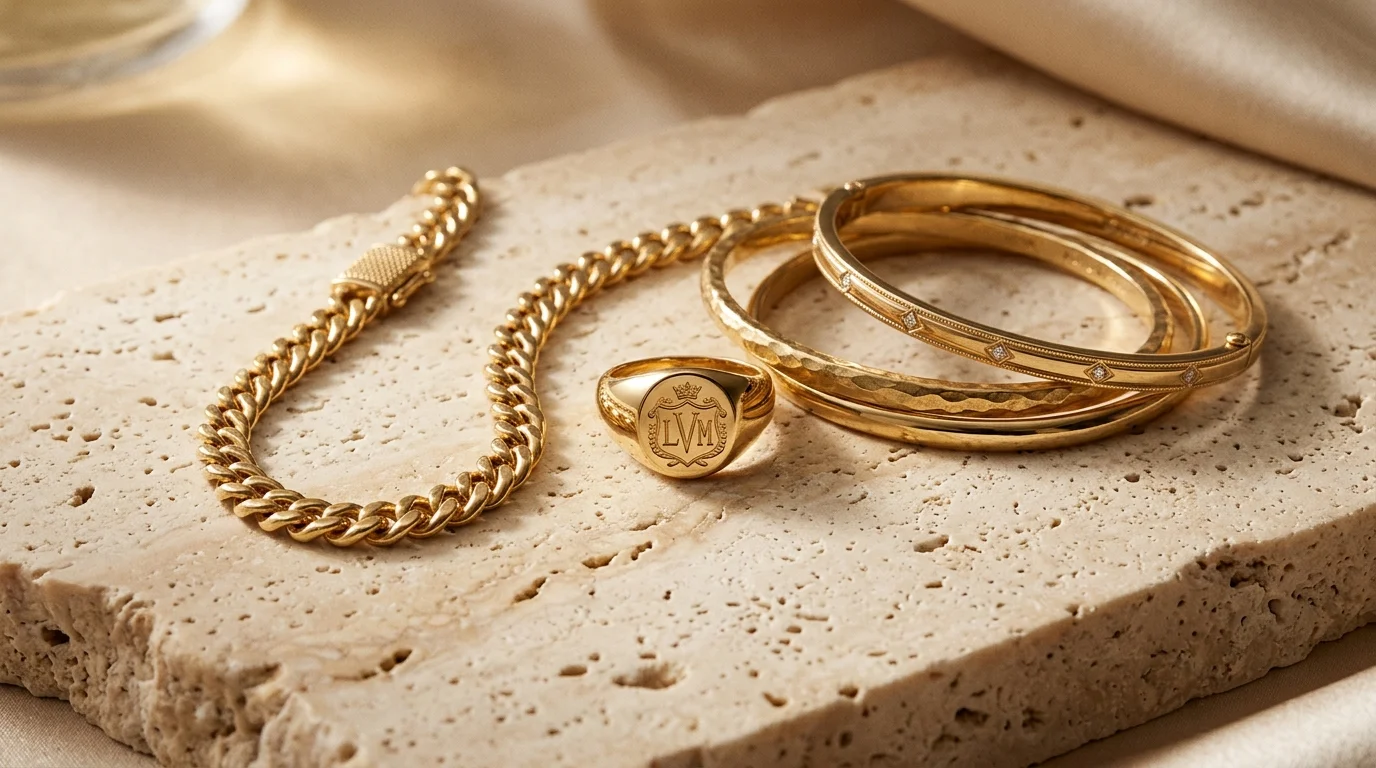
Gold is notoriously difficult to photograph because it acts as a curved, colored mirror. You are never actually photographing the gold itself; you are photographing what the gold reflects. Professional gold jewelry photography is defined by the deliberate control of those reflections to create shape, volume, and accurate color.
The Physics of Lighting Gold
When light hits a highly polished gold surface, it behaves differently than it does on matte materials. A direct light source will create an overexposed, blown-out highlight (a "hotspot"), while the rest of the piece will reflect the dark room around it, resulting in a high-contrast, illegible image.
The hallmark of professional gold photography is the use of smooth, continuous gradients. Instead of harsh lines of light and dark, a well-lit gold ring will display a soft gradient transitioning from a bright highlight to a rich, warm shadow. This gradient gives the metal its three-dimensional shape and communicates its polished texture to the buyer.
Accurate Alloy Rendition
In e-commerce, color accuracy reduces return rates. Gold is not a single color. A professional studio shot must clearly differentiate between:
- 14k Yellow Gold: A softer, slightly cooler yellow, often with subtle greenish undertones depending on the alloy mix.
- 18k Yellow Gold: A richer, deeper, and warmer yellow.
- 24k Pure Gold: An intense, almost orange-yellow that is highly saturated.
- Rose Gold: A delicate balance of copper and gold that can easily look like cheap brass or pink plastic if the white balance is off.
Amateur gold photography often suffers from "brassy" tones caused by incorrect white balance or mixed lighting scenarios (e.g., combining warm tungsten room lights with cool window light). Professional shots maintain a strict, unified color temperature, typically balanced perfectly to 5500K daylight.
When to use specific gold photography styles
The way you photograph your gold jewelry should map directly to the channel where the image will live and the psychological state of the buyer on that channel.
White Seamless for High-Volume E-Commerce
Amazon, Faire, and the primary product pages of your Shopify store require white seamless backgrounds (pure white, RGB 255,255,255). When a buyer is looking at a catalog or linesheet, they are making analytical decisions: How thick is the band? What is the prong setting? Is the finish matte or polished?
For white seamless gold photography, the lighting must be perfectly even. Shadows should be minimal, usually just a soft drop shadow to ground the piece so it doesn't appear to float. This style is non-negotiable for wholesale linesheets and marketplace compliance.
Warm Neutrals for DTC and Social Commerce
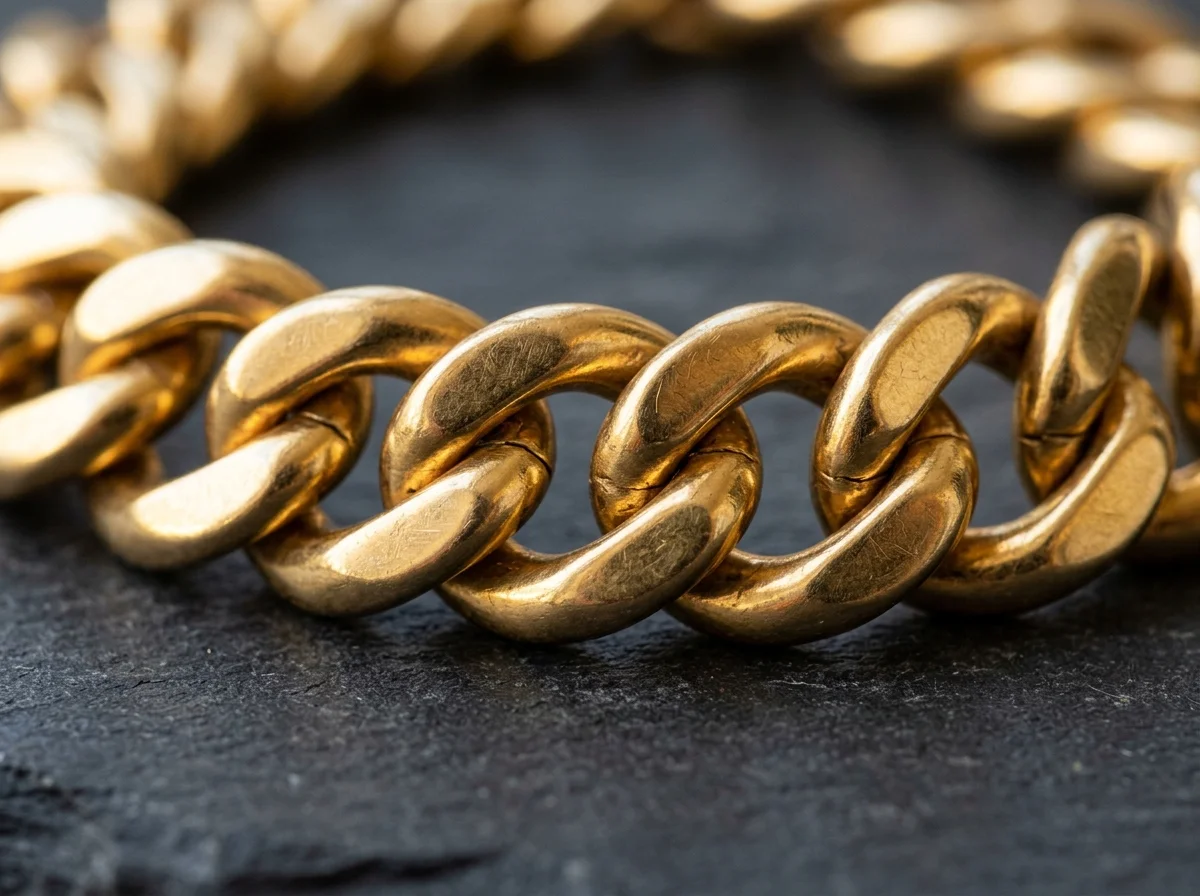
Direct-to-consumer brands selling on Instagram, TikTok Shop, or premium Webflow storefronts lean heavily into warm, neutral, editorial backgrounds. Think raw beige travertine, soft plaster, warm greys, and muted earth tones.
Gold naturally harmonizes with warm color palettes. Placing an 18k gold pendant on a warm beige background creates a monochromatic, luxurious aesthetic that feels modern and approachable. This style is used for hero banners, social media feeds, and email marketing campaigns where the goal is to sell a lifestyle and an aesthetic, not just a product.
Dark and Moody for High-End Luxury
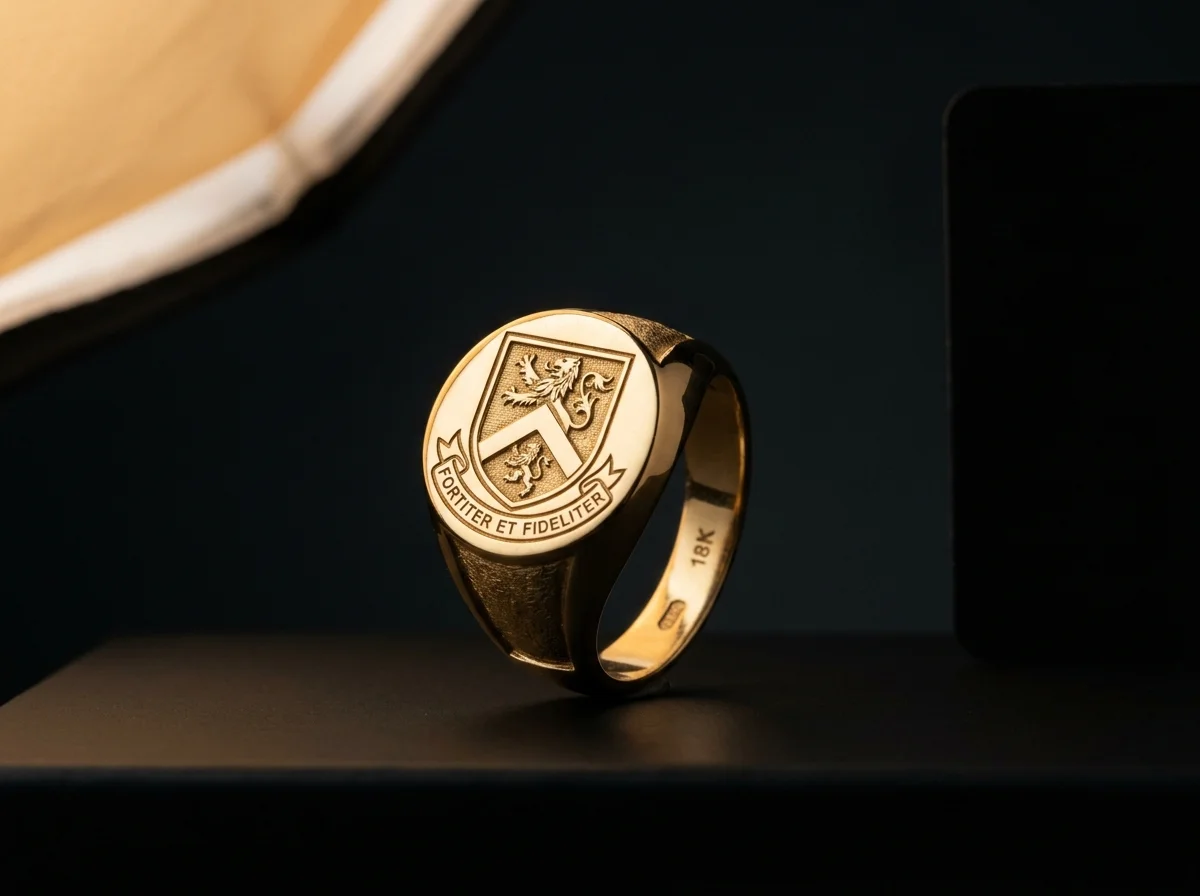
For high-ticket items—such as a $10,000 bespoke 18k gold and diamond collar—brands often utilize dark, moody photography. Black acrylic, dark slate, or deep emerald velvet backgrounds create high contrast, making the gold pop dramatically.
This style requires highly directional lighting. Instead of flooding the piece with soft light, photographers use "flags" (black cards) to block light from certain angles, creating deep, rich black reflections in the gold that emphasize its curves and high polish. This signals exclusivity and premium pricing to the buyer.
How to shoot gold jewelry manually
Shooting gold jewelry manually requires a dedicated studio setup. A commercial photographer earning $2,000–$5,000/day earns their rate not by pressing a button, but by engineering a micro-environment where reflections are perfectly controlled.
Equipment and Setup
To shoot gold professionally, you cannot rely on ambient room light. You need:
- Camera & Lens: A full-frame mirrorless camera or DSLR paired with a true 1:1 macro lens (typically 90mm, 100mm, or 105mm).
- Lighting: Two reliable strobes (flash) or high-CRI continuous LED panels. You need at least 200W of power to shoot at the required small apertures.
- Diffusion: This is the secret weapon. You must use a light cone (like the Karl Taylor Light Cone) or a high-quality diffusion tent. This surrounds the jewelry 360 degrees, blocking the reflection of the camera lens and the room.
- Support: A heavy, geared tripod. You will be focus stacking, meaning the camera cannot move a fraction of a millimeter between shots.
The Lighting Diagram
- The Base: Place your gold piece on a white or grey acrylic riser inside the light cone.
- Key Light: Position your primary strobe at the 10 o'clock or 2 o'clock position, firing directly through the diffusion material of the cone. This creates your primary gradient.
- Fill Light: Position a second strobe at half-power on the opposite side to lift the shadows, ensuring the gold doesn't go entirely black on the unlit side.
- Black Flags: Gold needs contrast to look metallic. If it is surrounded entirely by white, it looks flat and milky. Cut small strips of black paper and place them inside the cone, just out of frame. These will reflect into the gold, creating sharp, dark lines that define the edges of the metal.
Camera Settings and Execution
Set your camera to manual mode. To get a ring entirely in focus from the front prong to the back of the shank, you must shoot at a small aperture: f/11 to f/16.
Because of the small aperture, you need a lot of light. Set your ISO to its base level (usually ISO 100) to ensure zero digital noise. Set your shutter speed to your camera's flash sync speed (typically 1/160s or 1/200s).
Even at f/16, a macro lens focused tightly on a ring will not capture the entire piece in sharp focus. You must shoot a focus stack: taking 10 to 20 individual photos, shifting the focus point slightly back by a millimeter each time. These images are then merged in Adobe Photoshop or specialized software like Helicon Focus.
How to generate gold jewelry photography with Hylo
Manual gold photography requires thousands of dollars in gear and hours of post-production per SKU. For jewelry brands that need to scale their visual output across hundreds of products, Hylo's AI Photoshoot replaces the traditional studio workflow.
Hylo is built specifically for the physics of jewelry. It understands how light wraps around gold, how prongs cast shadows, and how to maintain the exact alloy color of your original CAD or flatlay.
Step 1: Start with a Simple Input
You do not need a light cone or strobes. You can upload a basic flatlay shot on a smartphone, or a raw CAD render of your gold piece. Hylo's AI Retouch will automatically clean up the metal, remove minor scratches, and prepare the piece for generation.
Step 2: Leverage the Inspiration Gallery
Instead of engineering a lighting setup from scratch, you can browse Hylo's public inspiration gallery, which curates 400 real, pass-graded, safety-checked jewelry looks. This gallery acts as your virtual lighting studio.
If you want a warm, editorial look for an 18k gold piece, you simply select a reference image from the gallery that matches your brand's aesthetic. Hylo's AI maps the lighting, shadows, and background from the inspiration look directly onto your uploaded product.
Step 3: Configure Your Brand Kit
Consistency is critical for multi-channel selling. Using Hylo's Brand Kit, you can lock in your specific hex codes and visual guidelines. If your DTC brand utilizes a specific warm sandstone background across all social media, you save that to your Brand Kit.
When you run a batch of 50 new gold SKUs through the AI Photoshoot, Hylo ensures every single piece is rendered with the exact same lighting direction, shadow density, and background tone. What would take a retoucher a week in Photoshop takes minutes in Hylo.
Examples across jewelry categories
Different types of gold jewelry require different lighting approaches based on their surface area and geometry. Hylo's inspiration gallery includes 400 specialized looks calibrated for these exact categories.
Rings (131 looks)
Gold rings are challenging because the shank (the band) is a continuous curve that reflects light from 360 degrees. The gallery includes 131 specific looks for rings, focusing on highlighting the top of the band while allowing a soft shadow to fall away at the bottom. For gold rings with diamond settings, the lighting must balance the soft gradients needed for the metal with the hard, specular light needed to make the diamond sparkle.
Necklaces (116 looks) and Pendants (42 looks)
Chains present a unique problem: micro-contrast. A 14k gold herringbone or cable chain consists of hundreds of tiny, interlocking reflective surfaces. If the lighting is too soft, the chain looks like a solid yellow blur. Hylo's 116 necklace looks and 42 pendant looks are engineered to introduce micro-shadows between the links, ensuring the chain looks articulated and metallic, not flat.
Earring-Studs (28 looks)
Studs are small and require extreme macro precision. The 28 curated looks for earring-studs emphasize the front-facing geometry. Because studs lay flat against the ear, the AI generation focuses on creating realistic drop shadows that communicate the depth of the post and the thickness of the gold setting.
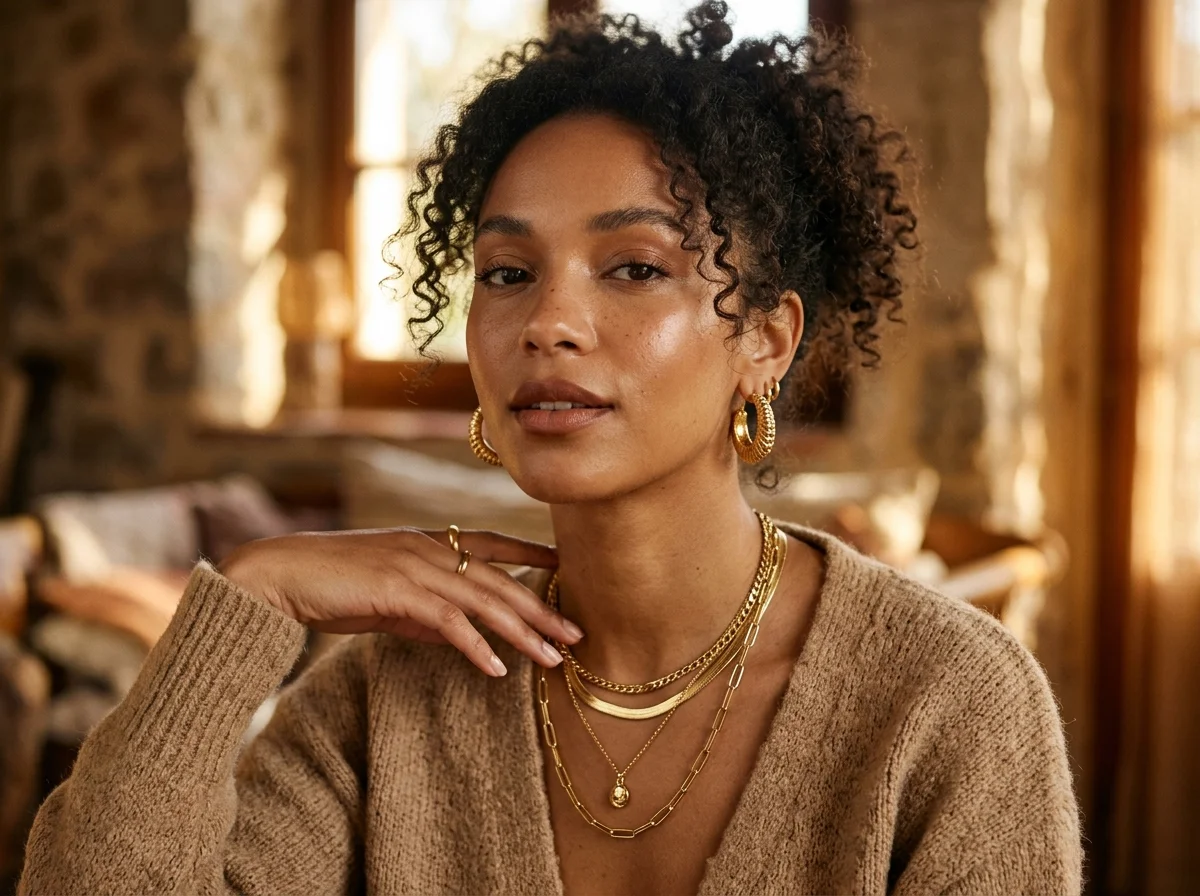
Bracelets (17 looks) and Bangles (17 looks)
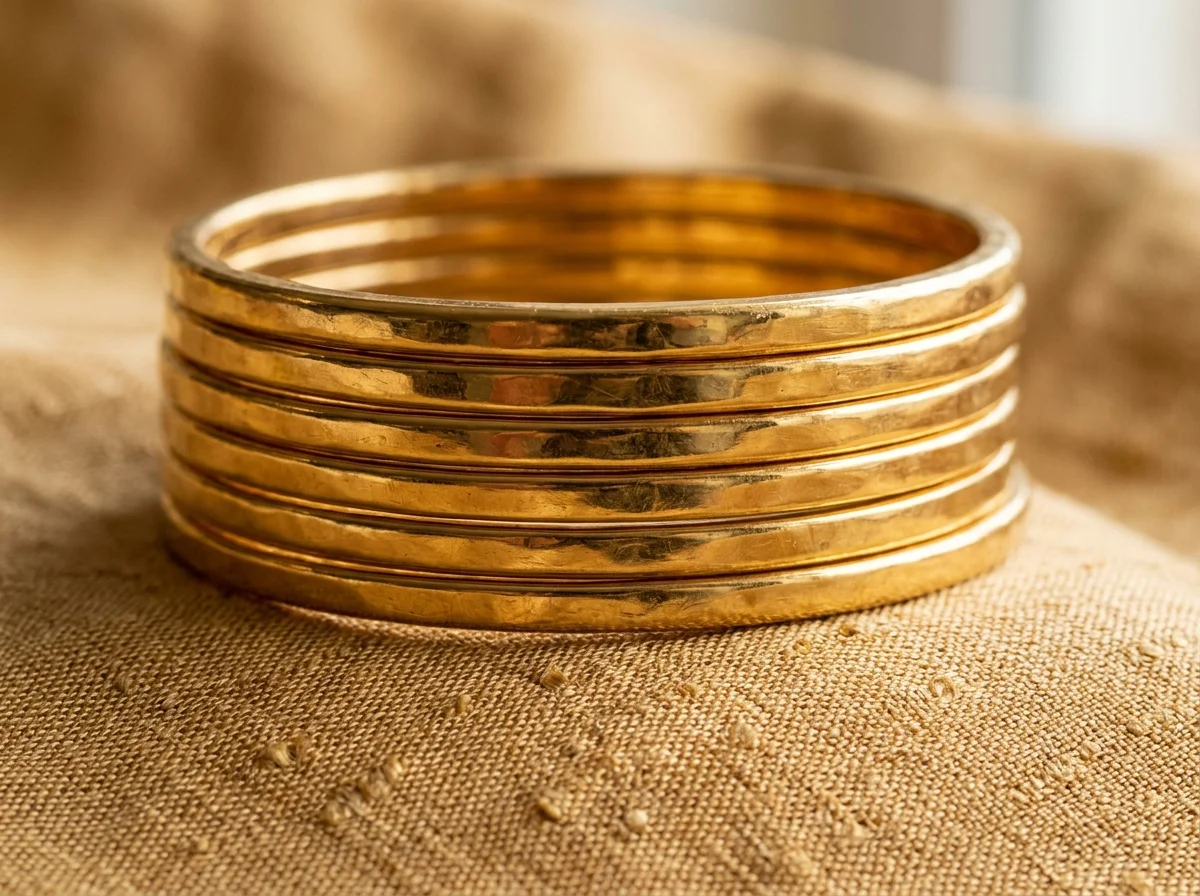
Unlike rings, bangles have massive surface areas. A highly polished 18k gold bangle is essentially a funhouse mirror. Shooting this manually almost always results in the photographer accidentally capturing their own reflection in the metal. The 17 bracelet and 17 bangle looks in Hylo's gallery solve this by wrapping the piece in pure, uninterrupted digital diffusion, creating flawless, sweeping gradients across the broad gold curves.
Common mistakes in gold jewelry photography
Whether you are shooting manually or using generalist AI tools (like Canva or Photoroom) instead of a jewelry-specific engine like Hylo, there are several common pitfalls that ruin gold product imagery.
The "Plastic" Over-Retouch
When retouchers try to remove reflections from gold manually using the clone stamp or heavy frequency separation in Photoshop, they often destroy the micro-texture of the metal. The gold ends up looking like cheap, yellow plastic. Gold must retain a slight degree of contrast and natural gradient to register as metal to the human eye.
Clipping Highlights
Because gold is reflective, it's easy to overexpose the brightest parts of the image. When a highlight is "clipped" (meaning the RGB values hit 255,255,255), all pixel data is lost. It becomes a pure white hole in the image. Professional lighting ensures that even the brightest highlight on a gold ring retains a fraction of tonal data.
Incorrect White Balance and Color Casts
If you shoot gold jewelry near a window on a sunny day, the blue light from the sky will mix with the yellow of the gold, resulting in a muddy, greenish tint. If you shoot under warm household bulbs, 14k gold will look intensely orange, mimicking 24k gold. This leads to customer complaints when the physical product arrives and looks paler than the photo. Always use a grey card to set a custom white balance, or rely on Hylo's AI to standardize the alloy colors across your entire catalog.