What defines professional diamond photography
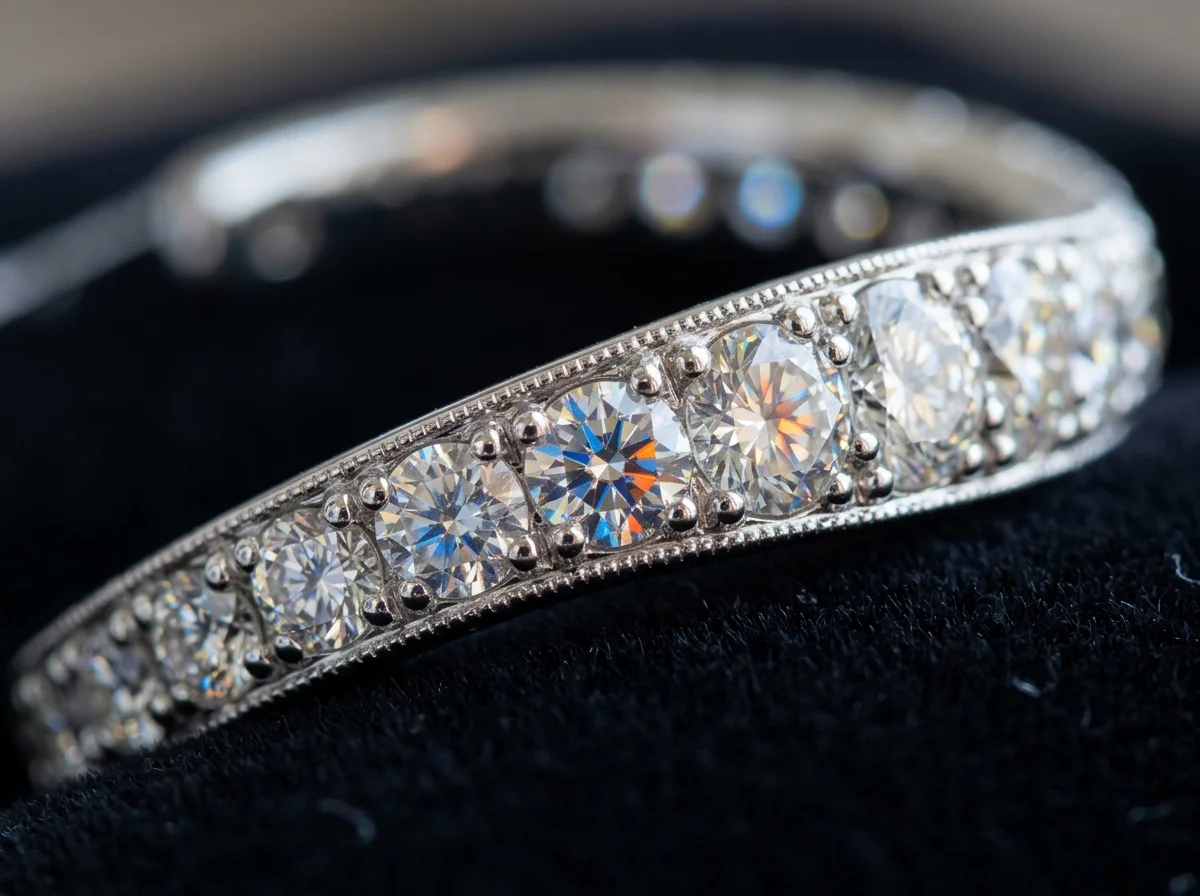
To photograph a diamond is to photograph a mirror. Diamonds do not have their own inherent color or texture; they simply reflect the environment around them. Professional diamond photography is defined by the deliberate control of that environment to showcase the stone's cut, clarity, color, and carat weight.
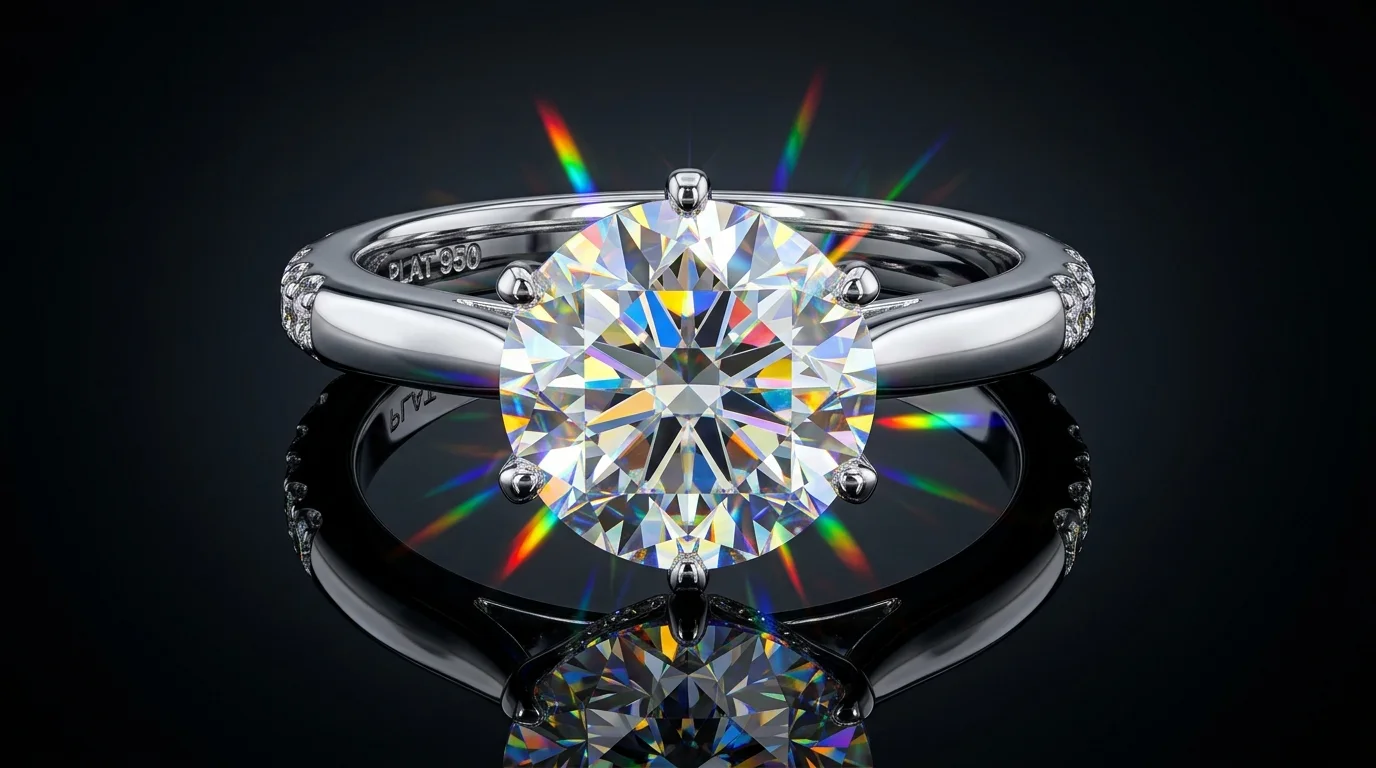
The visual hallmarks of a high-end diamond photograph rely on a delicate balance of three optical properties: brilliance (white light reflections), fire (spectral color dispersion), and scintillation (the contrast of light and dark spots).
In a professional packshot or editorial image, you will see sharp, high-contrast facets. The table (the flat top of the diamond) should be bright but never blown out to pure white—you must be able to see the facet junctions beneath it. Surrounding the center, the crown and pavilion facets should display a crisp mosaic of pure black and pure white reflections. If a diamond looks flat, gray, or cloudy in a photograph, it is almost always a lighting failure, not a flaw in the stone.
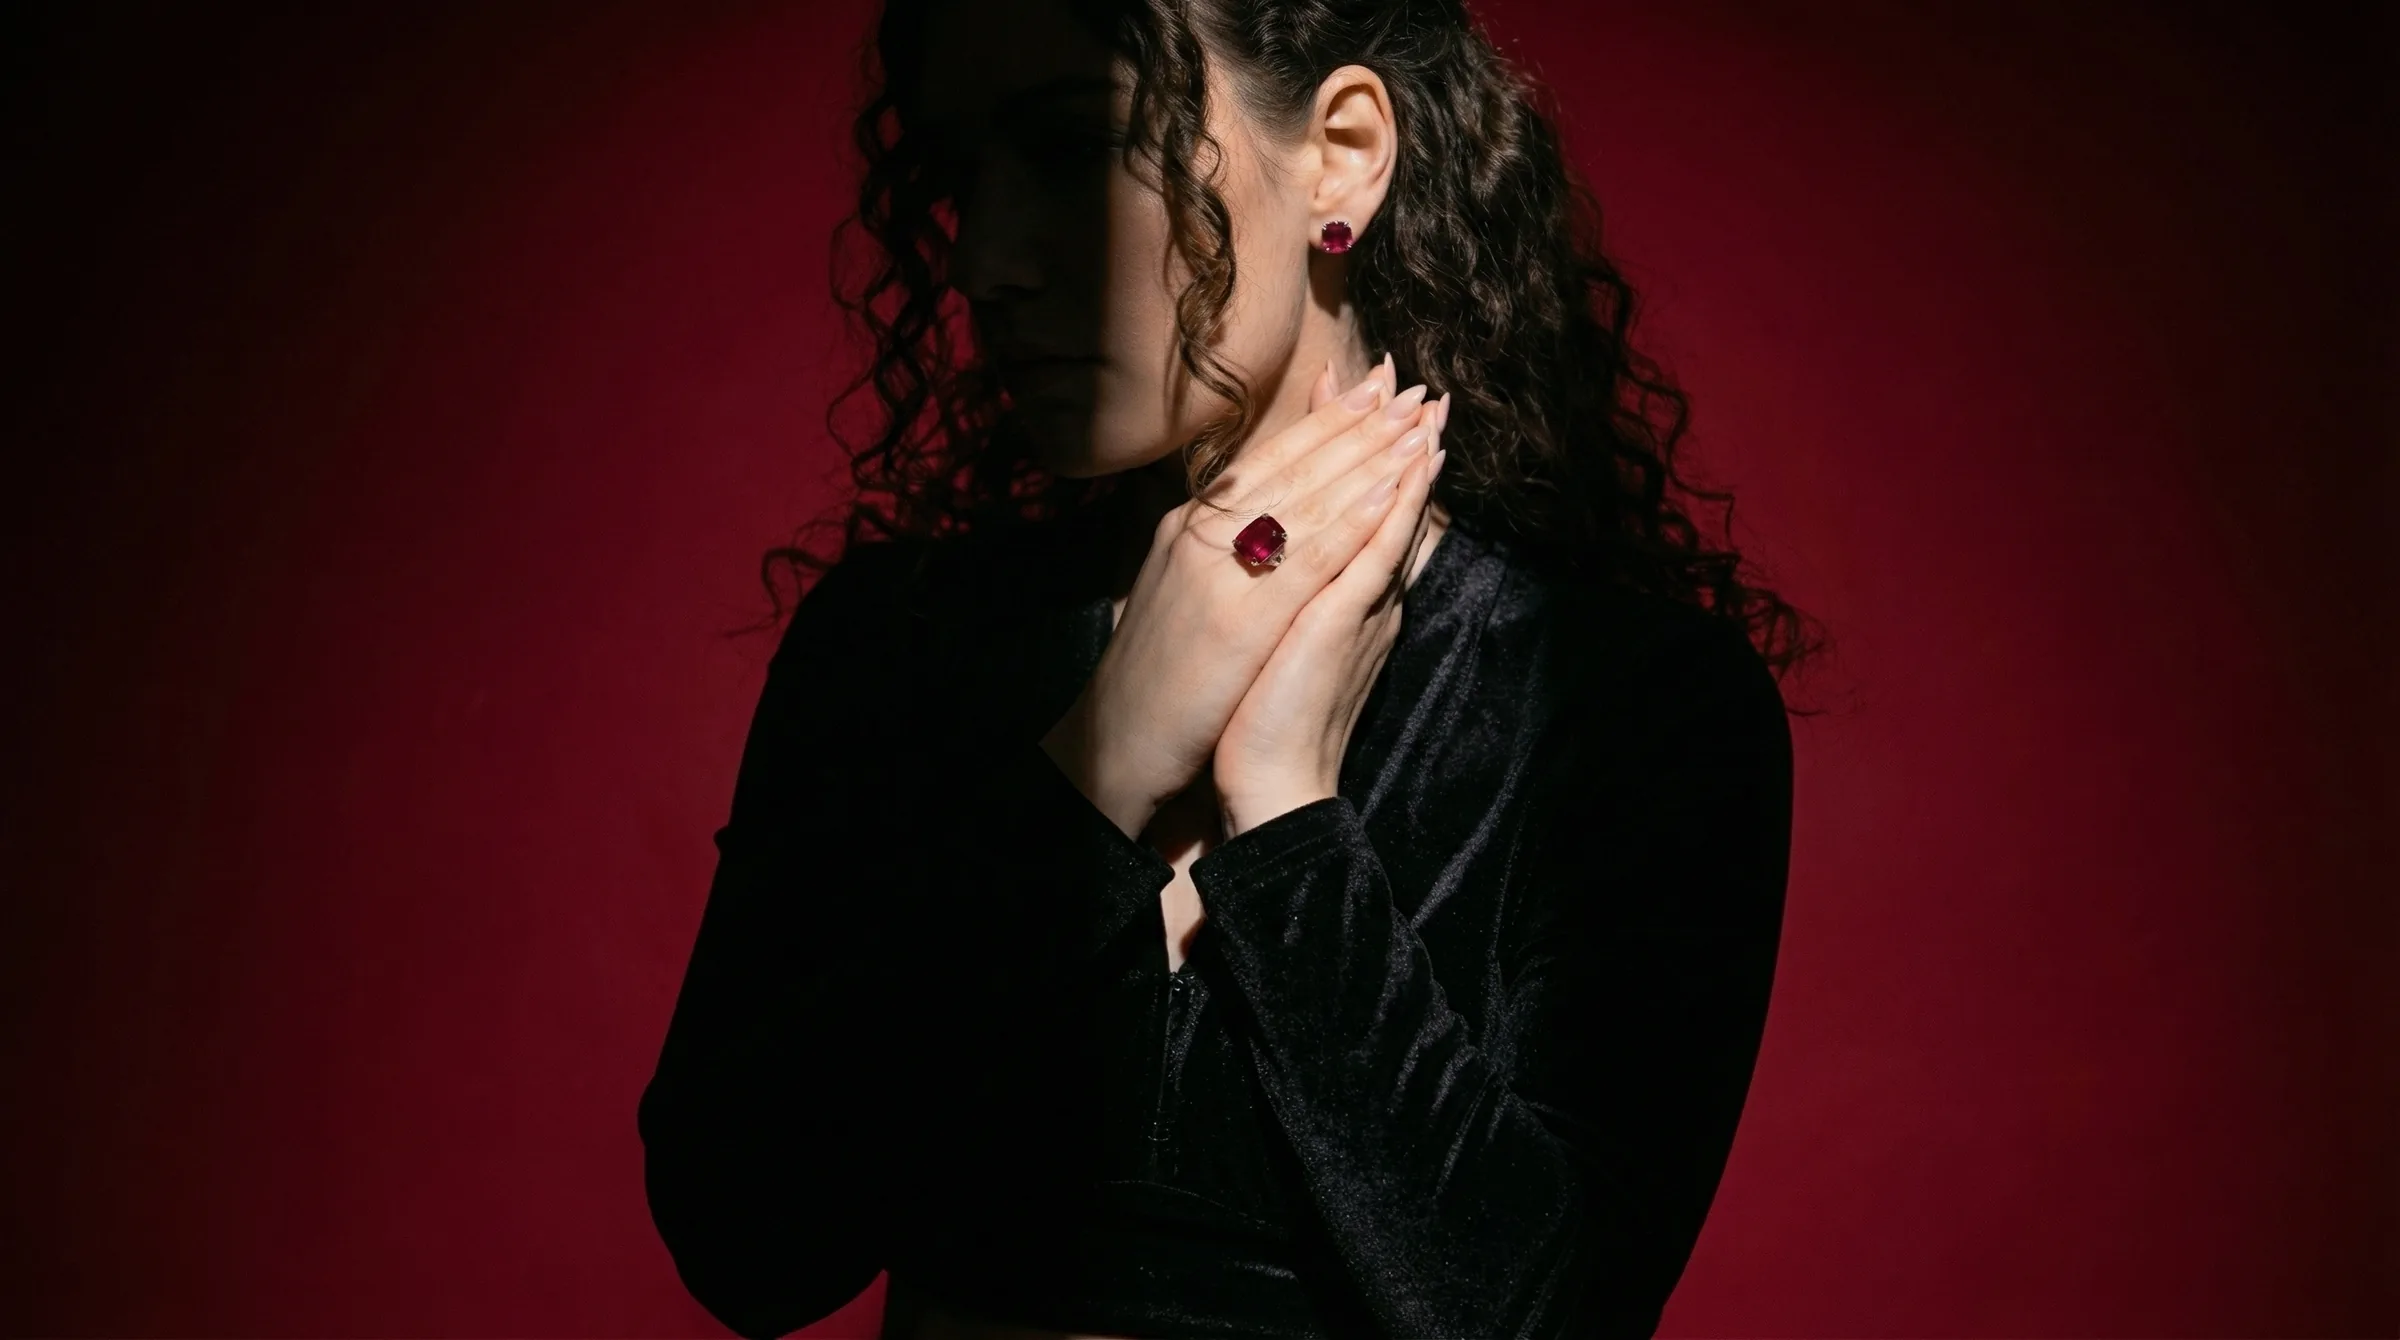
Mood and styling in diamond photography typically lean toward the pristine and clinical for e-commerce, utilizing pure white or neutral gray seamless backgrounds to ensure no color casts contaminate the stone. For editorial and social media, the style shifts toward dramatic, high-contrast environments—often utilizing dark, textured props like slate or velvet to make the brilliant white of the diamond pop. Regardless of the background, the lighting characteristics remain consistent: heavy, uniform diffusion to control the metal band, punctuated by pinpoint, directional light to ignite the diamond's fire.
When to use dedicated diamond photography styles
The approach you take to photographing diamonds dictates how a customer perceives the value of your jewelry. A $15,000 engagement ring shot under harsh, mixed lighting will look cheaper than a $500 moissanite ring shot with precise macro studio lighting.
E-commerce Product Pages (The White Background Packshot) For your Shopify or WooCommerce store, consistency and clarity are paramount. Buyers need to trust the quality of the stone before they add a high-ticket item to their cart. Use a highly structured, diffused lighting setup here. The goal is to provide an objective, clinical view of the diamond's cut and the setting's craftsmanship. This is where focus stacking is mandatory; the front prong, the table facet, and the back of the band must all be in tack-sharp focus.
Social Media and Advertising (Editorial and Lifestyle) Instagram, TikTok, and Pinterest require a different visual language. Here, the psychology of the buyer shifts from analytical to emotional. You want to capture the "sparkle"—the scintillation and fire that happens when the diamond moves. Editorial diamond photography uses harder, more directional light sources to create specular highlights. You will often see diamonds styled on raw materials like marble, plaster, or submerged in water to emphasize durability and luxury.
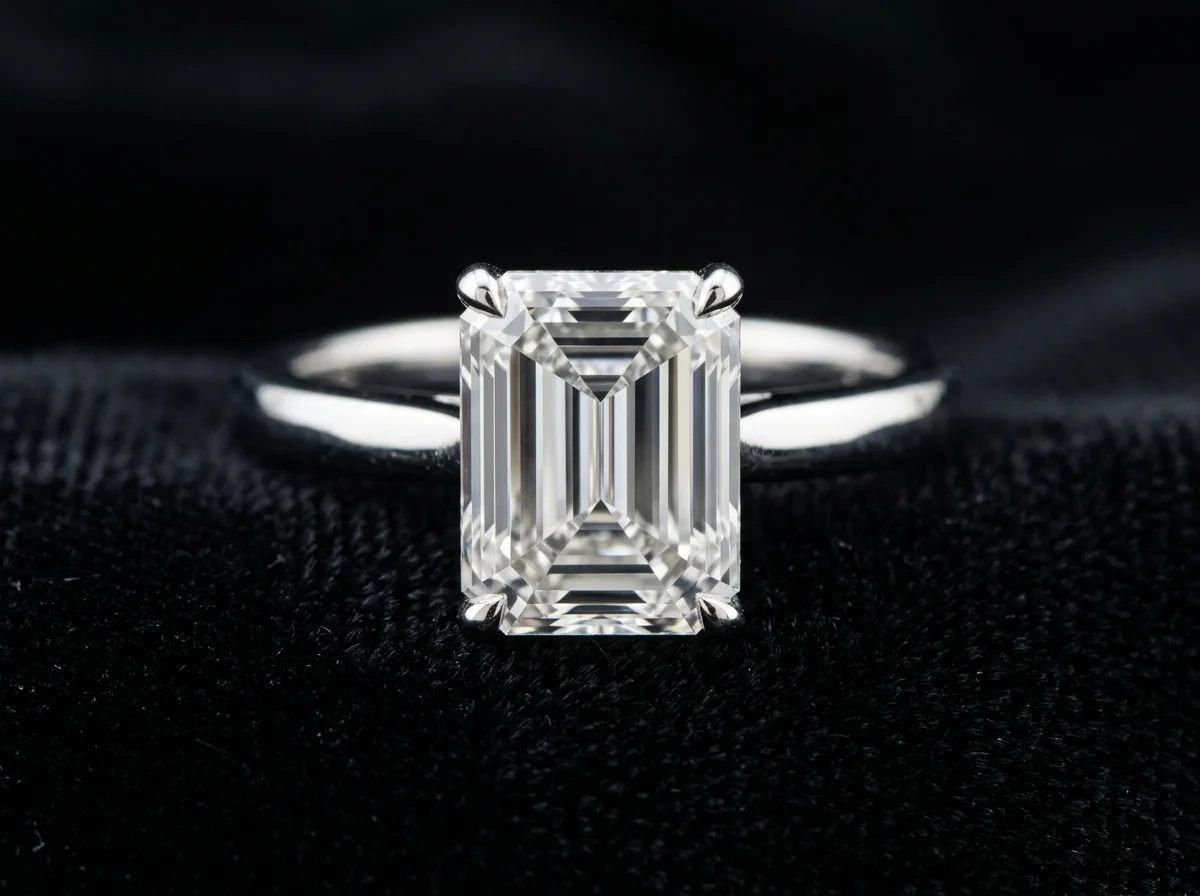
High-Ticket Client Proposals and Linesheets When sending a linesheet to a wholesale buyer or a proposal to a bespoke client, the photography must look expensive. Independent designers and ateliers should use a hybrid approach: a clean, neutral background but with dramatic, high-contrast lighting that emphasizes the geometry of the specific cut, whether it's a step-cut emerald or a brilliant round.
How to shoot diamond photography manually
Shooting diamonds manually requires specialized equipment and an understanding of light physics. You cannot shoot a $5,000 diamond ring with a standard kit lens and a ring light and expect it to look professional.
Essential Equipment
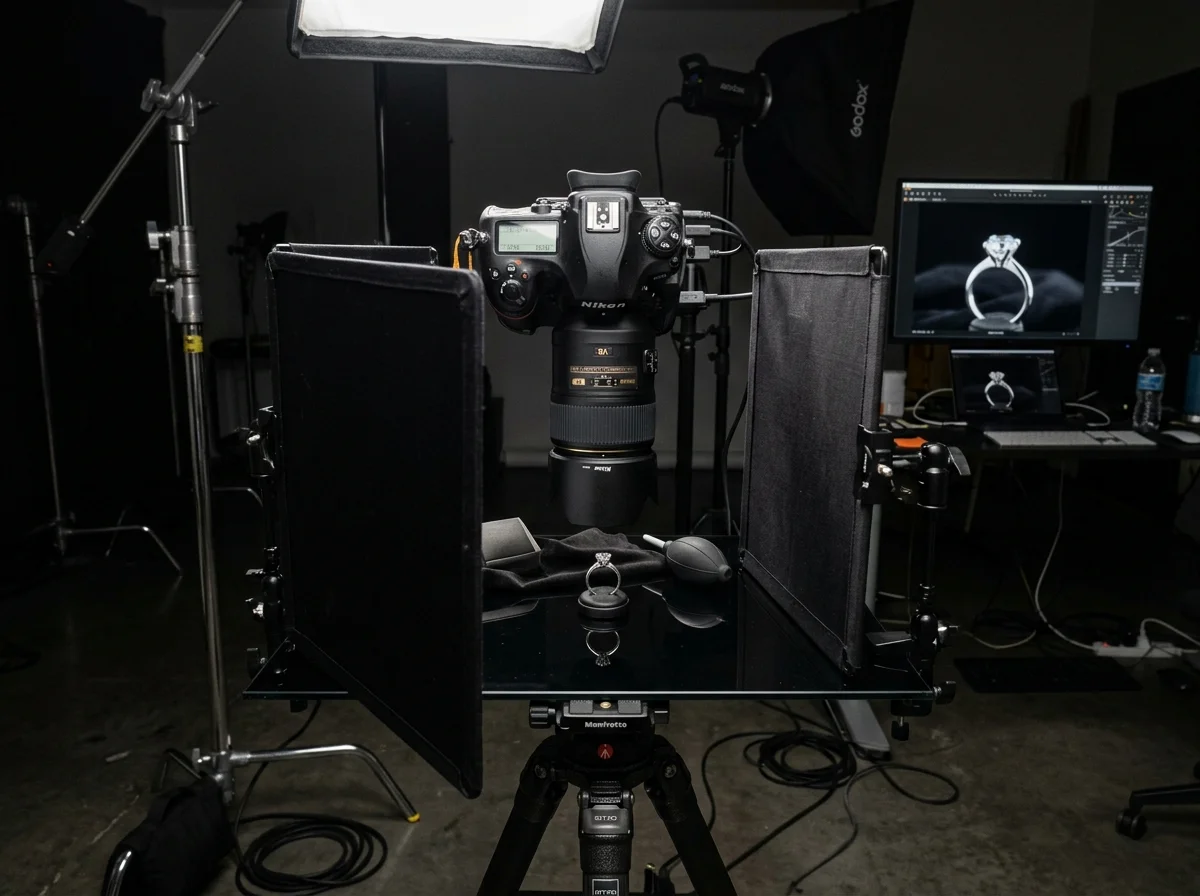
- Camera and Lens: A full-frame DSLR or mirrorless camera paired with a dedicated 1:1 macro lens (typically 90mm to 105mm). This allows you to fill the frame with the diamond without distortion.
- Tripod and Geared Head: At macro distances, breathing on the camera causes motion blur. A heavy-duty tripod with a geared head allows for micro-adjustments in framing.
- Lighting: At least two strobes or high-CRI continuous LED lights.
- Modifiers: A light cone (like the Karl Taylor Light Cone) or a custom diffusion tent.
- Flags: Strips of black and white cardstock. These are your most important tools.
The Lighting Setup
The fundamental challenge is that the lighting required to make the metal band look good (soft, broad, diffused light) makes the diamond look flat and lifeless.
To solve this, place the jewelry inside a diffusion cone or tent. Position your primary light directly overhead, shining down through the diffusion. This creates a smooth, continuous gradient on the gold or platinum setting.
Next, introduce your flags. Cut thin strips of black paper and place them inside the diffusion cone, just outside the camera's frame, angled toward the diamond. The diamond's facets will reflect these black strips, creating the dark, contrasting shapes necessary to define the cut. Without black flags, the diamond will reflect only the white diffusion tent, resulting in a cloudy, gray stone.
Finally, to add fire, use a pinpoint light source (like a fiber optic snoot or a small, undiffused LED) and aim it directly at the diamond from a low angle. This hard light will strike the facets and scatter into rainbow spectral colors.
Camera Settings and Focus Stacking
Set your camera to manual. Use an aperture between f/11 and f/16 to maximize depth of field without introducing severe diffraction. Set your ISO to its base level (usually ISO 100) to ensure the cleanest possible image with zero noise. Shutter speed should be set to your camera's flash sync speed (typically 1/125s or 1/200s) if using strobes, or adjusted for proper exposure if using continuous light.
Even at f/16, a 100mm macro lens focused on a 1-carat diamond will only have a few millimeters in focus. To get the entire ring sharp, you must focus stack. Take 15 to 30 photos, moving the focal point slightly from the front prong to the back of the band in each shot. These images are then merged in Adobe Photoshop or specialized software like Helicon Focus to create a single, entirely sharp image.
How to generate diamond photography with Hylo
Manual diamond photography easily requires $3,000+ in gear, hours of focus stacking, and years of lighting experience. Hylo replaces this entire workflow, allowing you to generate editorial-grade diamond photography without a macro lens or a light cone.
Hylo's public inspiration gallery currently curates 400 real, pass-graded, safety-checked jewelry looks, serving as a first-party visual reference for what works. This includes 131 ring looks, 116 necklace looks, 42 pendants, 28 earring-studs, 17 bracelets, and 17 bangles. These aren't random AI generations; they are structurally accurate representations of high-end jewelry photography.
Setting up your Brand Kit
Before generating, configure your Brand Kit in Hylo. Specify the exact diamond cuts you feature most often (e.g., Round Brilliant, Emerald, Marquise) and the setting styles (e.g., 4-prong, bezel, pavé). This ensures the AI understands the structural geometry it needs to render.
Configuring the AI Photoshoot
When using Hylo's AI Photoshoot, you don't need to manually position black flags, but you do control the lighting environment through your prompt selections.
- Select your base image: Upload a flatlay or a basic smartphone shot of your diamond piece. Hylo's AI Retouch will automatically clean up the metal and isolate the stone.
- Choose the environment: For packshots, select a neutral studio environment. For editorial looks, browse the inspiration gallery and apply a preset that matches your desired mood.
- Refine the lighting: Use prompts that simulate macro studio techniques. Phrases like "high contrast facet reflections," "sharp scintillation," and "soft overhead diffusion with directional spotlight" instruct Hylo to render the precise optical properties of a diamond.
The Hylo Advantage
Generalist AI tools struggle with diamonds. Photoroom is excellent for fast background removal, but it often flattens the center stone, losing the facet structure. Canva and Adobe Generative Fill can place a ring on a new background, but they do not understand the physics of light passing through a refractive gemstone. Tools like Pebblely or Booth AI frequently warp prongs or blur the table facet during generation.
Hylo is purpose-built for jewelry. It protects the structural integrity of the diamond, ensuring that a 2-carat VVS1 oval cut looks exactly like a 2-carat VVS1 oval cut, complete with accurate facet junctions and high-contrast reflections.
Examples across jewelry categories
Lighting a diamond changes depending on the jewelry category. Here is how the techniques apply across the core categories found in Hylo's 400-look gallery.
Rings (131 Gallery Looks) Engagement rings and solitaires are the most demanding. The focus must be entirely on the center stone while maintaining the shape of the shank. For rings, the camera is typically positioned at a 15 to 45-degree angle. This requires extensive focus stacking. When generating ring looks in Hylo, pay attention to the "V-shape" reflections on the lower half of the band, which give the metal its cylindrical volume.
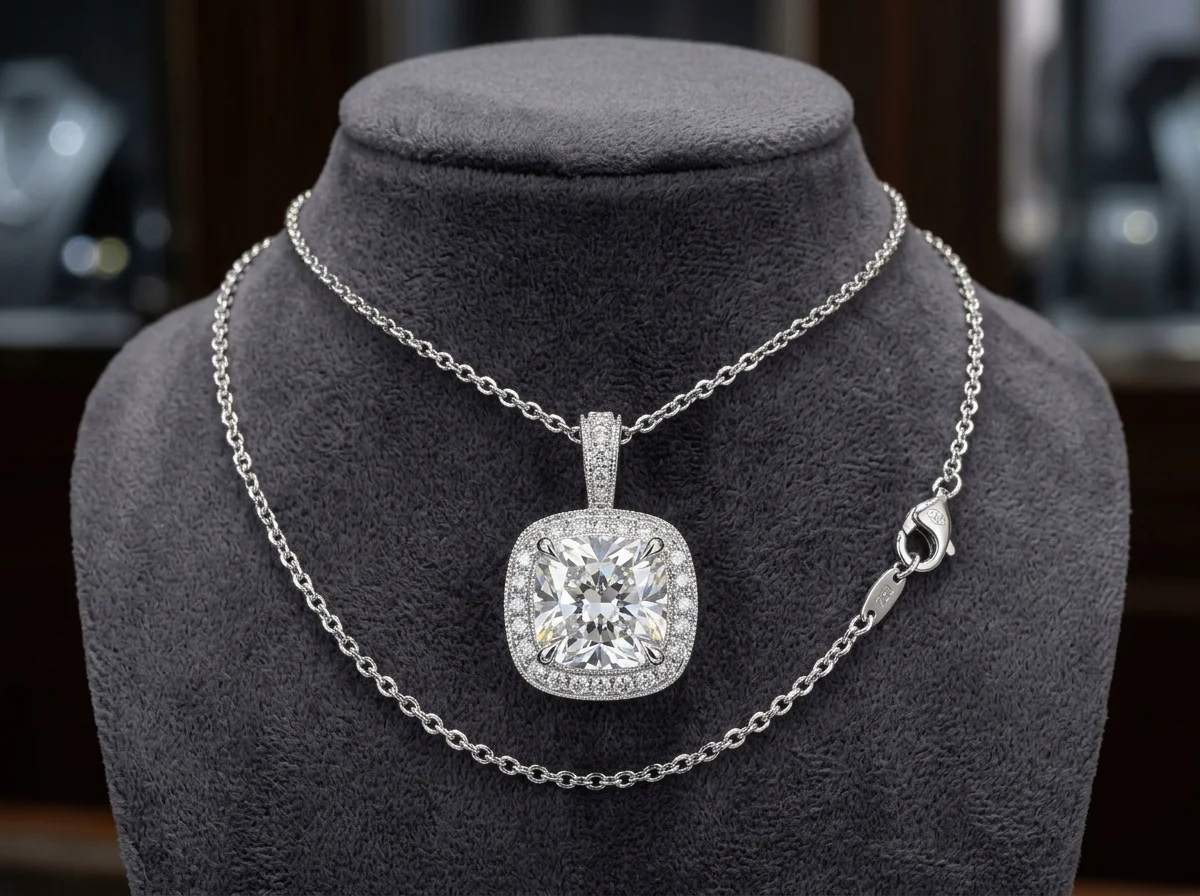
Necklaces and Pendants (116 Necklaces, 42 Pendants) The challenge with diamond necklaces is managing the chain. A high-polished cable chain will reflect light differently than a diamond pendant. In manual photography, this often requires compositing two different exposures: one optimized for the chain, one for the stone. In Hylo, the AI balances the specular highlights on the chain links while maintaining the deep contrast required for the pendant's center stone.
Earrings (28 Earring-Stud Looks) Diamond studs require perfect symmetry in lighting. Because they are often shot as a pair, any discrepancy in lighting will make one diamond look lower quality than the other. Position your light source perfectly overhead and ensure your black flags are mirrored on both sides of the frame.
Bracelets and Bangles (17 Bracelets, 17 Bangles) A diamond tennis bracelet presents a unique challenge: you are photographing 40 to 60 diamonds simultaneously. A single pinpoint light source will only illuminate the stones directly beneath it. To capture a bracelet, you must use a long, narrow strip light running parallel to the piece, ensuring every single diamond catches a highlight and displays uniform brilliance.
Common mistakes in diamond photography
1. Overexposing the Table Facet The most common error made by beginners is blasting the diamond with too much direct light. This blows out the table (the large top facet), turning it into a solid block of pure white pixels. Once those pixels are blown out, no amount of editing can recover the facet lines. Always expose for the brightest part of the diamond.
2. Shooting in Mixed Lighting Photographing a diamond ring near a window (blue daylight) while a desk lamp is on (yellow tungsten light) will create a nightmare of color casts. The diamond will reflect both colors, making a colorless diamond appear yellow or blue. Always shoot in a controlled environment with a single color temperature.
3. Forgetting the Black Flags If your diamonds look like cloudy glass or frozen water, it is because you have surrounded them entirely in white light. Diamonds need to reflect black to show their cut. Without black flags or dark environmental elements to reflect, the facets have no contrast.
4. Relying on Phone Cameras for Packshots While modern smartphones are incredible for casual social media videos, their wide-angle lenses distort the geometry of jewelry. Furthermore, phone cameras cannot optically focus stack; they rely on digital sharpening, which often turns the intricate facets of a diamond into a blurry, over-processed mess. If you cannot invest in a macro lens, an AI studio tool like Hylo is the only way to achieve professional, structurally accurate results.