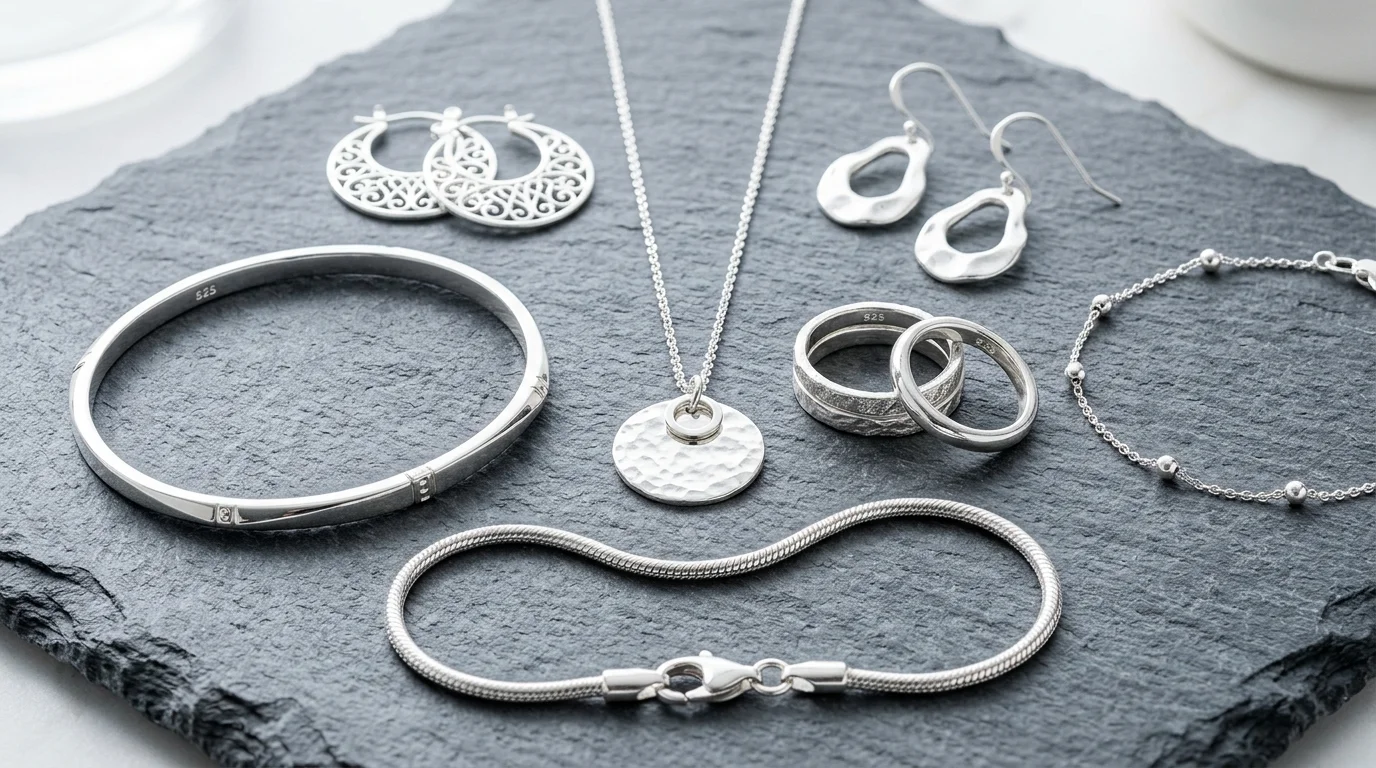
What defines professional silver jewelry photography
To photograph silver jewelry successfully, you must fundamentally change how you think about lighting. Unlike colored gemstones or matte materials, polished silver has no inherent visual color of its own. It is essentially a curved mirror. When you look at a photograph of a silver ring, you are not actually seeing the silver—you are seeing a reflection of the room, the lights, the camera, and the photographer.
Professional silver jewelry photography is defined by the absolute control of these reflections. The visual hallmark of a high-end silver packshot is the presence of smooth, continuous gradients. A flatly lit silver band looks like dull aluminum or cheap plastic. A masterfully lit silver band features a gradient that transitions smoothly from pure white (the specular highlight) to mid-gray, down to a crisp, dark edge (created by negative fill). These contrasting gradients are what communicate volume, curvature, and the premium metallic nature of the piece.
Lighting characteristics for silver rely heavily on the principle of the "family of angles." Because silver is highly reflective, light behaves predictably: the angle of incidence equals the angle of reflection. If a light source sits within that family of angles relative to your camera lens, it will reflect directly back into the lens, creating a blown-out white spot. Therefore, professional silver photography rarely involves pointing a light directly at the jewelry. Instead, you light a white surface (like a diffusion cone, a bounce card, or a softbox) and position that illuminated surface so the silver reflects it.
The mood of silver photography also leans heavily toward cool, crisp, and clinical. While yellow gold benefits from warm, glowing light, silver demands strict color temperature control. Even a slight warm tint in your lighting can make sterling silver look tarnished, yellowed, or indistinguishable from low-karat white gold.
When to use dedicated silver styling
Dedicated silver styling techniques are mandatory anytime you are shooting highly reflective, non-yellow metals. While this article focuses on sterling silver (.925), the exact same principles apply to rhodium-plated white gold, platinum, palladium, and polished stainless steel. If the metal is white and acts like a mirror, you must use silver photography workflows.
E-commerce Packshots and Linesheets
For Shopify product pages, Amazon listings, and wholesale linesheets, buyer psychology dictates that silver must look flawless, cold, and dimensional. On a pure white seamless background, silver can easily get lost or look "washed out" if not properly styled with dark edge gradients. When shooting for these channels, your primary goal is clarity. The customer needs to see the exact shape of the prongs, the thickness of the band, and the texture of any engravings. This requires high-contrast lighting setups that outline the edges of the metal against the white background.
Editorial and Social Media
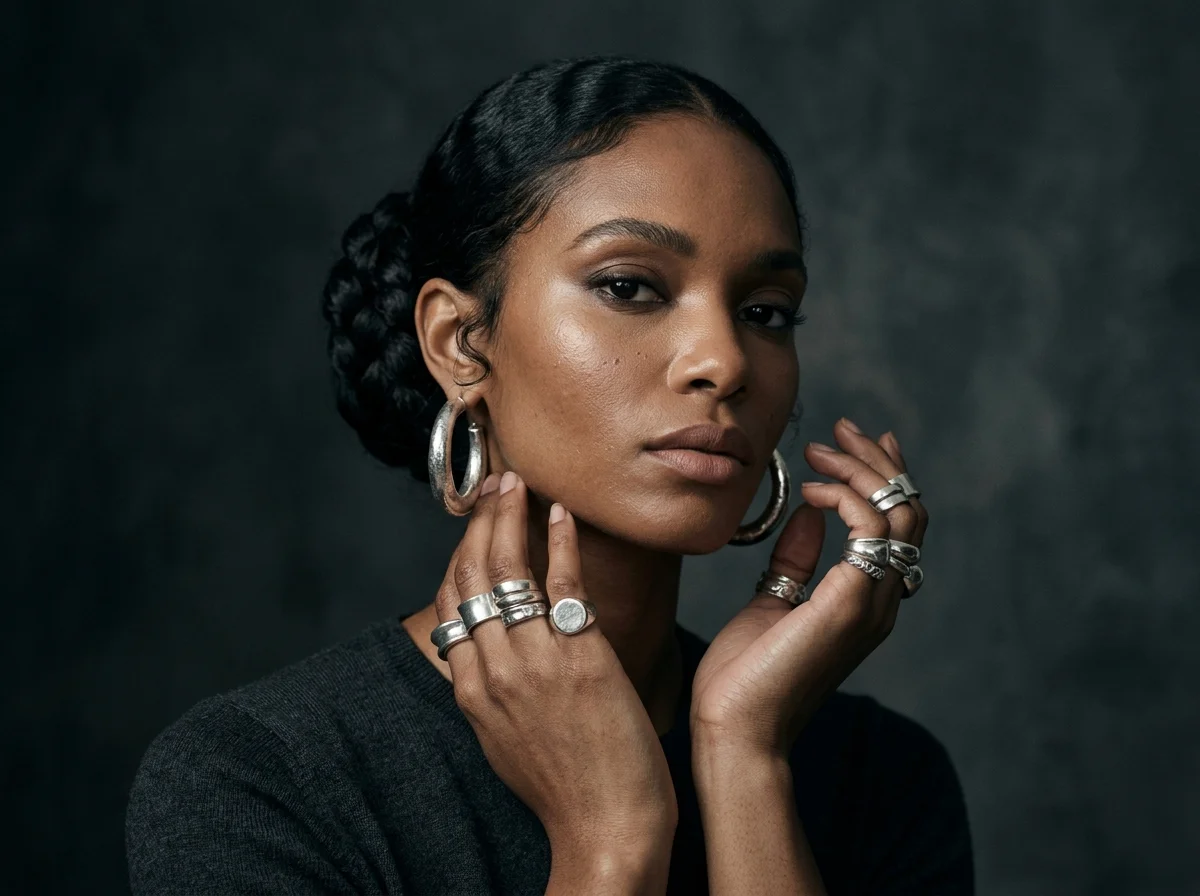
When styling silver for Instagram, TikTok, or editorial lookbooks, the context shifts. You are no longer restricted to pure white backgrounds. In fact, silver often looks most striking when placed against cool, contrasting textures. Dark slate, charcoal concrete, deep navy velvet, or frosted acrylic blocks provide an excellent backdrop for silver jewelry. The dark background allows the bright specular highlights of the silver to "pop" naturally, creating a moody, premium aesthetic that stops the scroll.
The Metal Purity Perception
Silver is a highly price-sensitive category. A sterling silver ring might retail for $45, while an identical design in platinum might retail for $1,400. Because the materials look nearly identical to the naked eye, the perceived value is entirely dictated by the photography. If your silver photography is flat, dull, and plagued by room reflections, the jewelry looks cheap. If it features crisp gradients, perfect focus, and pure white highlights, it instantly elevates the perceived value of the brand.
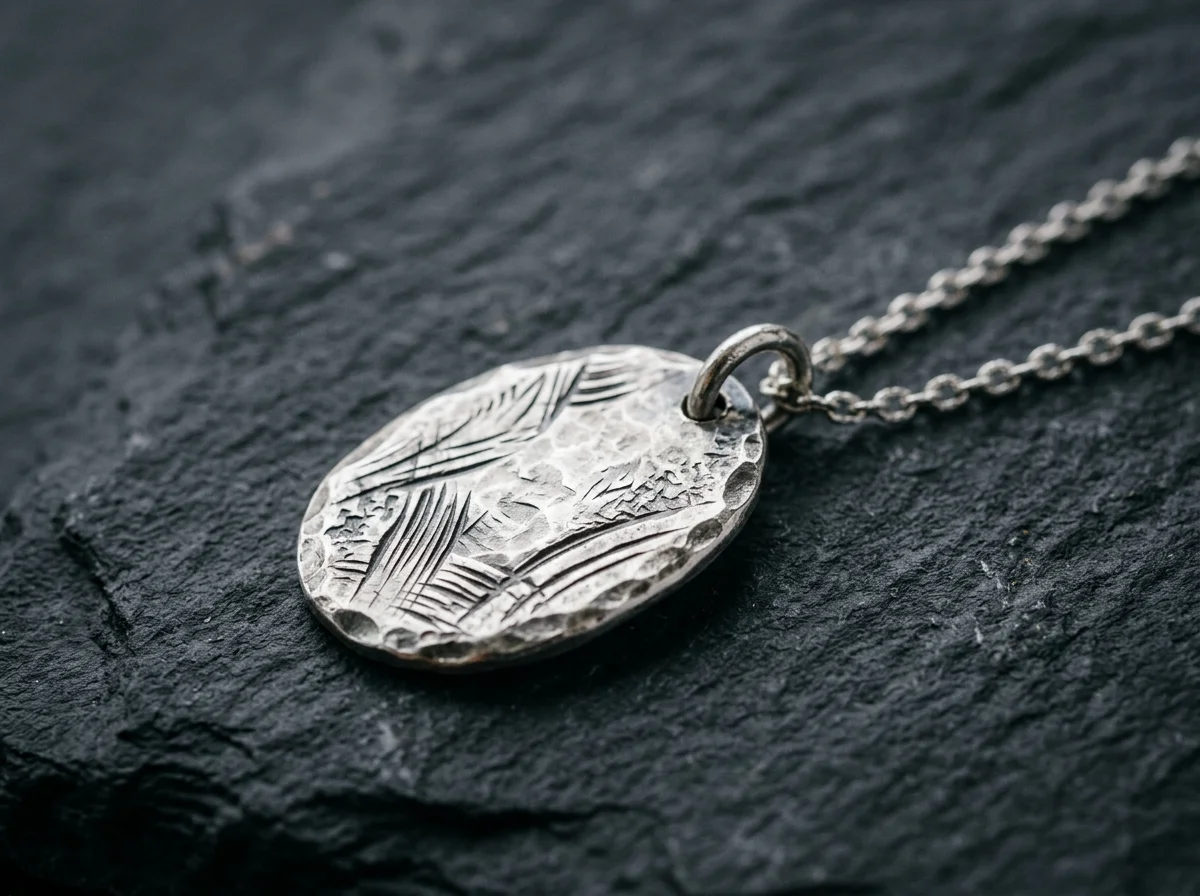
How to shoot silver jewelry manually
Shooting silver jewelry manually is one of the most technically demanding disciplines in product photography. A standard studio setup will not work. You need specialized equipment to control the environment the jewelry is reflecting.
Essential Equipment
- Camera & Lens: A full-frame DSLR or mirrorless camera paired with a dedicated 100mm or 105mm macro lens (1:1 magnification). Standard kit lenses cannot focus closely enough for rings and earrings.
- Lighting: Minimum two studio strobes (monolights). Continuous LED lights generally lack the power required to shoot at the narrow apertures needed for macro depth of field.
- Diffusion: A photography light cone (like a Karl Taylor Light Cone) or a custom cylinder made from Savage Translum diffusion paper. This is the secret to silver photography—you place the jewelry inside the cone to block out the room.
- Modifiers: Black and white foam core boards cut into small strips. These are used as positive and negative fill.
- Support: A heavy-duty, geared tripod. Macro photography amplifies the slightest vibration.
The "Light Cone" Setup Diagram
- The Base: Place your silver jewelry on a clean white acrylic riser or a piece of white seamless paper.
- The Environment: Lower your diffusion cone over the jewelry. The camera lens shoots down through the hole in the top of the cone.
- The Lights: Position your two strobes on the outside of the cone, facing inward (one at 9 o'clock, one at 3 o'clock). When the strobes fire, they illuminate the walls of the cone. The silver jewelry reflects the smooth, glowing white walls of the cone, eliminating all room reflections.
- The Gradients (Negative Fill): If you only use the cone, the silver will look flat white. To create shape, cut thin strips of black foam core and place them inside the cone, just out of the camera's frame. The silver will reflect these black strips, creating crisp, dark lines along the edges of the metal that define its curvature.
Exact Camera Settings
- Aperture: f/11 to f/16. Macro lenses have a notoriously shallow depth of field. Shooting wide open (e.g., f/2.8) will leave 90% of the ring out of focus. You need a narrow aperture to keep the entire piece sharp.
- ISO: 100. Always use your camera's base ISO to eliminate digital noise and grain, which ruins the smooth look of polished metal.
- Shutter Speed: 1/125s or 1/160s. When using strobes, your shutter speed simply needs to match your camera's flash sync speed. The burst of the strobe (often 1/2000s or faster) is what actually freezes the image.
- White Balance: Set manually to match your strobes (typically 5500K). Never use Auto White Balance for silver, as it may attempt to "warm up" the image.
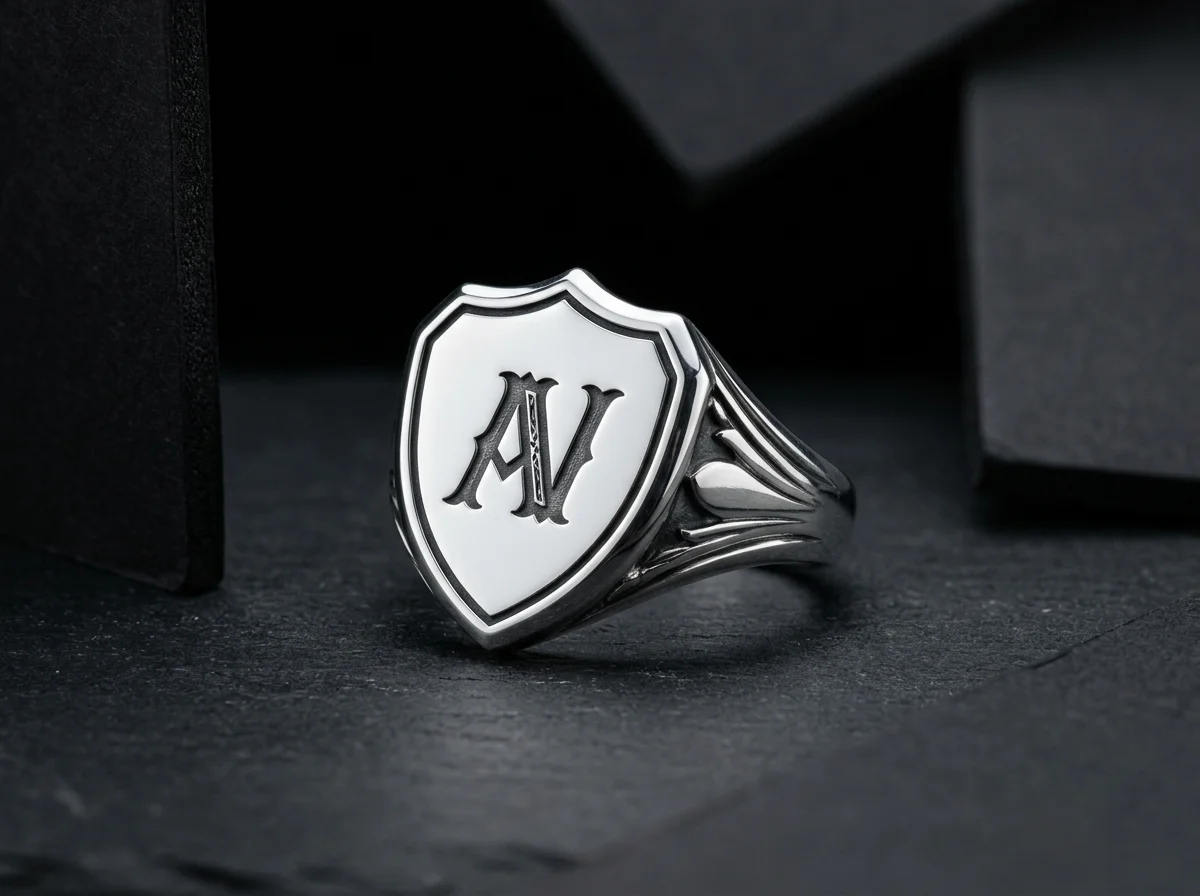
The Focus Stacking Workflow
Even at f/16, a 100mm macro lens positioned three inches from a silver ring will not keep the front prong and the back of the band in focus simultaneously. Professional studios use focus stacking. You mount the camera on a macro focusing rail, take 10 to 20 identical photos while shifting the focus point by a millimeter each time, and blend them together in post-production using software like Helicon Focus or Adobe Photoshop.
How to generate silver jewelry photography with Hylo
Executing the manual setup described above requires thousands of dollars in gear and hours of meticulous tweaking for a single angle. If a full studio booking (typically $2,000–$5,000 per day) is out of reach, Hylo's AI-powered platform allows you to achieve these exact high-contrast silver gradients in seconds.
Tools like Photoroom or Canva are useful for stripping backgrounds, but they do not understand the physics of specular reflection. Standard AI generators like Pebblely or Booth often struggle with white metals, rendering silver as a dull, matte gray because the AI fails to generate the sharp, contrasting gradients that define polished metal. Hylo is purpose-built for jewelry, meaning its AI natively understands how silver should reflect light.
Leveraging the Inspiration Gallery
Hylo maintains a public inspiration gallery acting as first-party visual evidence of the platform's capabilities. This gallery curates 400 real, pass-graded, safety-checked jewelry looks. When styling silver, you don't have to guess at prompts; you can browse the gallery and apply proven lighting setups directly to your pieces.
Brand Kit and AI Photoshoot Configuration for Silver
- Upload Quality: Start with a clean, in-focus smartphone photo of your silver piece. Ensure the piece is wiped clean of fingerprints, as the AI will preserve the surface texture.
- Brand Kit Setup: In your Hylo Brand Kit, prioritize "Cool" or "Neutral" color temperatures. Avoid warm lighting presets, which will cast a yellow hue over your white metals.
- Background Selection: For e-commerce, select a crisp white seamless background. For editorial shots, select dark, matte textures (like slate or charcoal) from the Canvas Editor to make the silver highlights pop.
- AI Photoshoot Prompts: When generating custom environments, use keywords that dictate lighting quality. Prompts like "studio lighting, double diffusion, crisp black and white reflections, high contrast gradients, cool light" instruct the AI to mimic the physical light cone setup described earlier.
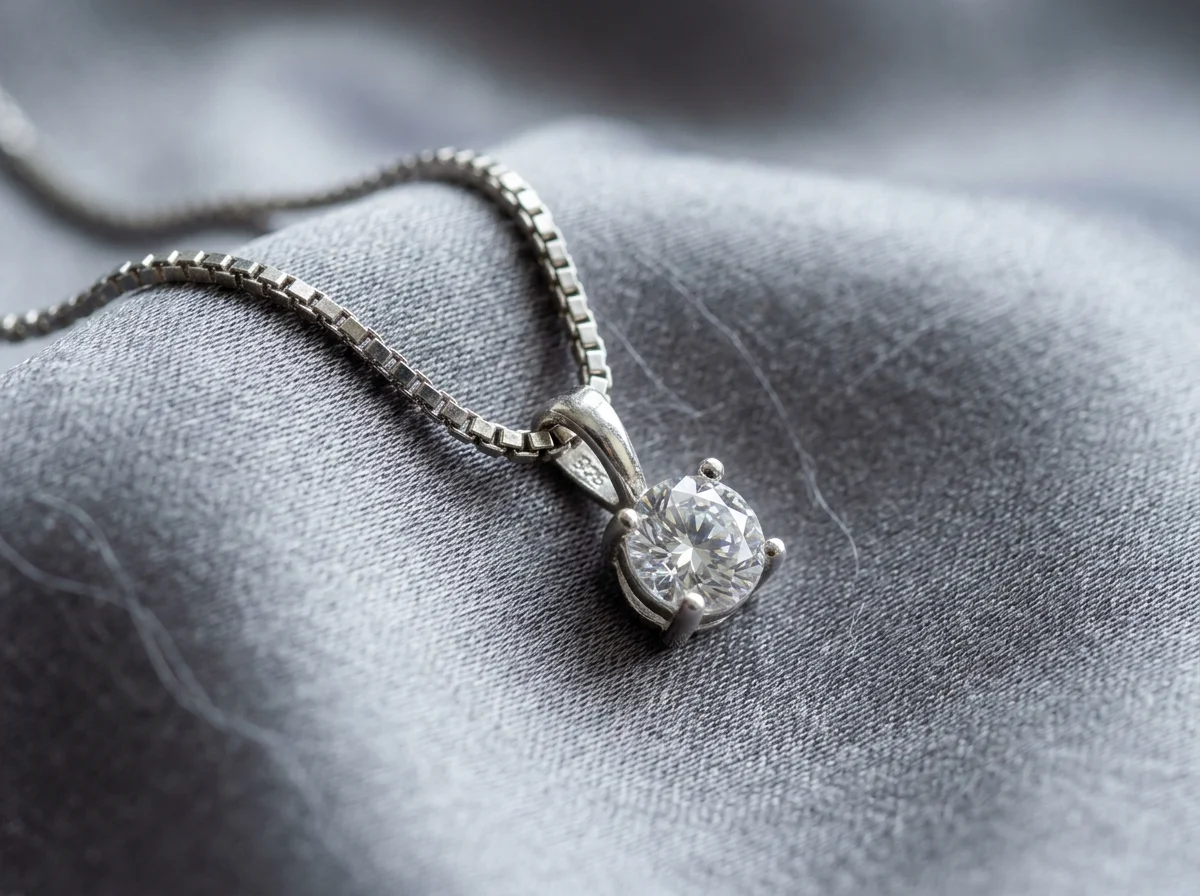
Examples across jewelry categories
Silver behaves differently depending on its surface area and curvature. Hylo's inspiration gallery includes 400 total looks across various categories, proving the AI's ability to handle diverse shapes.
Rings (131 looks in gallery)
Silver rings, particularly plain bands or solitaires, are the most difficult to photograph because their continuous convex curves reflect a 360-degree view of the room. In the gallery's 131 ring looks, you will notice the deliberate use of horizon lines. A well-lit silver ring often features a distinct line across the band where the reflection transitions from the bright surface of the table to the darker environment above it. This horizon line grounds the ring and gives it dimension.
Necklaces (116 looks) and Pendants (42 looks)
Chains present a different challenge. A sterling silver curb or snake chain consists of hundreds of tiny, interwoven reflective surfaces. If lit with hard, direct light, the chain becomes a chaotic mess of blown-out white pixels and pitch-black shadows. The 116 necklace and 42 pendant looks in the Hylo gallery demonstrate the necessity of broad, ultra-soft diffusion. The light must wrap around the chain, ensuring each individual link catches a soft highlight without losing its shape.
Earring-Studs (28 looks)
Stud earrings are small and often dominated by the gemstone rather than the metal. However, the silver prongs and basket are critical to the perceived quality of the piece. In the 28 earring-stud looks, macro-level contrast is key. The silver prongs must be clearly defined against the gemstone, requiring precise negative fill to darken the edges of the metal holding the stone.
Bracelets (17 looks) and Bangles (17 looks)
Silver bangles are essentially giant rings. Because of their large surface area, they require massive diffusion panels to create continuous gradients. A small softbox will only reflect as a small white square on a silver bangle. The 17 bracelet and 17 bangle looks in the gallery showcase broad, sweeping gradients that travel the entire length of the metal, proving the necessity of large-scale studio lighting (or expertly prompted AI generation) for larger pieces.
Common mistakes in silver jewelry photography
Even experienced photographers struggle with white metals. If your silver photography looks amateur, it is likely due to one of these three common errors.
1. The "Black Hole" Effect
This occurs when the center of your silver jewelry looks pitch black. It happens because the flat face of the jewelry is reflecting the dark camera lens or the dark room behind the photographer.
- The Fix: Shoot through a white piece of foam core or paper with a small hole cut out for the lens. This ensures the jewelry reflects white paper instead of a black camera body.
2. Tarnished Color Casts
If your sterling silver looks yellow, brown, or slightly green, you have a color contamination issue. Silver reflects the colors of the room. If you are shooting in a room with yellow walls, or if you have a warm overhead tungsten light turned on while using daylight-balanced strobes, the silver will pick up those warm tones and look tarnished.
- The Fix: Turn off all ambient room lights. Shoot in a neutral-colored room, or completely enclose the jewelry in a white diffusion cone. Set your custom white balance precisely to your strobe output.
3. Blown-Out Overexposure
Many beginners try to make silver look "bright and shiny" by blasting it with light or overexposing the image in camera. This destroys the image. Silver needs dark gradients to look like metal. If you overexpose the shot, the silver loses all its mid-tones and dark edges, resulting in a flat, white shape that blends entirely into the white background.
- The Fix: Expose for the highlights. Ensure your brightest specular highlight is just below pure white (around 245, 245, 245 in RGB values). Rely on negative fill (black foam core) to add the contrast back in, rather than trying to brighten the shadows.